
For centuries sulfur soap has been widely used as a remedy for people with various skin conditions. Sulfur, also spelt sulphur, is the fifth most abundant element on Earth and is essential for life.
According to ancient Egyptian papyri, sulfur was valued as a remedy for many ailments from insect bites to scabies and genital warts.
There are also a number of pharmaceutical preparations using sulfur listed in the 1920 edition of The Druggists Circular Formula Book. Some of these include sunburn creams, ointments for the treatment of baldness and medicated baths.
Sulfur has anti-microbial, anti-inflammatory and exfoliant properties and it improves discolouration and tone of the skin.
It also has keratolytic properties which means that it helps to break down the outer layer of the skin to dissolve dead skin cells. This action unclogs pores and treats conditions such as eczema, dandruff, scabies, cradle cap, acne, warts and calloused skin.
Cold Process Sulfur Soap
In this post, we are making sulfur soap using the cold process method. I’ve made this soap before using the hot process method, I’m pretty sure my neighbours weren’t happy with me that day, due to the smell.
It does have a strong, distinctive odour, but I have found this significantly decreases as the soap cures. The longer it ages, the milder the sulfur scent.
This recipe uses 5% sulfur powder. You can adjust the amount based on the desired potency of the soap. The amount of powder is calculated as a percentage of the total oil weight.
The percentage of sulfur in soap usually goes up to 10% and would depend on the condition it is required to treat.
Please note that the effectiveness and tolerance of sulfur soap may vary from person to person depending on skin type. If you have sensitive skin or you are not sure about using sulfur soap please seek guidance from a medical professional before using any new skincare products.
Bear in mind that sulfur can discolour clothing if it is not rinsed off properly. Also, it reacts with and tarnishes silver jewelry so bear these in mind if you do decide to use sulfur soap.
I used the essential oils listed below as I find that the scents, go well with each other. It creates a refreshing blend that also enhances the antibacterial and anti-inflammatory properties of the soap.
I added bentonite clay to the soap for its detoxifying and soothing effects.
If this is your first time making soap, please see my posts on Soapmaking for Beginners and Tools Needed to Make Your Own Soaps At Home.

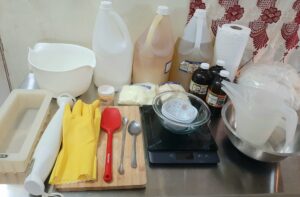
Ingredients
- 12 oz Olive oil
- 8 oz Coconut oil
- 6 oz Palm oil
- 2 oz Castor oil
- 2 oz Shea butter
- 2 oz Cocoa butter
- 4.5 oz Sodium Hydroxide
- 12.16 oz Distilled water
- 1 oz Essential oil
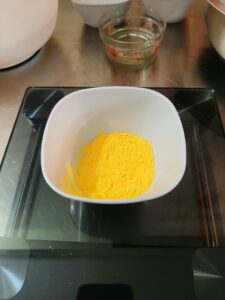
- 1.6 oz (5%) Sulfur powder
- 0.3 oz Bentonite clay
- 0.2 oz Yellow soap pigment (optional)
The pigment – Fizzy Lemonade by Bramble Berry – was added to improve the appearance of the soap as sulfur turns a greyish colour after curing. The colourant simply adds colour for the look. If this is not important to you, leave it out.
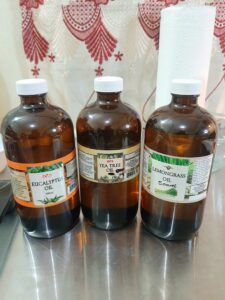
Feel free to use any essential oil/s you prefer. For this soap I used my favourite blend:
- 0.5oz Tea Tree oil
- 0.25 oz Lemongrass oil
- 0.25 oz Eucalyptus oil

Directions To Make Sulfur Soap
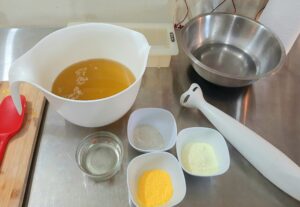
Prepare your tools and ingredients. Ensure that there are no pets or children in your working area.
Suit up for safety. Put on your gloves, safety goggles and long-sleeved clothing to protect yourself.
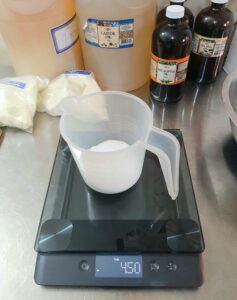
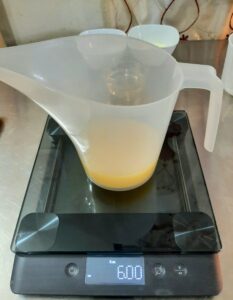
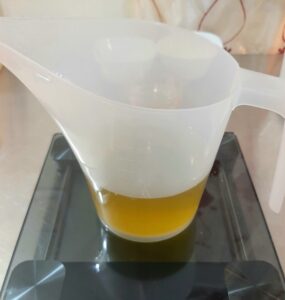
In a stainless steel or heat-resistant container weigh your water.
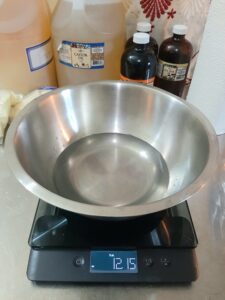
Next, weigh the sodium hydroxide.
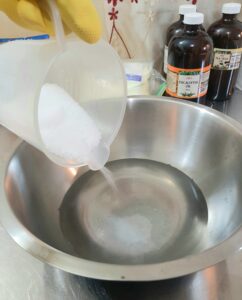
In a well-ventilated area, add the sodium hydroxide to the water, in that order and not the other way around. Using a stainless steel spoon, mix well until fully dissolved. The mixture will become hot and give off fumes. Ensure that you do not breathe in the fumes. Once dissolved, set it aside in a safe place and allow it to cool to room temperature.
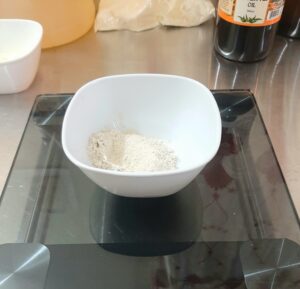
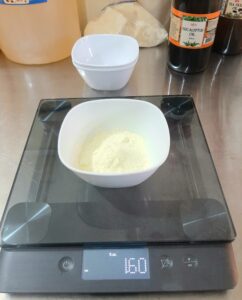
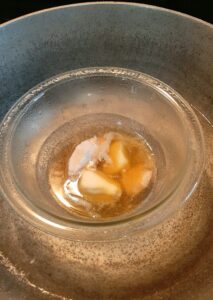
Weigh the bentonite clay and the sulfur powder.
Weigh the essential oil/s in a glass or ceramic container. Avoid using plastic as fragrance and essential oils tend to degrade plastic.
In a heat-proof or microwaveable container, weigh the shea and cocoa butter.
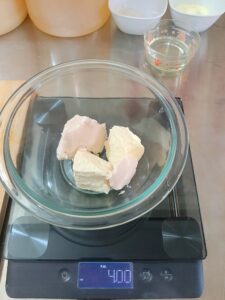
Using the double-boiler method or a microwave, melt the butters.
Next, weigh the oils and add them to the main mixing bowl.
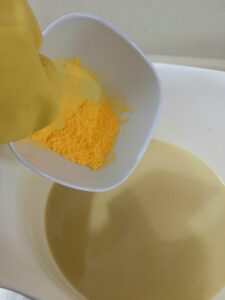
Weigh the colourant.
Add the melted butters to the mixing bowl with the oils.
Once everything is measured and prepared, clear away the unnecessary items. It is now time to make the soap.
Add the bentonite clay and sulfur powder to the mixing bowl. Be especially careful when adding the sulfur as the fine powder can become airborne and we need to avoid breathing it in.
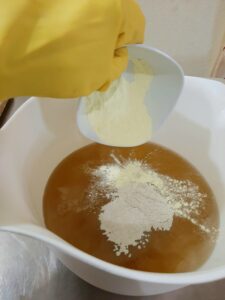
Using the immersion blender, mix the powder and clay into the oils thoroughly until there are no visible clumps and the mixture is smooth.
Next, add the pigment and mix thoroughly with the blender.
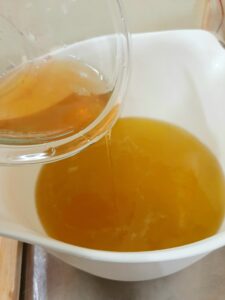
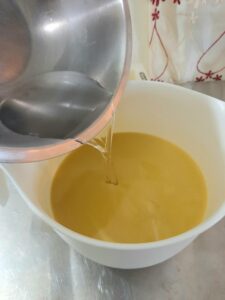
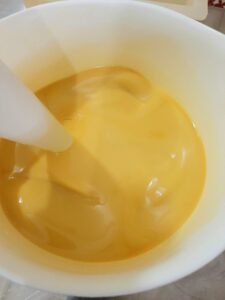
Carefully add the lye solution to the mixing bowl.
Mix with the immersion blender just until it is emulsified. At this point, add the essential oil/s.
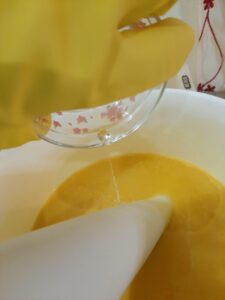
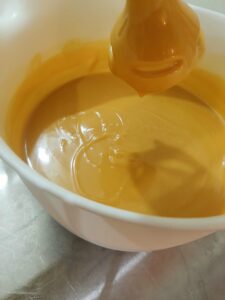
Using a combination of blending and stirring with the immersion blender, mix the soap batter evenly until it reaches trace.
Trace is the point at which the soap thickens past emulsification and can no longer separate. A trail or ‘trace’ is left when it is drizzled onto itself in the mixing bowl with the blender as shown below.
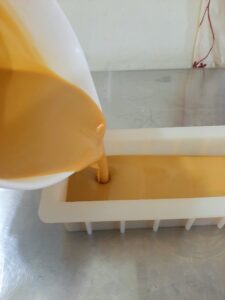
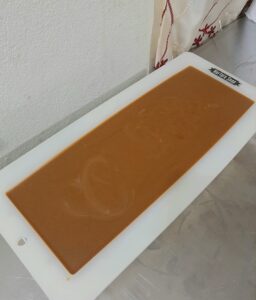
Once trace is achieved, pour the soap into the soap mould. I used my Nurture Soap 10″ silicone mould.
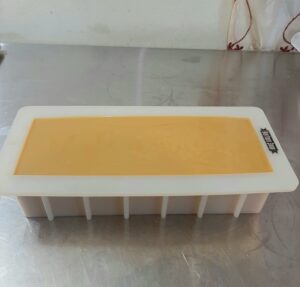
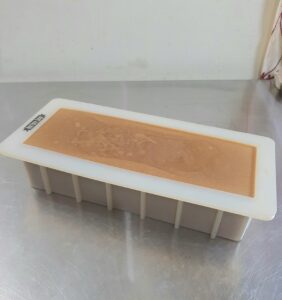
Put the soap in a safe place away from children, pets and other family members and allow it to rest and firm up for 24 hours. It will continue to saponify during this time. Note the colour change after about an hour in the picture below.
After 24 hours, remove the soap from the mould.
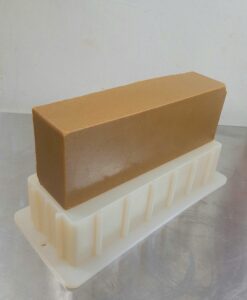
Cut the soap according to your preference.
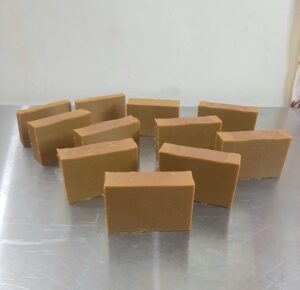
Place the bars on a shelf in a ventilated area and allow them to cure for a period of six weeks. Rotate the soap occasionally for all sides to be exposed to air. Note: The bars will lighten up and the colour will change gradually as it cures.
After the cure period, lather up with your handmade sulfur soap and enjoy the benefits.
In conclusion, creating your own sulfur soap from scratch can be a satisfying experience. You can make a high-quality soap that is customized to your needs. The combination of sulfur and bentonite clay makes this soap an effective aid in helping various skin conditions. As well, by using all-natural ingredients, you know exactly what it contains and can feel good about what you are putting on your skin.
Let me know in the comments below if you’ve ever made sulfur soap before. As always, happy soaping! 🙂
Related Soap Recipe: Garlic and Neem Handmade Soap
Medical Disclaimer: The information provided in this blog post is for educational purposes only and is not intended to replace medical advice, diagnosis, or treatment. Always consult with a qualified healthcare provider before starting any new skin care regimen or if you have any questions or concerns regarding your skin health. The use of sulfur soap may not be suitable for everyone and may cause adverse reactions in some individuals.
It’s fantastic to see how easy it is to create sulfur soap right in the comfort of our homes. The step-by-step guide is incredibly helpful, and the use of carrier and essential oils adds a luxurious touch. Kudos for simplifying the process.
Thank you 🙂
Hi, that was amazing! You’re step-by-step guide is easy to understand. I was wondering in how to make sulfur soap. And what brand of Sulfur powder do you use? Appreciate your reply.
Hi, Lili. Thank you, I’m happy to help.
I purchased the sulfur powder from a local pharmaceutical company here in my country, Trinidad.