Soapmaking is an exciting hobby that can be turned into a business. Sometimes though when one sees all that goes into the soapmaking process it is easy to become intimidated. I certainly was in the beginning.
The truth is that it is not difficult to make soap. It is a skill that can be learned with time and practice. Once you learn the basics, a whole world of creativity is opened up to you.
With so many variations of fragrances, essential oils, herbs, colours, oils, butters, clays, exfoliants etc., you can tailor soap to your liking and formulate your own masterpieces. You can make unique soaps that people will love.
Here I will show you how to make cold process soap from scratch using a simple recipe.
I deliberately did not use any colourants or fragrances in this soap, as I wanted to show you the absolute basics of making your own soaps.
This recipe contains three oils – castor, coconut and olive- as well as water, and sodium hydroxide, also known as lye.
I like this combination of oils as I find it gives a nice balanced bar of soap.
How Soap is Made
Soap is made with fats and/or oils and potassium hydroxide (caustic potash) or sodium hydroxide (lye). In our case, we are using lye.
Lye is very alkaline and fats are acidic. When an alkali and an acid react with each other they form a salt and water…so soap is essentially a salt.
Glycerine is also a byproduct of the reaction in soapmaking. Glycerine is a natural humectant, which means it draws water to it from the atmosphere and therefore it is very hydrating and moisturizing.
Commercial soaps mostly have glycerine removed. This is one reason why homemade soaps are gentler for skin than commercial soaps as the glycerine helps to counteract dryness that occurs from the cleansing action of the soap.
This reaction in soapmaking where the oils and lye mix and become soap is called saponification.
- Related post: How to Start a Soapmaking Business
- Related post: Part 2: Basic Soapmaking for Beginners- How to Add Fragrances and Colour
- Related post: Homemade Coconut Aloe Vera Soap Recipe
Safety when using lye
Because of the caustic or burning nature of lye, there are some safety precautions you have to take when making soap.
- Protect your working surfaces. Lye can damage finishes and countertops. Cover the surface with newspapers, cardboard or plastic in case there is any spillage.
- Wear gloves and safety glasses (note: safety glasses should be worn over spectacles when mixing lye as the fumes can interfere with any coating you may have on your glasses.)
- Wear long-sleeved clothing
- Mix lye in a well-ventilated area and avoid inhaling the fumes
- Always use a heat-resistant container to mix your lye and water
- Always add the lye to the water and not the water to the lye (adding water to lye can cause an eruption)
- Always store lye out of the reach of children and pets
- According to the MSDS sheet, if contact is made with skin, flush immediately with water for 15 minutes and seek medical attention.
- If fumes are inhaled, move to fresh air.
Ingredients
- 3 oz Castor Oil
- 11 oz Coconut Oil
- 19 oz Olive Oil
- 4.55 oz Sodium Hydroxide
- 12.5 oz Distilled Water
This recipe yields an approximately 3-pound loaf of soap.
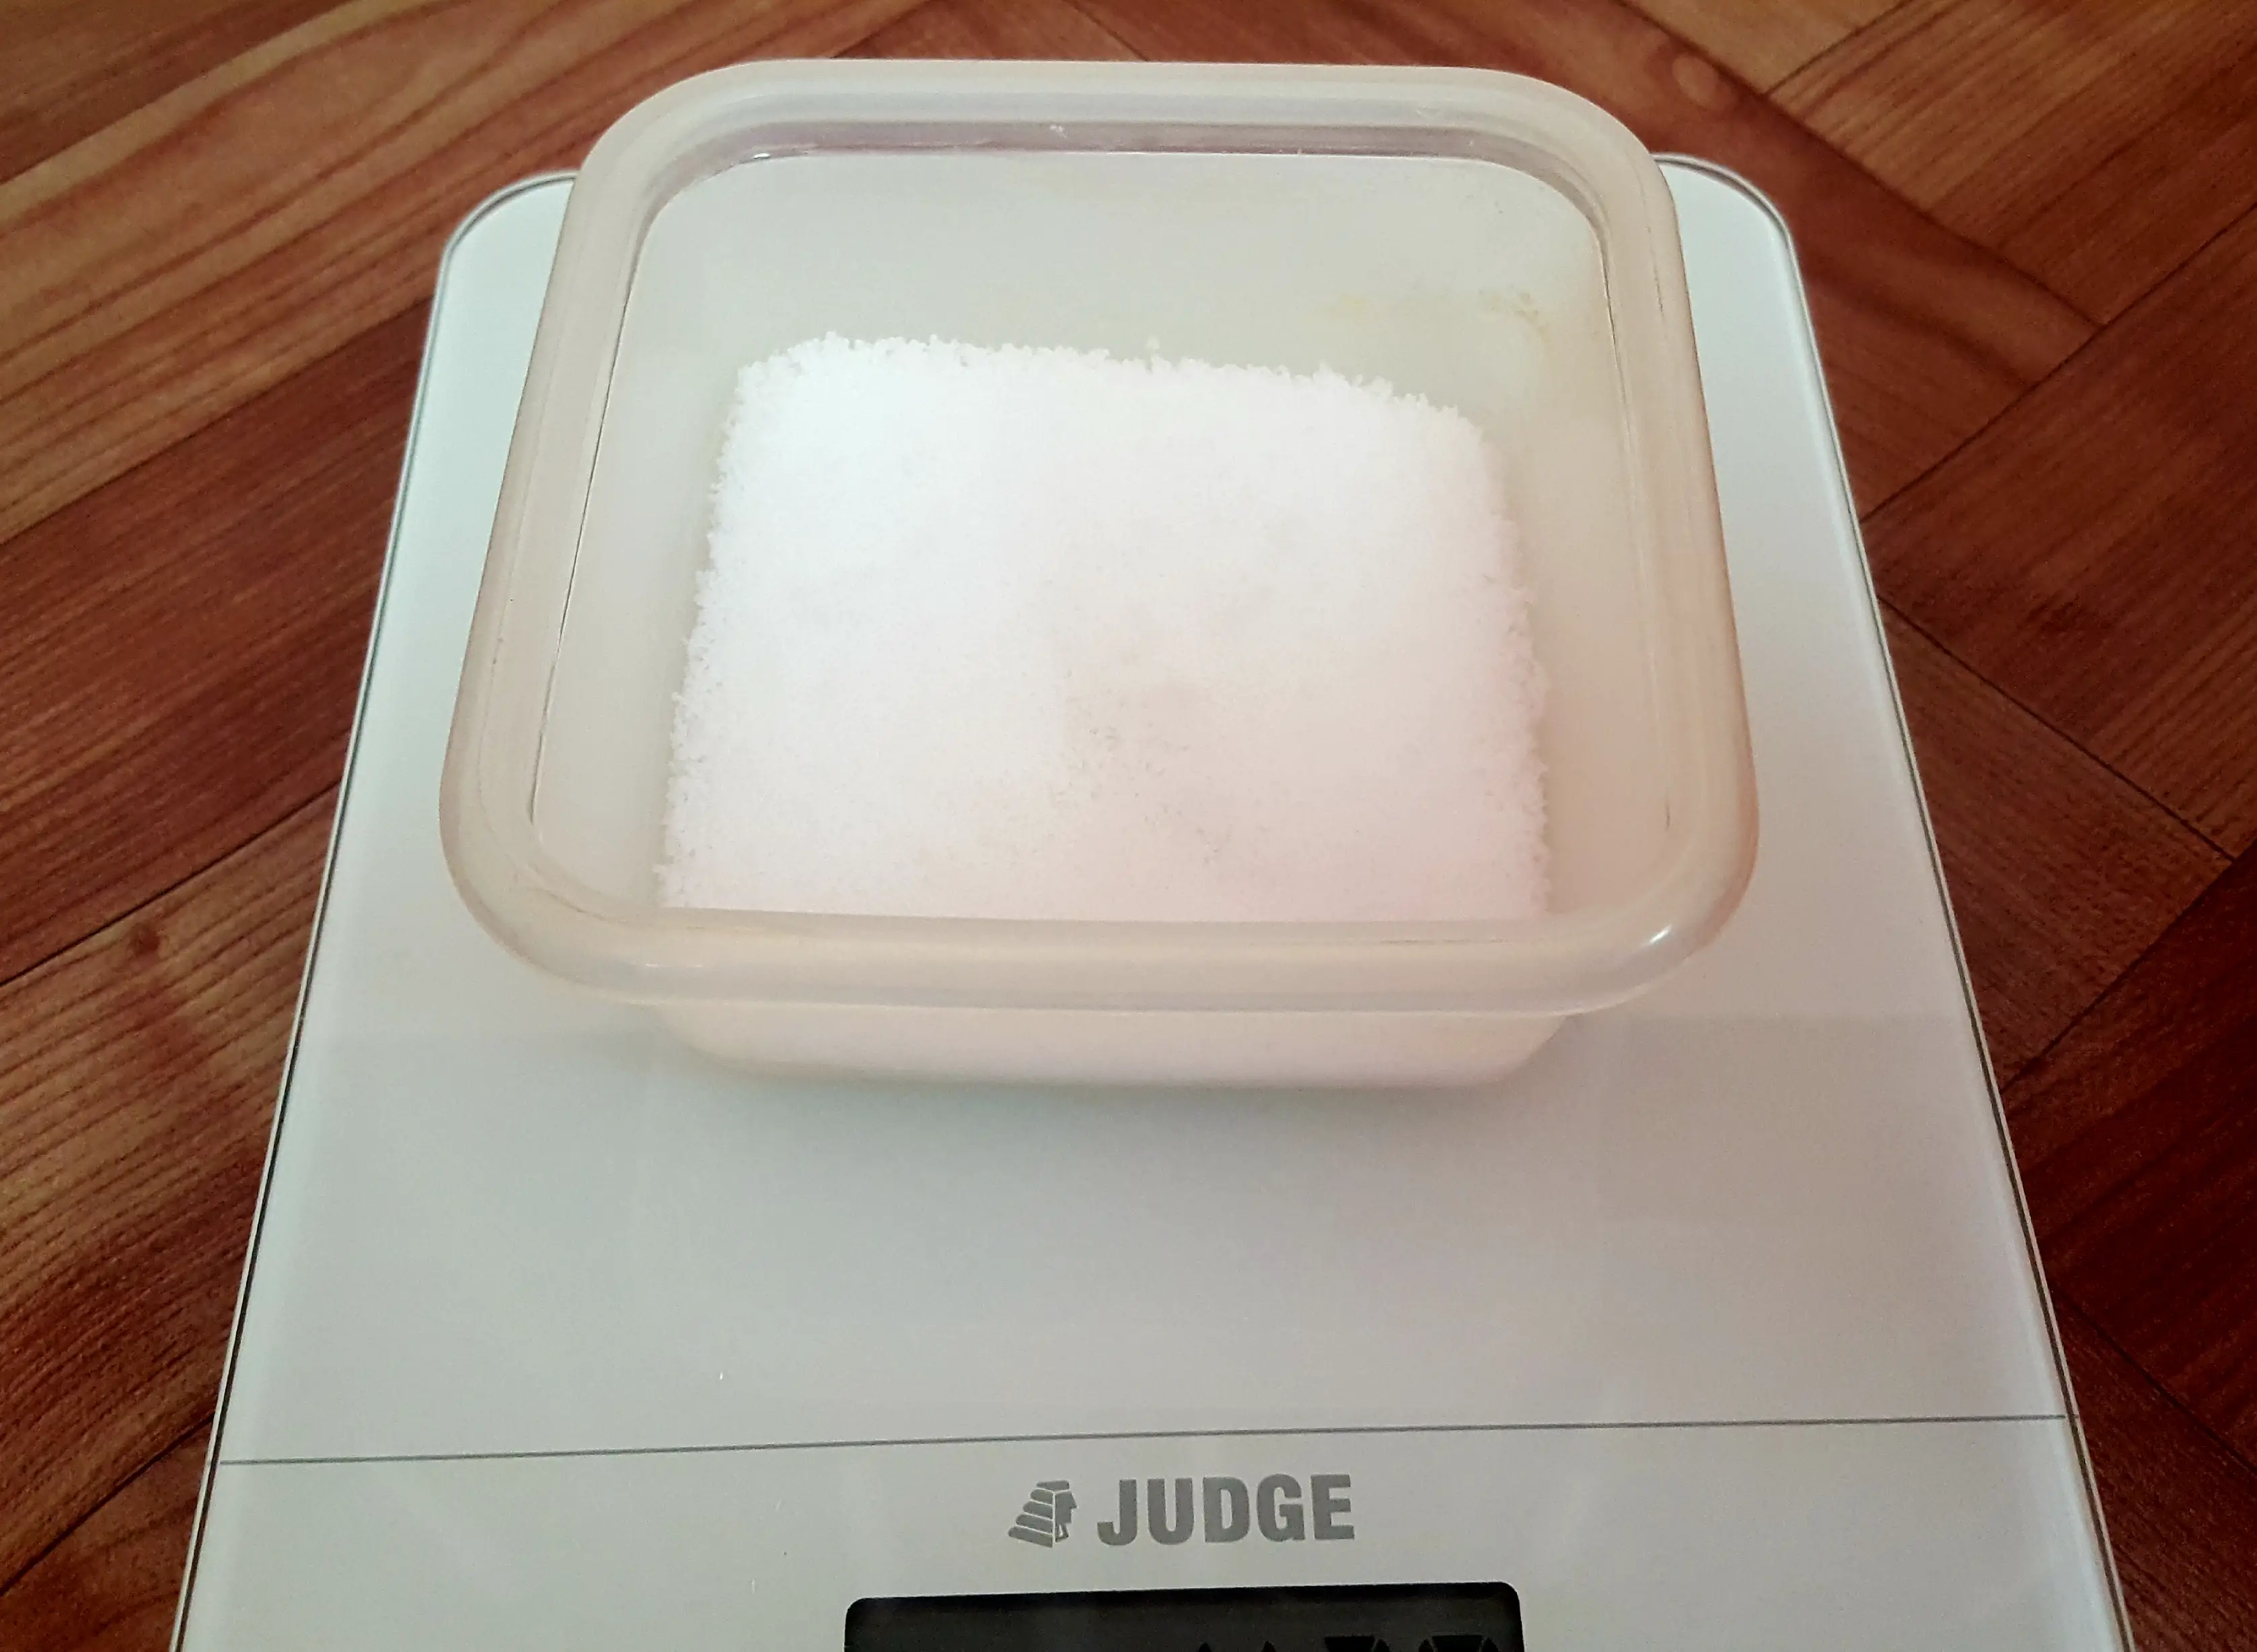
Note: All the measurements are by weight. Use a digital scale to weigh all the ingredients, even the water!
I used very basic equipment from my kitchen to make this batch of soap. I even reused an almond milk box to demonstrate that there are many options around the home to make a soap mould.
To get an idea of materials that can be used as soap moulds see this article here.
Note: Do not use any aluminium material in soap making such as aluminium baking pans or aluminium foil as well as any material made from tin as lye reacts with these metals.
Equipment
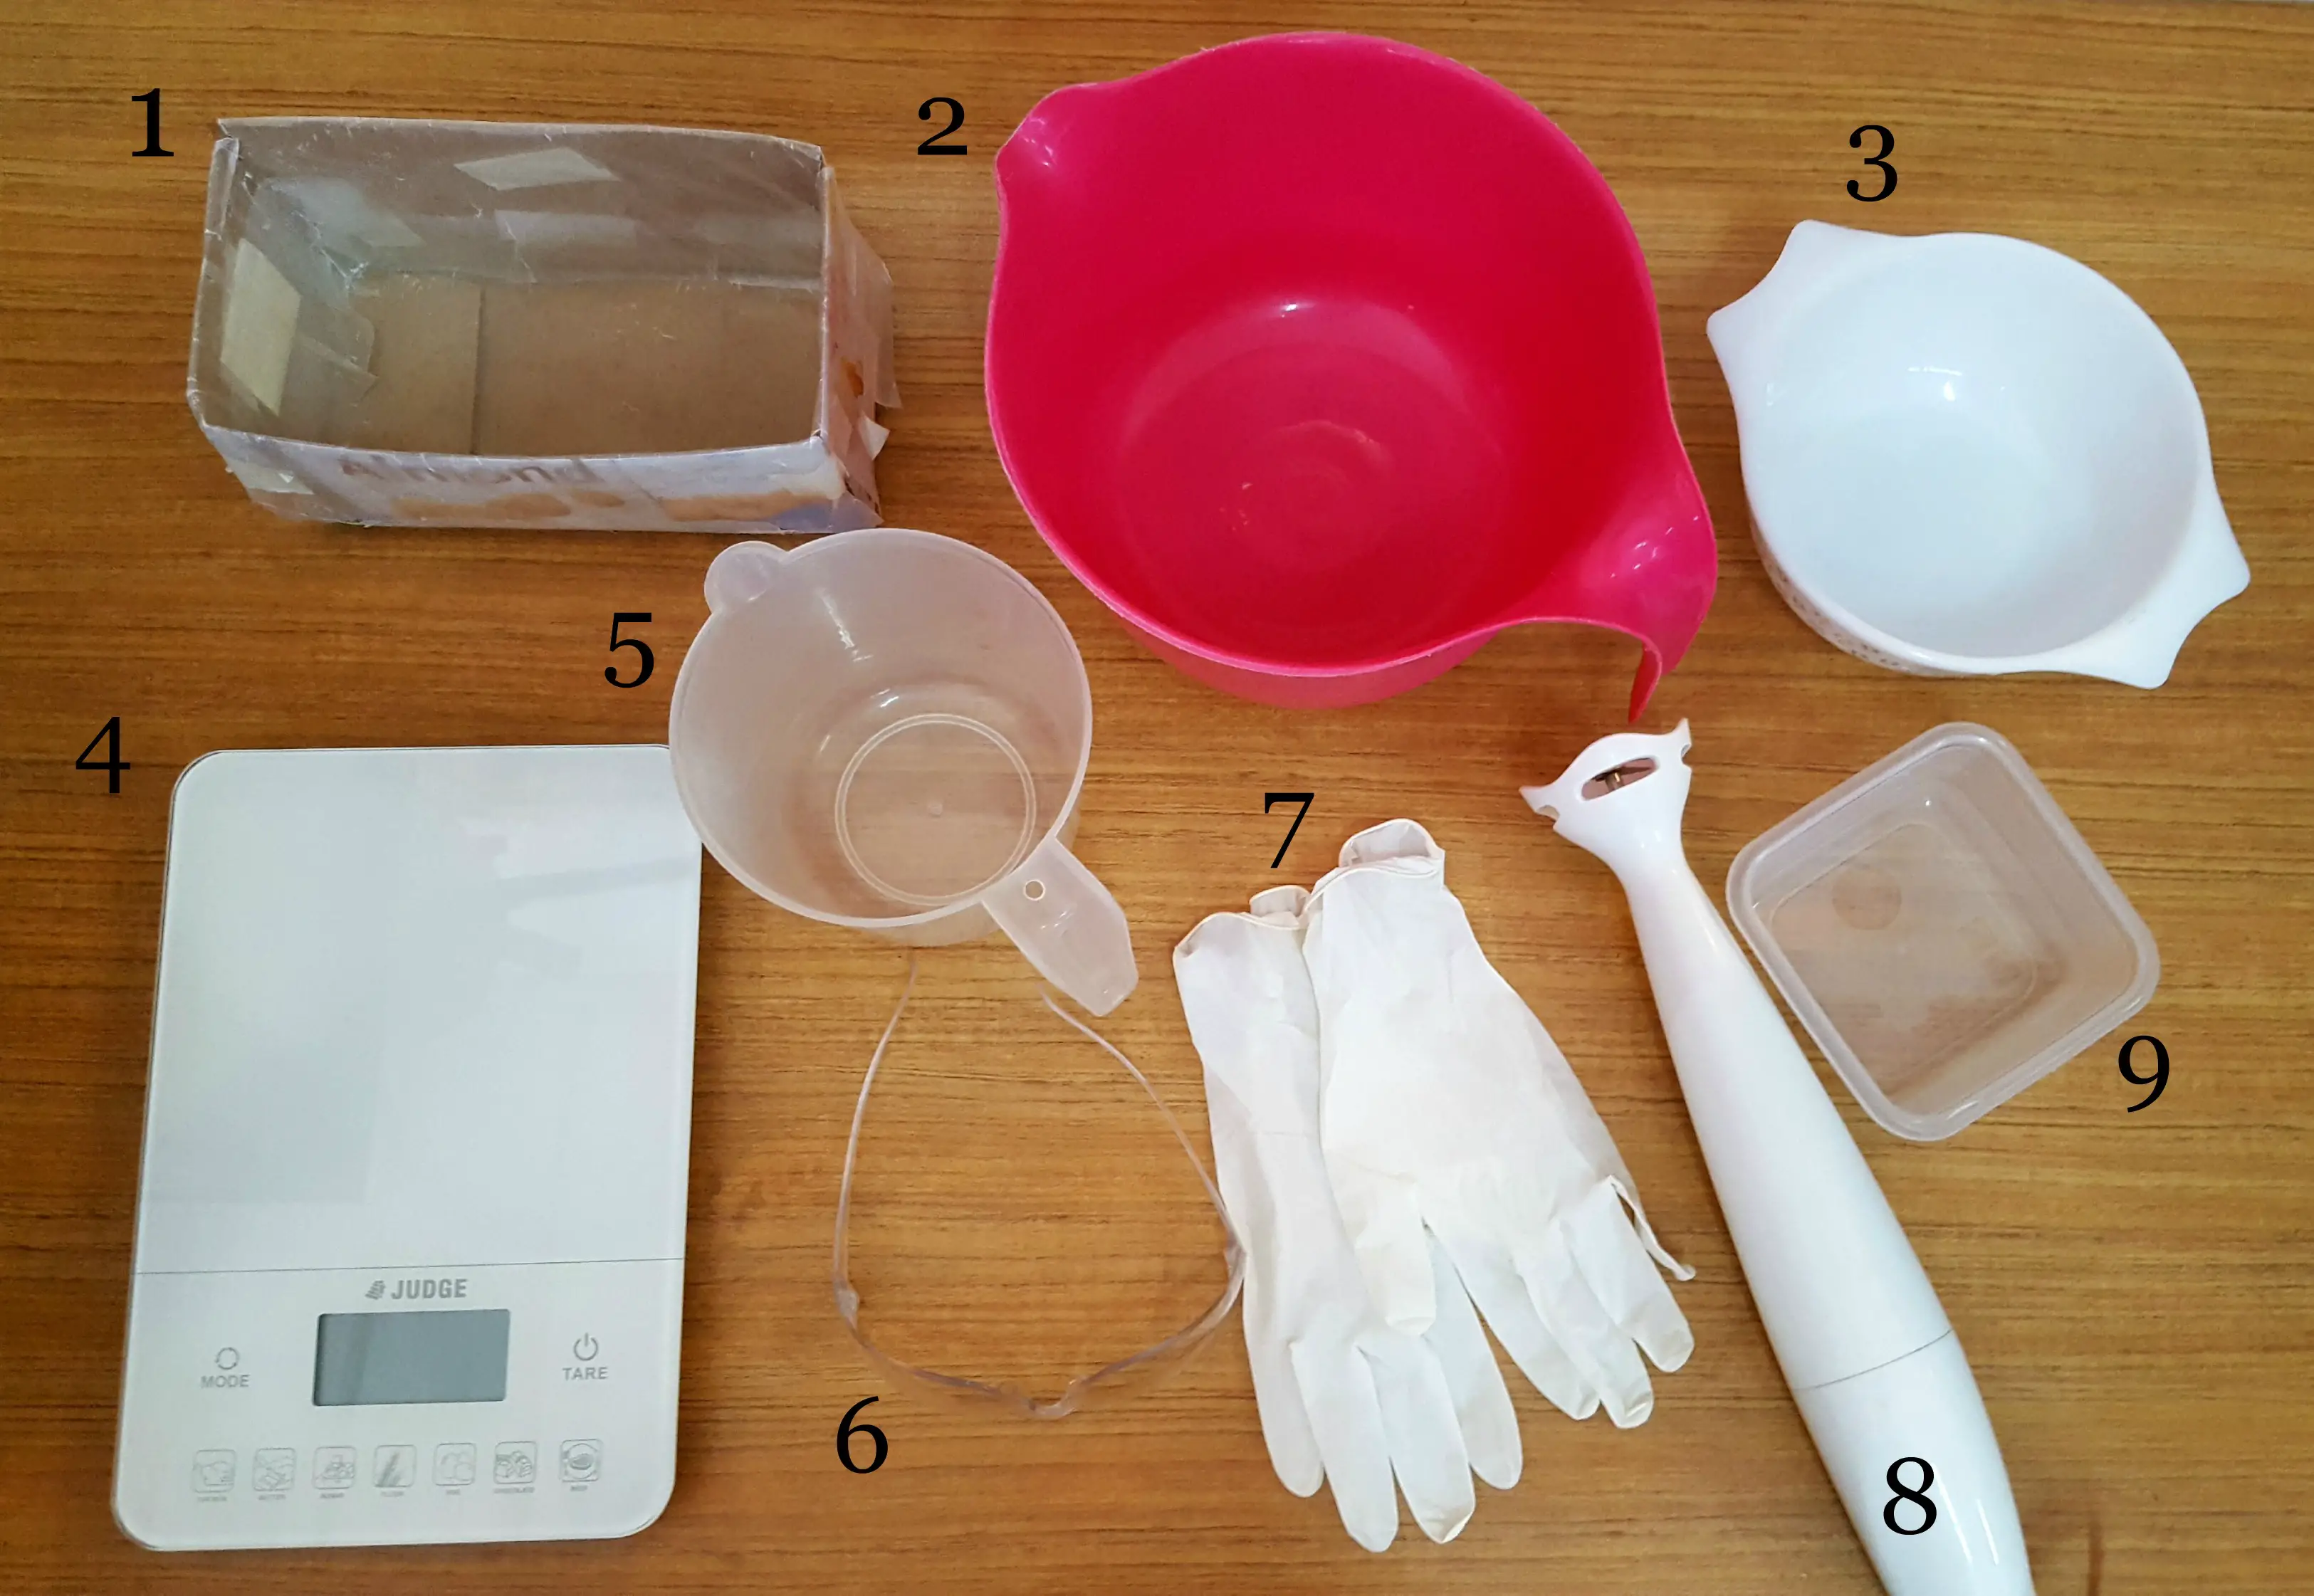
- Soap Mold
- Bowl to mix your soap
- Heat-resistant bowl
- Digital Kitchen Scale
- Container to measure oils
- Safety Glasses
- Gloves
- Immersion blender
- Bowl to weigh the (dry) lye
Not pictured, a silicone spatula to help scrape all the soap out of the bowl and a stainless steel spoon to dissolve the lye.
The first step is to ensure that you are suited up and protected. Put on your long-sleeved clothing, gloves and safety glasses.
Next, weigh out your water in a heat-resistant bowl. You can use purified bottled water if you do not have distilled water. Set aside.
Then weigh the lye in the plastic bowl.
Add the lye to the water. Again, always be careful to add the lye to the water and not the other way around. Mix the lye in the water with a stainless steel spoon to dissolve it completely.

Do this in a well-ventilated area as the addition of lye to water causes the release of fumes which can be very overpowering. Also, the mixture will become very hot, up to 200 degrees Fahrenheit. You may even be able to see the fumes coming off the top of the bowl while mixing.
This is especially where you need to be careful in the soapmaking process, but do not let it scare you. Just follow the safety instructions and all will be well.
Allow the lye to cool and come to a temperature of about 120 to 130 degrees Fahrenheit. I let it cool for about half an hour in an open area.
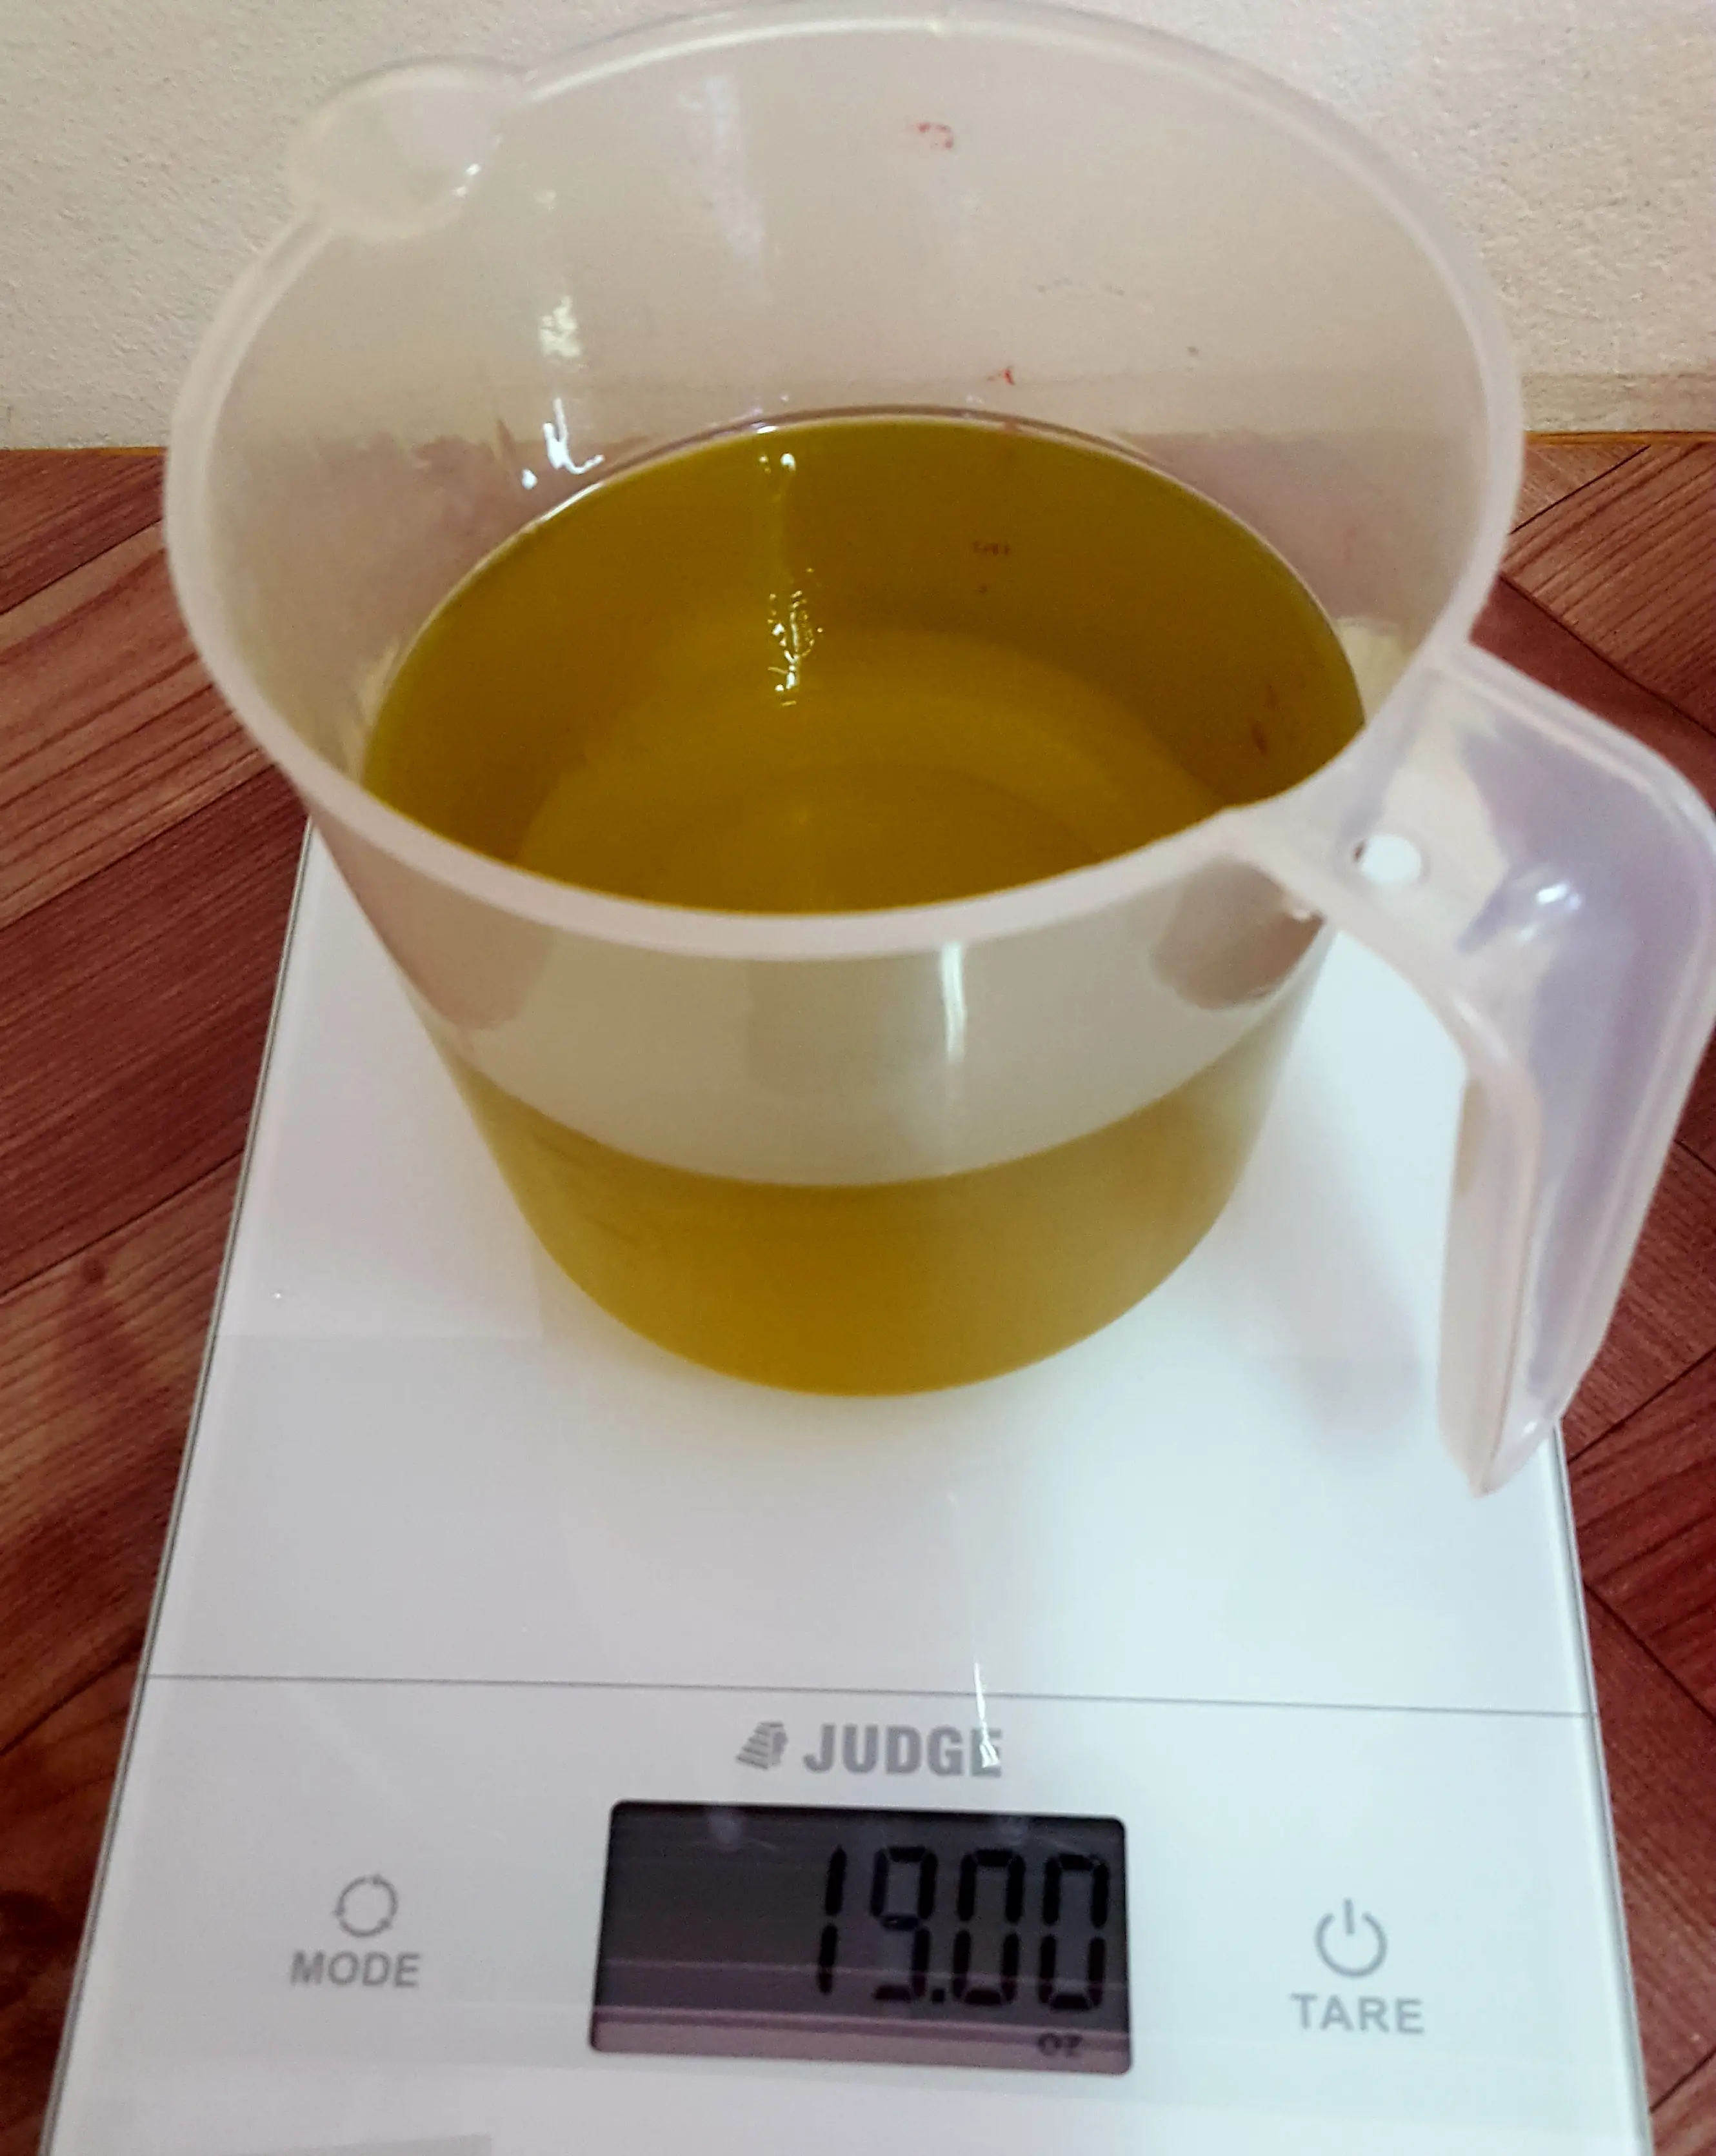
Next, measure out your oils.
I prefer to measure each oil separately and then add them to the mixing bowl rather than weigh them in the mixing bowl and tare the scale after each addition. This is to prevent inaccuracies in mixing just in case there is overpour. Even a fraction of an ounce can mess with your calculations and cause the soap to be oily and not have good qualities.
Note: I live in the tropics and coconut oil is always liquid at room temperature. If your coconut oil is solid you may have to warm it in a double boiler or in a microwave just enough to melt it.
Once the lye has cooled sufficiently, add it to the oil mixture.
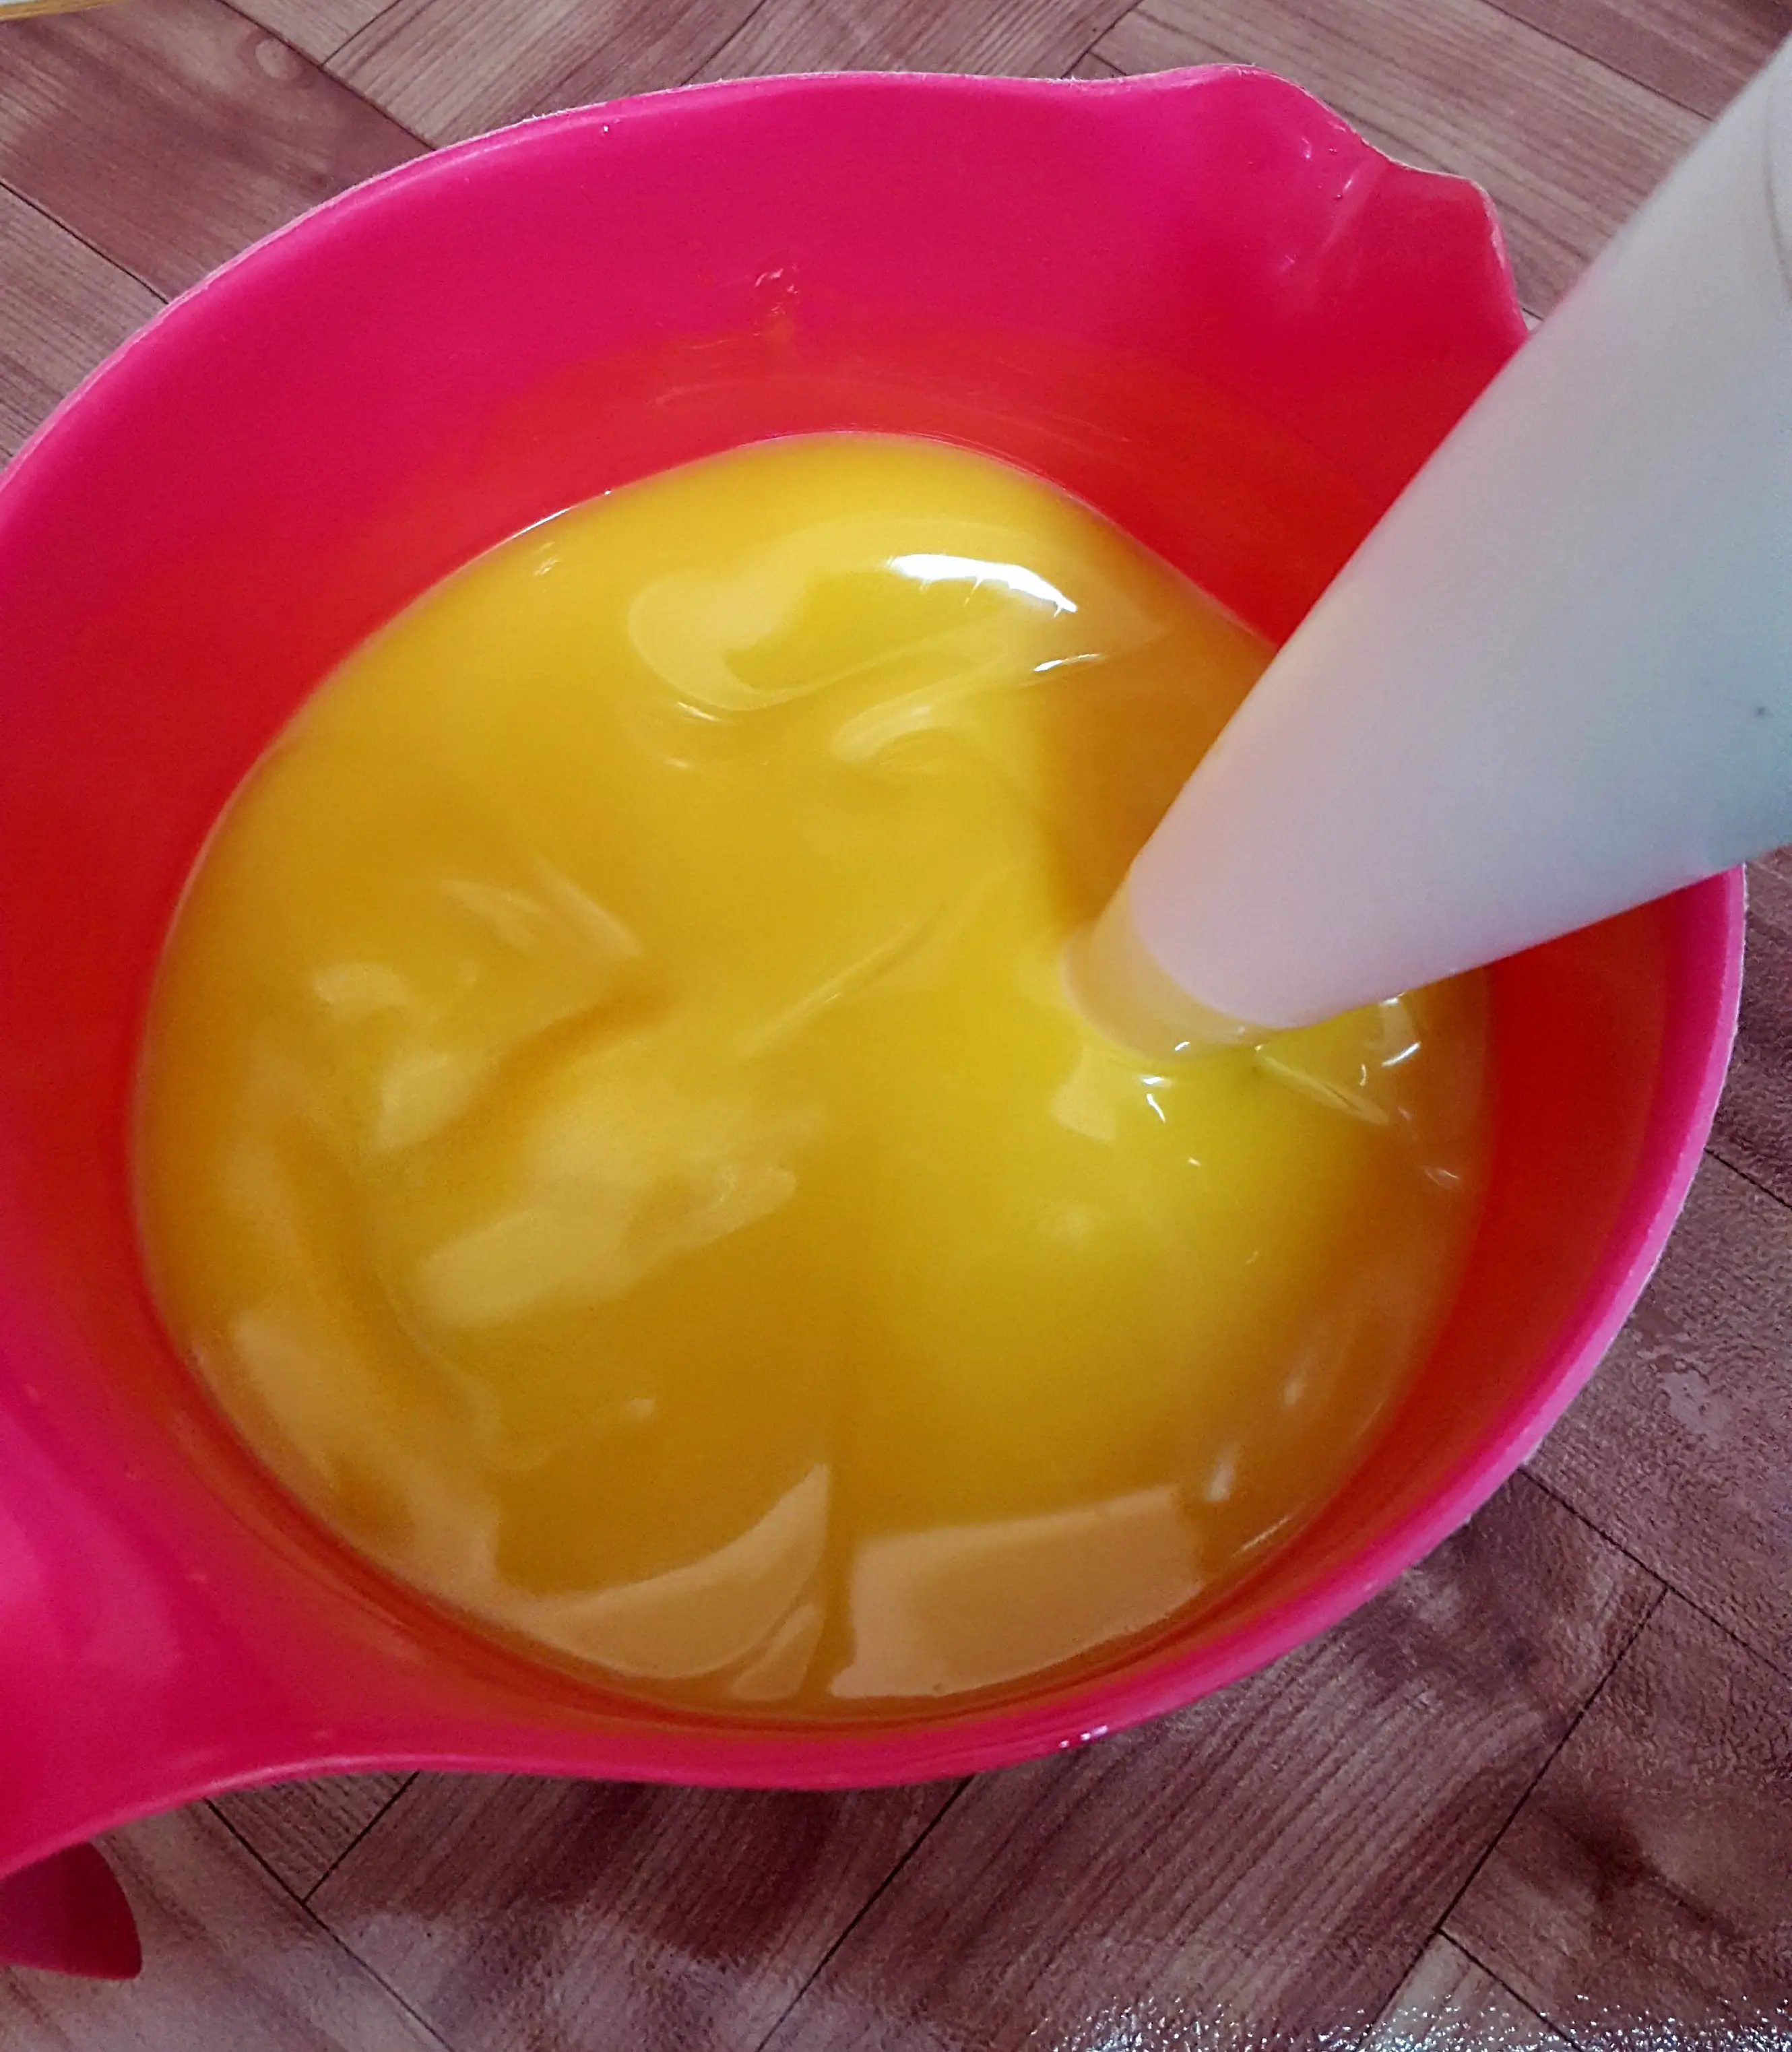
Insert your immersion blender and start mixing on the lowest setting to get a feel for mixing. Then you can increase the speed, being careful not to go too fast to cause the mixture to splash outside of the bowl. Remember, you do not want to get it on your skin.

Keep stirring around the bowl with the blender while it is blending everything together. The mixture will start to thicken like a milkshake and eventually reach ‘trace’.
Trace, pictured above, is when the oils and lye have emulsified. The mixture thickens and if you take the immersion blender out and drizzle some of the liquid back on itself, it leaves a trace or trails of raised soap on the surface.
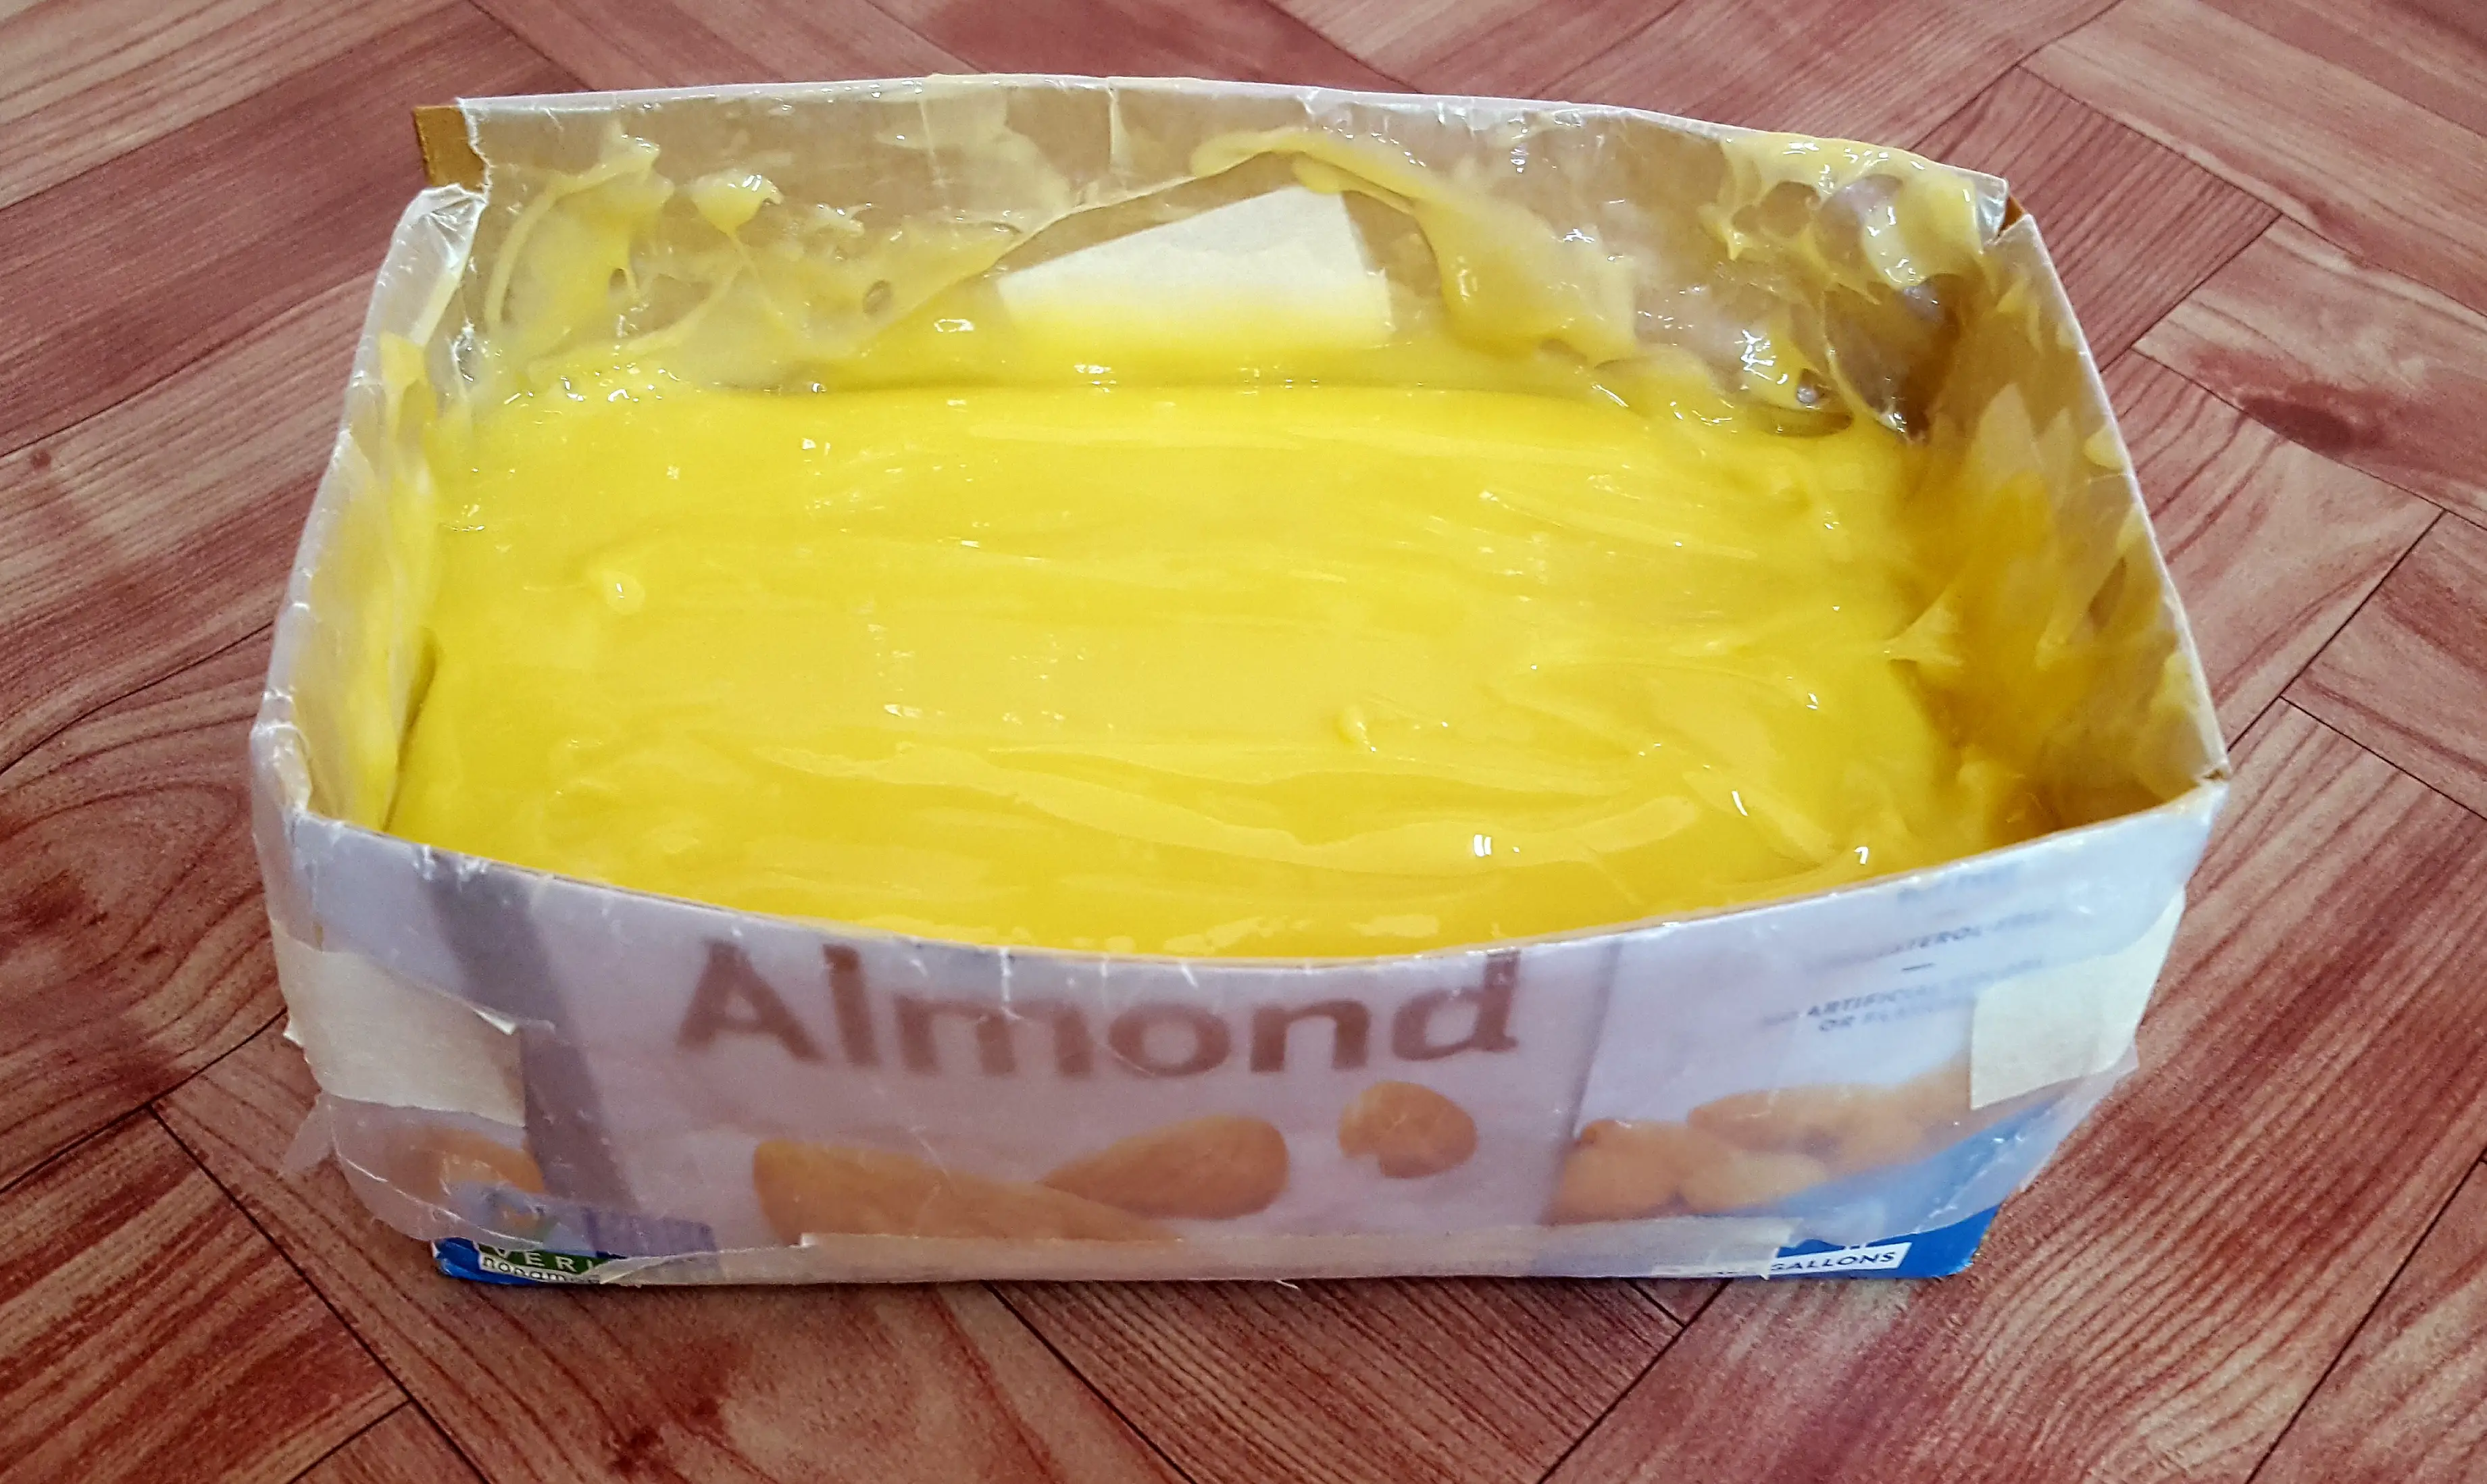
Once you have reached trace you need to get the soap into the mould as it will continue to thicken up.
You can use a silicone spatula to scrape all the soap out of the mixing bowl and also to neaten up the soap in the mould. Tap the mould gently on the countertop to remove any air bubbles.
Put the soap in an area to rest out of the reach of pets and children.
It is advisable to cover the mould with a piece of cardboard and then wrap it in a towel or blanket to keep it warm. This mainly is to promote the gel phase although it is not necessary to do this if you live in a hot climate.
Let the soap rest for 24 hours. This should be sufficient time to allow the soap to harden. If by then it is still soft, let it rest for another 24 hours before cutting.
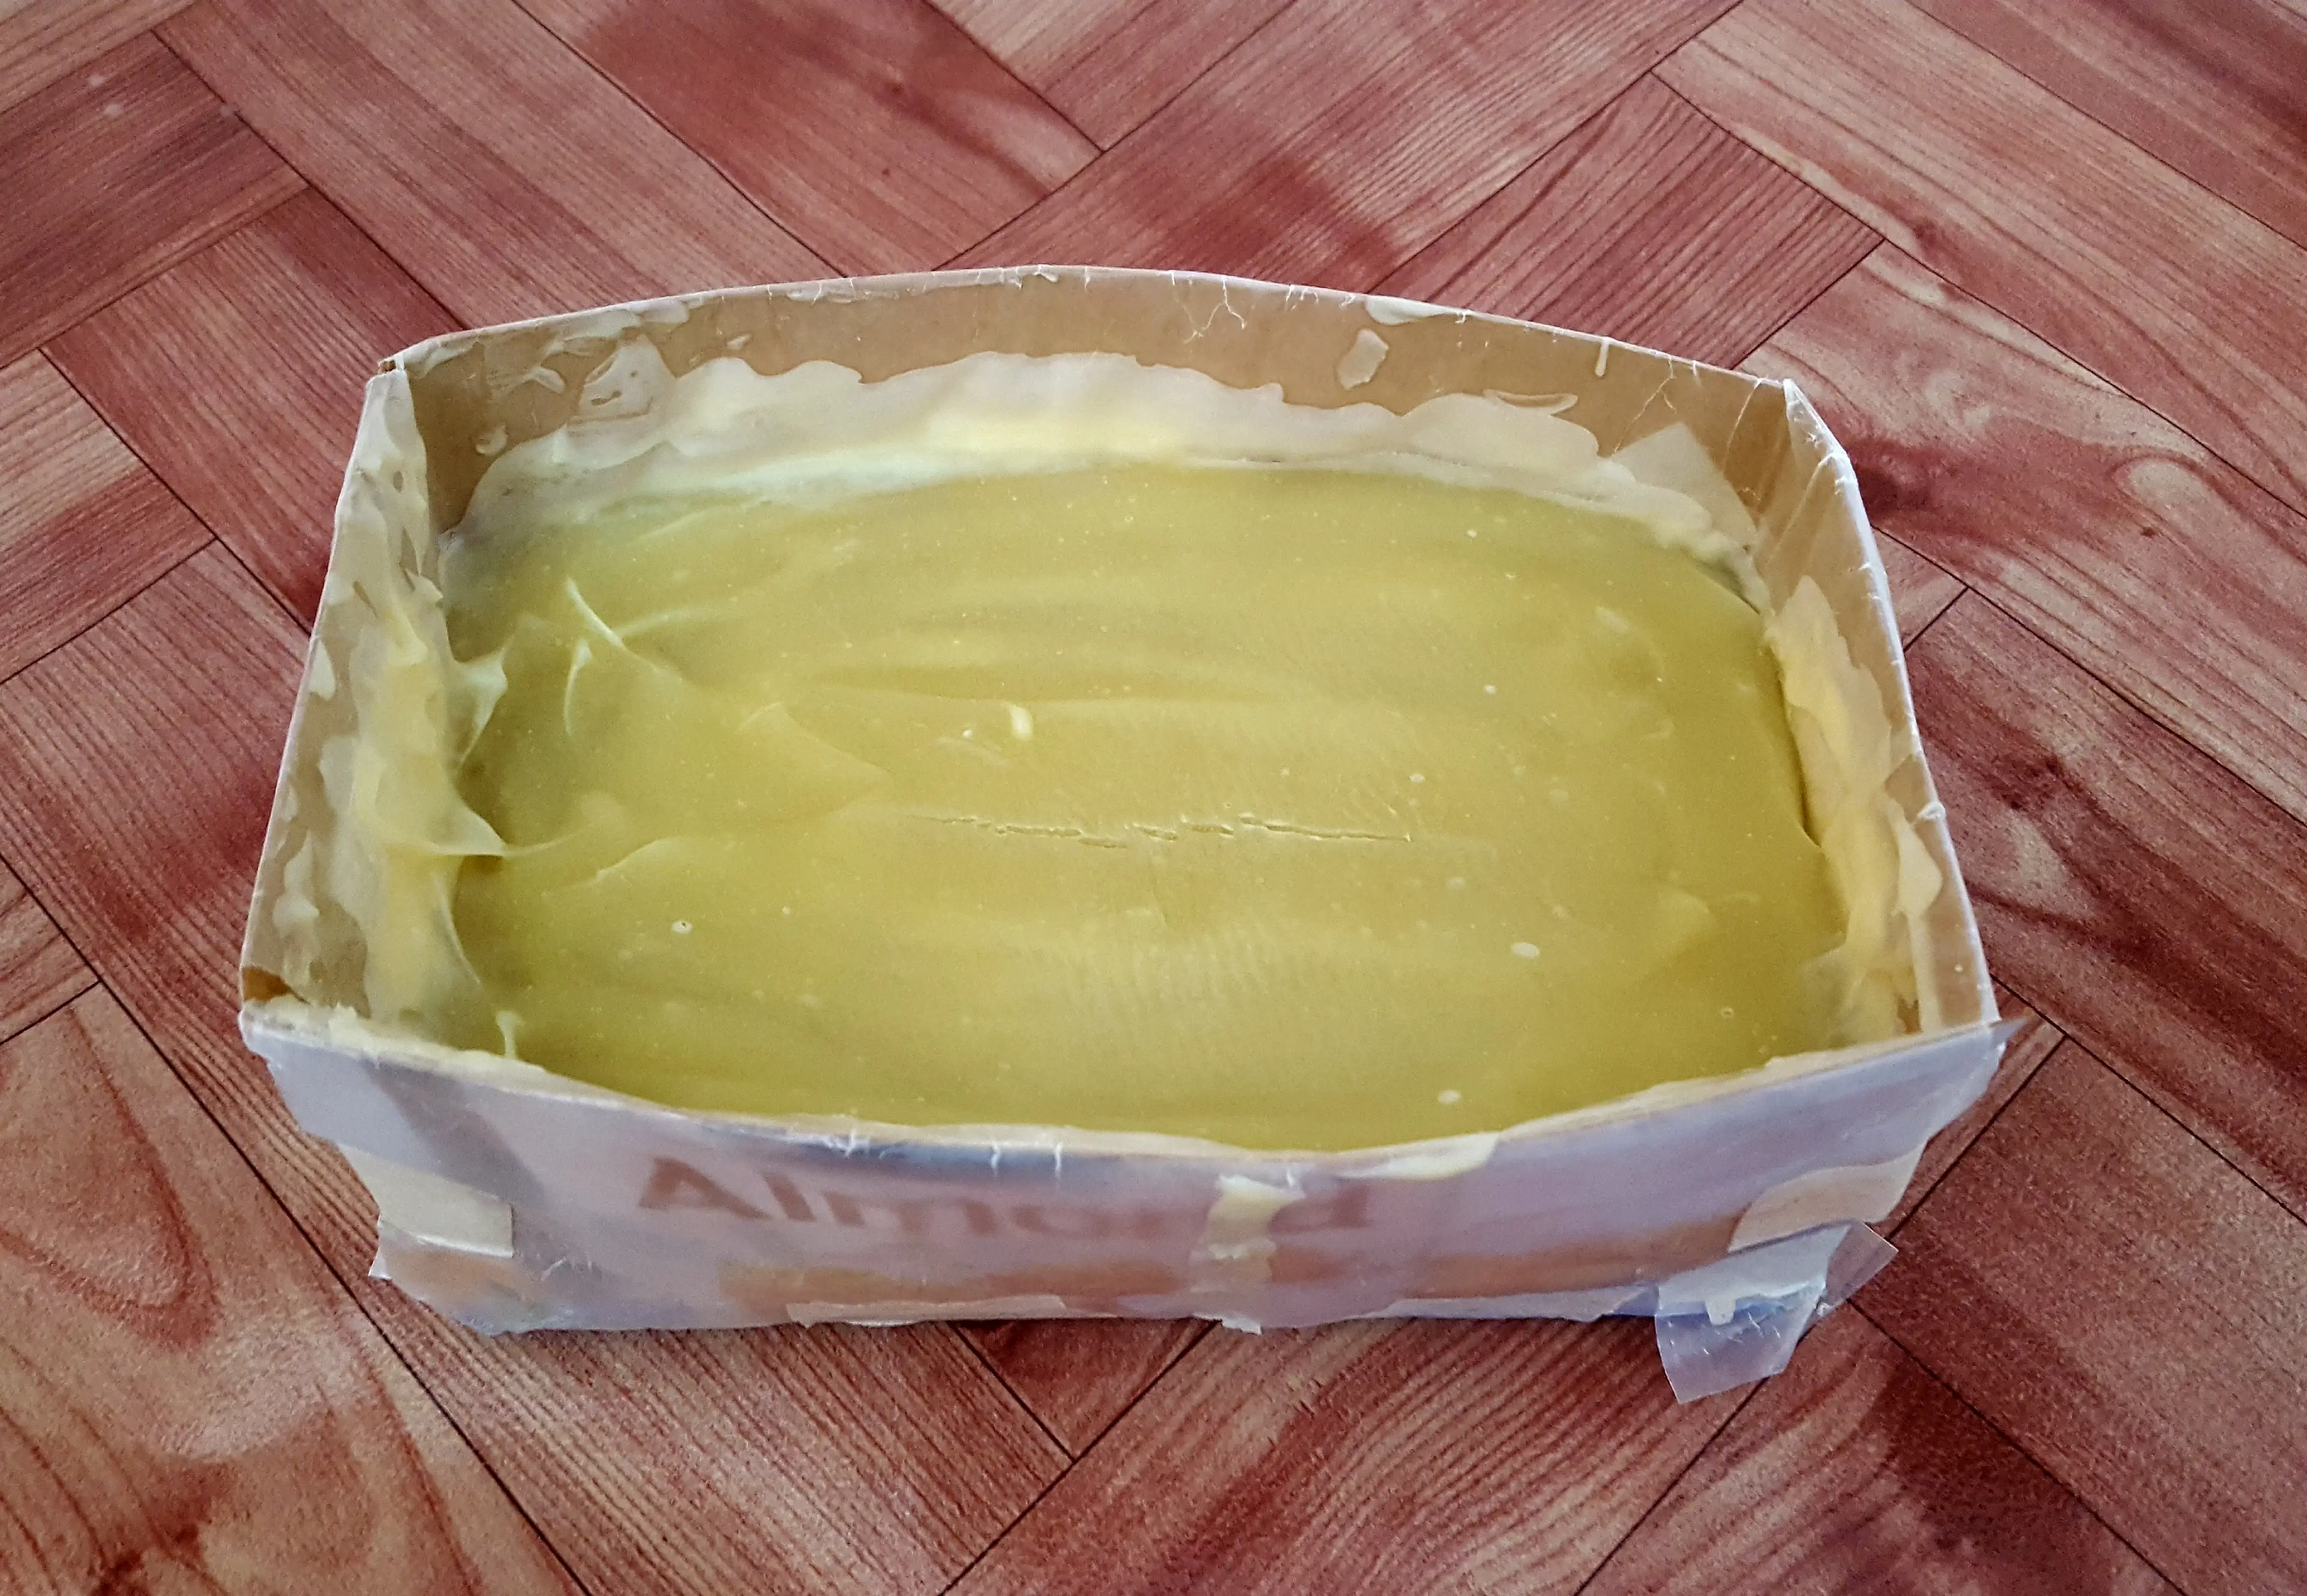
Unmolding
Next, it is time to unmold. Note the soap has changed colour from its original yellow. This is okay. As you progress in your soapmaking journey you will learn how lye, fragrances, colours, oils, butters, micas etc., all interact with each other to give differing and sometimes predictable results.
To unmold from a cardboard box, cut the top of the corners with scissors and carefully tear the box down the corners and away from the sides of the loaf.
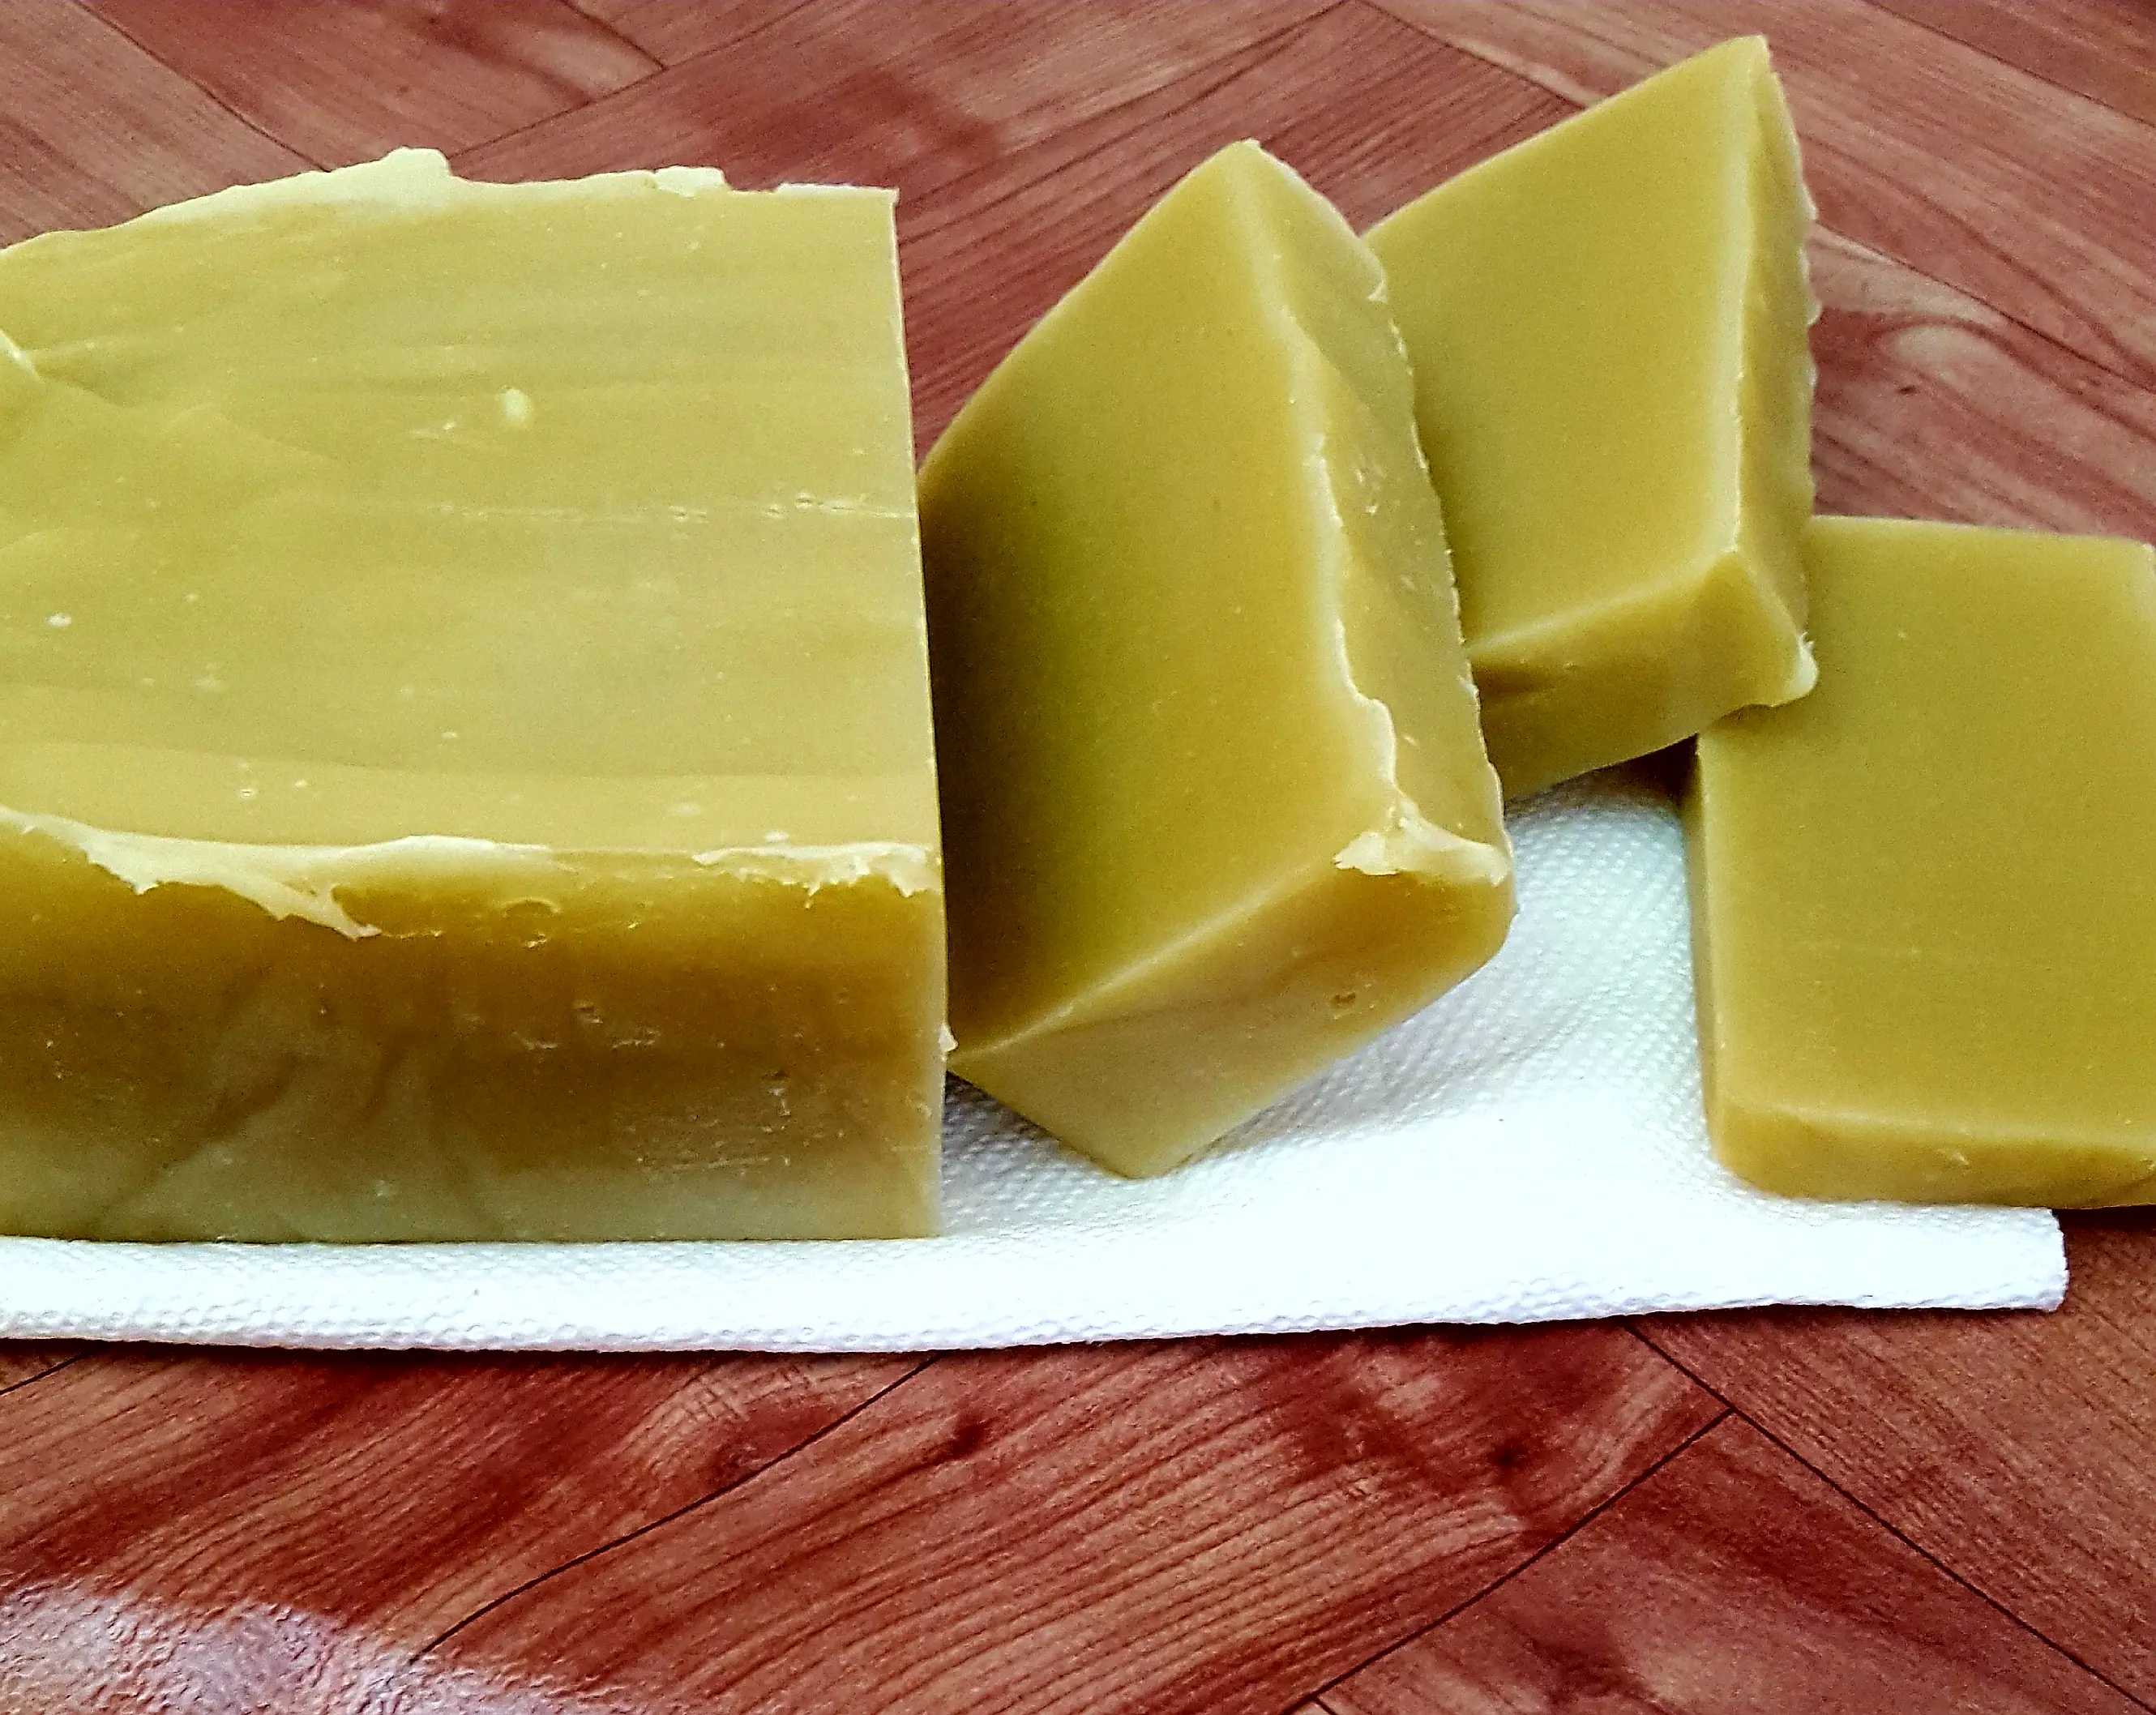
Cut your loaf of soap.
Now you should have a beautiful log or loaf of soap ready to be cut into bars. You can use a large kitchen knife or a Chinese chopper to get a straight clean cut.
You can cut the bars to any size your heart desires or even measure them with a ruler to get nice even bars.
Feel free to cut along the sides as well if you want a perfectly square or rectangular bar. No soap needs to be wasted. Even small pieces can be used or eventually added to other batches of soap as embeds.
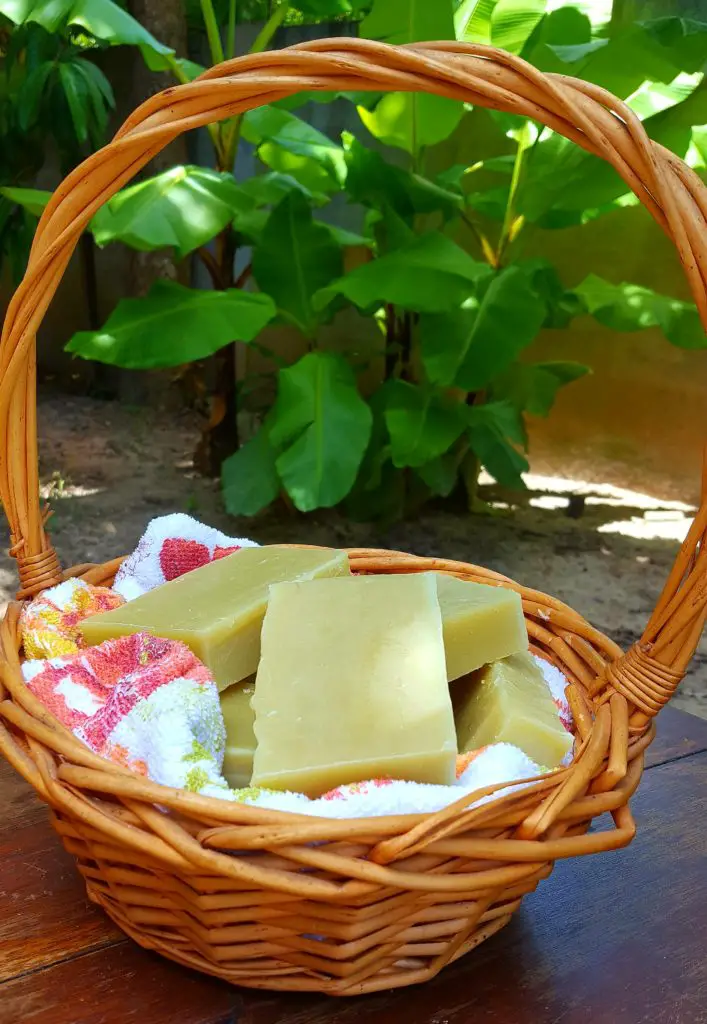
Allow your soap to cure for 4 to 6 weeks
Place your bars preferably on a shelf or open area where they can get breathing room. Turn the soaps over several times during the curing period to expose all the sides to air.
Curing allows the water to evaporate and the soap will become harder and milder.
Once fully cured you can lather up and enjoy your wonderful creation.
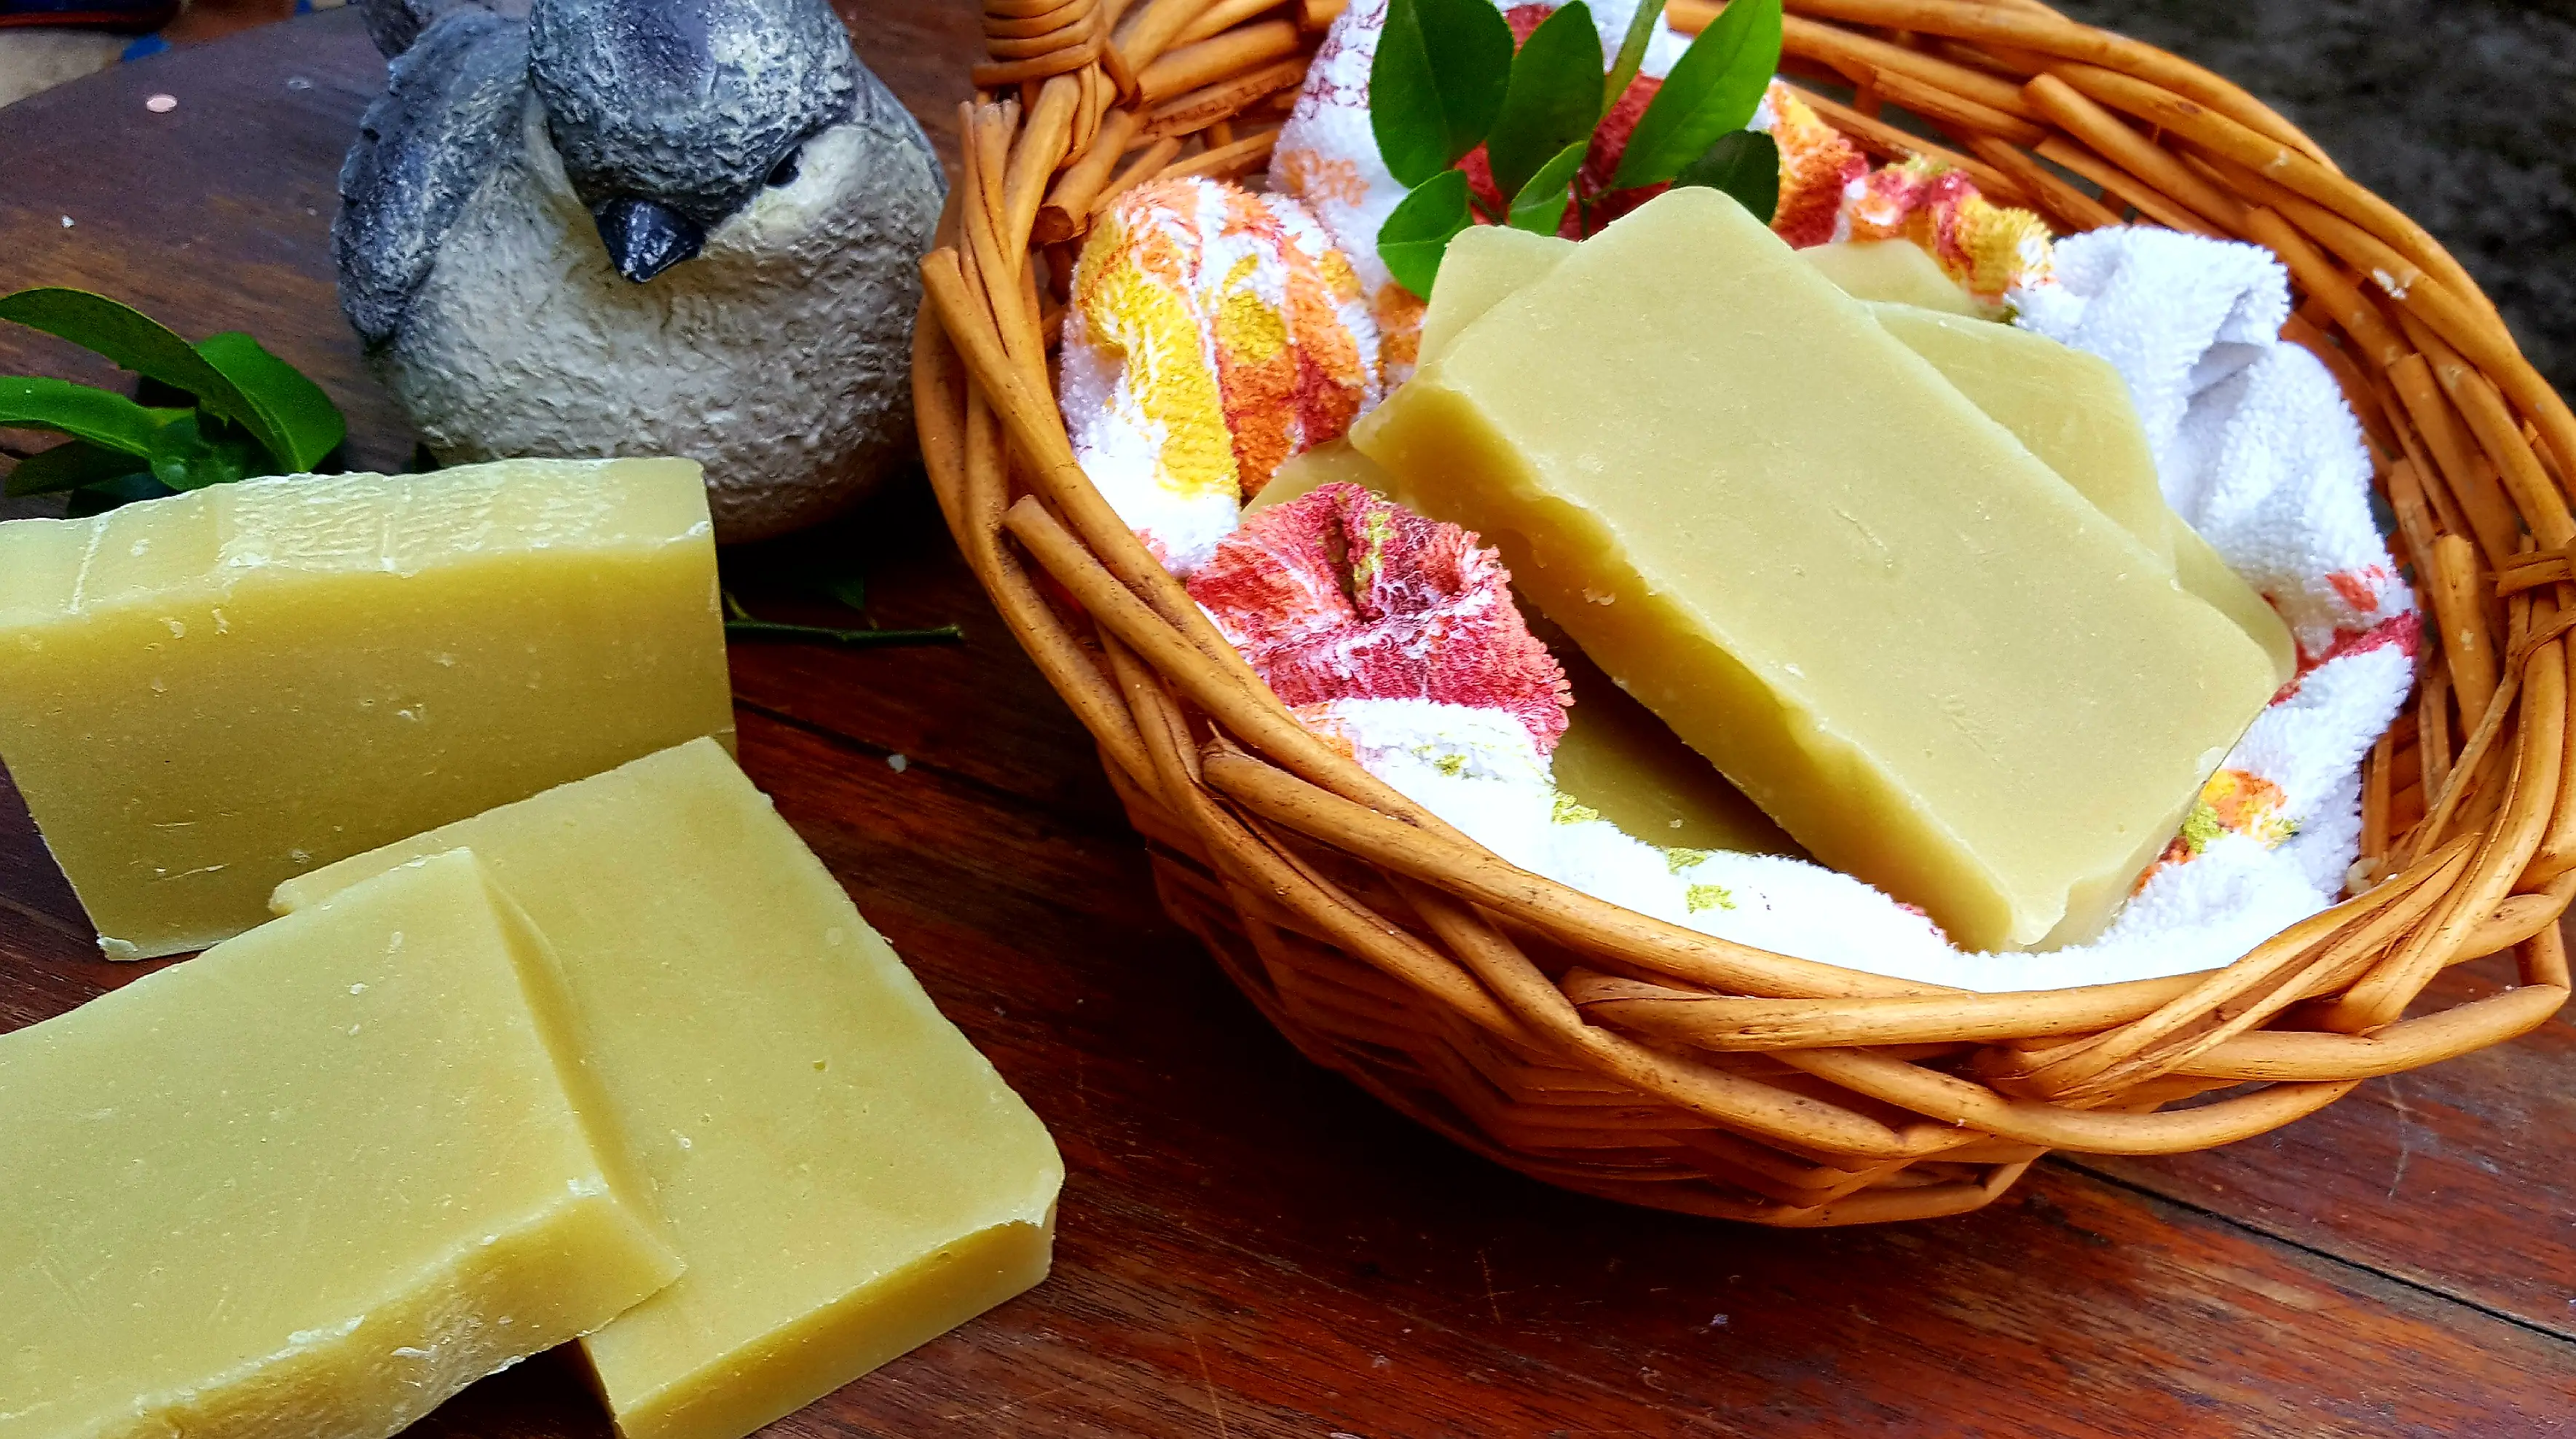
In an upcoming post, I will show you how to add fragrance and colour to your soaps. The holiday season is fast approaching and soaps make lovely gifts for family and friends.
See Part 2 in this series here: How to Add Fragrance and Colour to Your Soaps

My daughter has allergies to coconut and coconut deprivites. What can be used in place of the coconut oil?