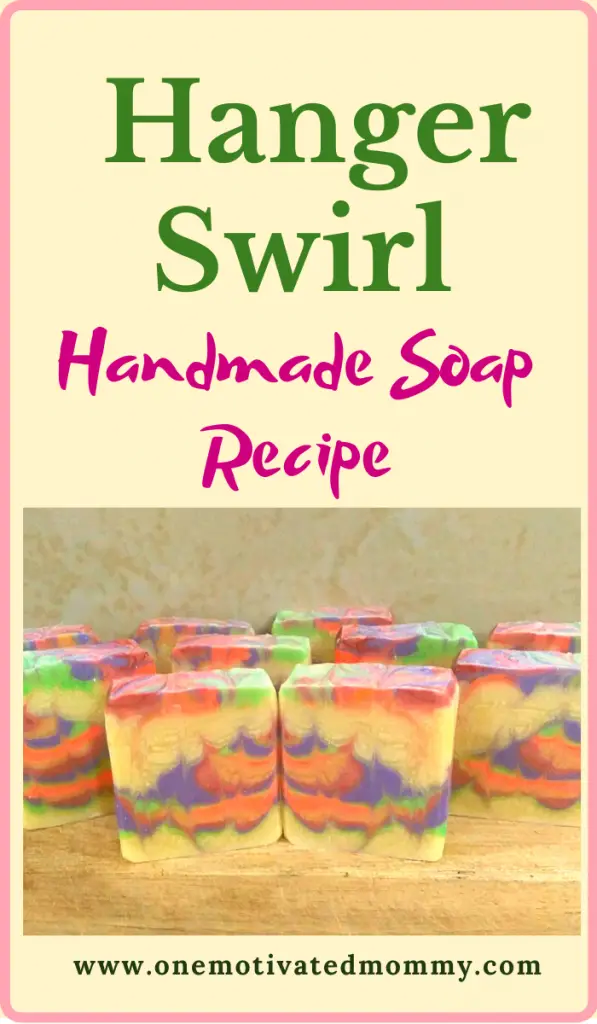
One thing I love about making handmade soaps is the ability to be as creative as you want. There are so many swirls and techniques that can be applied to cold process soap to really create eye-catching designs. From mantra swirls, to picturesque and realistic landscapes the sky is the limit when it comes to being creative with soap.
Today I did a colourful hanger swirl. The key to creating swirls is to work with a recipe that is slow moving and a fragrance or essential oil that will not cause acceleration. This allows enough time to do your design.
This recipe is superfatted at 5% and makes approximately 10 bars of 4.5 oz soap. You can resize the recipe by running it through a soap calculator.
If you have never made soap before, see my post on Soapmaking for Beginners.
Ingredients
- 12 oz Olive oil
- 8 oz Coconut oil
- 8 oz Palm oil
- 2 oz Castor oil
- 2 oz Shea butter
- 2 oz Cocoa butter
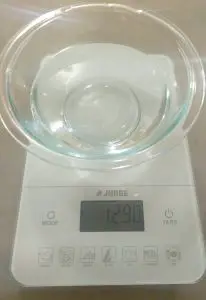
- 12.9 oz Distilled water
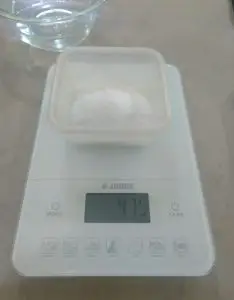
- 4.75 oz Sodium Hydroxide
- 1 oz Fragrance or Essential oil
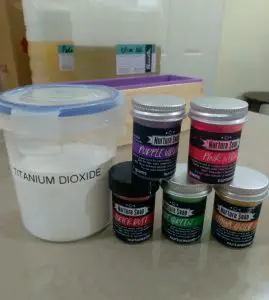
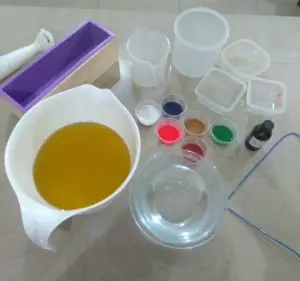
Nurture Soap Colourants used in this recipe
- 1/2 tsp Purple Vibrance
- 1/2 tsp Pink Neon
- 1/2 tsp Brick Dust
- 1/2 tsp Jade Green
- 1/2 tsp Maya Gold
- 1 tsp Titanium Dioxide
Depending on the number of colourants you use, you will need additional containers to pour and mix your different colour soap batter. In my case, I used five additional containers.
Directions to Create This Hanger Swirl Soap
Safety first!
Suit up with your gloves, goggles and long sleeves. Ensure that no children or pets are in your production area and let family members know that you need to work undisturbed for about an hour.
Weigh your water in a heat proof container.
Next, weigh the sodium hydroxide.
Add the sodium hydroxide to the water, in that order, and stir with a stainless steel spoon to dissolve completely. The solution will become very hot and give off fumes, so be sure to mix it in a well-ventilated area and ensure that you do not inhale the fumes. Set it aside in a safe area to cool to room temperature.
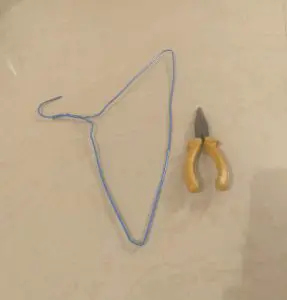
Making a Hanger Tool
If you do not have a hanger tool, you can make one at home. All you need is a coated or insulated wire hanger and pliers.
The hanger I had was easily able to unravel at the neck, near the hook. If you are unable to do this, simply cut the hanger, with the pliers, where the two ends join.
Once you have opened out the hanger, create two 90 degree bends so that the hanger will fit along the length of the mold with enough space to allow you to move it around freely.
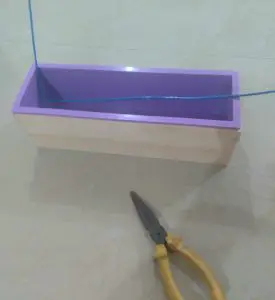
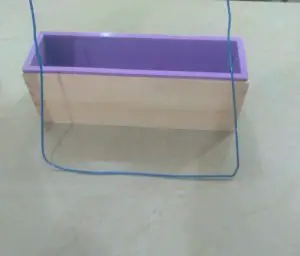
There you have your hanger tool!
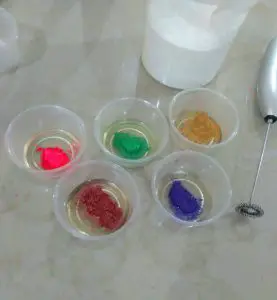
Next, prepare your colourants.
Separate your colourants into small cups or containers with about a teaspoon of oil. Mix them well until they are thoroughly dispersed.
Weigh your shea and cocoa butter in a microwaveable or heat- resistant container.
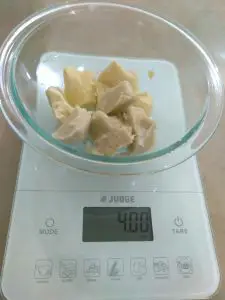
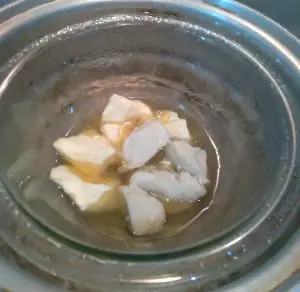
Melt the butters in the microwave or in a double boiler. Ensure that you do not overheat the butters but heat them just to melting point.
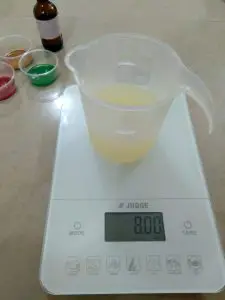
Weigh out your oils and add them to the mixing bowl in addition to your melted butters.
Now lay out everything in front of you and get ready to create your hanger swirl soap.
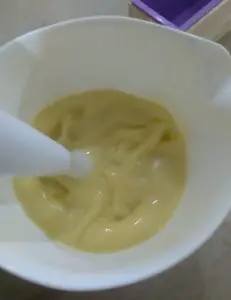
Add the Titanium dioxide to the mixing bowl with the oils and butters and blend with the immersion blender to mix it in completely.
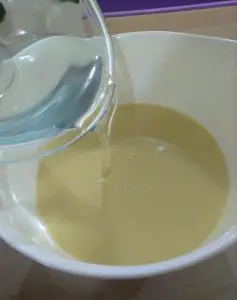
Next, carefully pour the lye solution into the mixture and blend with the immersion blender until the emulsion reaches a light trace.
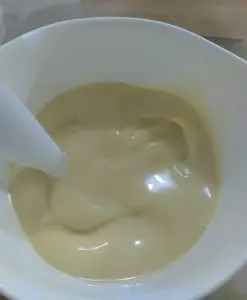
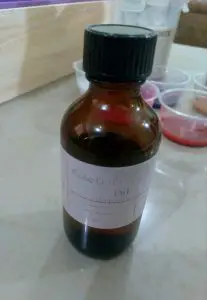
Once a light trace is achieved, add the fragrance or essential oil. I used Rose Gold Fragrance oil from Bramble Berry. I must say that this fragrance oil behaved well and allowed me ample time to create the hanger swirl without acceleration.

Pulse the soap a few times to fully incorporate the fragrance oil.
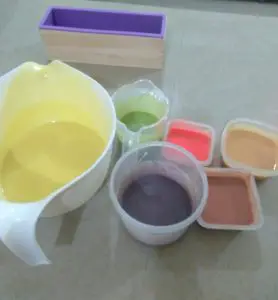
Pour off some of the batter into the additional containers and add a colourant to each. Stir well to mix thoroughly. The amounts of soap batter do not have to be a precise amount. Just leave enough of the main colour for a thick layer at the top.
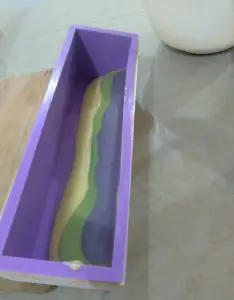
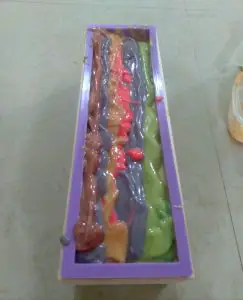
Prop the base of your soap mold to slant it, then start pouring alternating colours on top of each other along the side, starting with your base colour. Again, you want to have enough of the base colour to pour a thick layer on top of all your other colours, as shown below. Also, retain a small amount of each colour to create a swirl at the top.


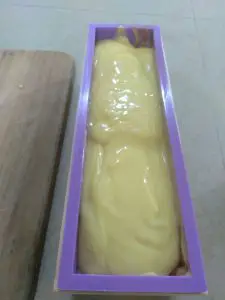
Remove the soap mold off of the prop and let it sit flat. Using a spatula gently pour the rest of the base colour on the top of the layers being careful not to disrupt the layers underneath.
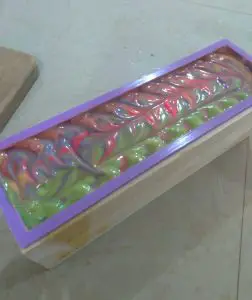
Finish by applying the remaining colours in rows on the top. Tap the mold once to remove any air bubbles.
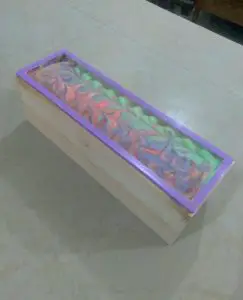
Now it is time to do the hanger swirl. Insert your hanger tool as shown. Then move the hanger up, then over, down, up, over then down in a circular or loop motion from one side to the other without taking it out of the soap and breaking the surface. When you get to the other side, remove the hanger from the mold.

Using a skewer or a soap stick, proceed to swirl the top to your liking.
Set the mold aside in an area where it will be undisturbed for at least 24 hours.
You may cover it with a piece of cardboard and drape a towel over it. This is to allow it to go through gel phase and it will also allow the colours to show up brighter in the finished soap.
After 24 hours, remove the soap from the mold and cut it into bars.
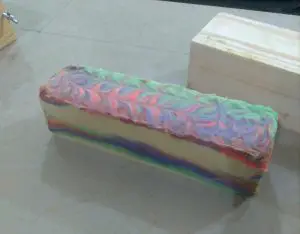

Allow the bars to cure in an open area for a period of 4 to 6 weeks. Turn the bars occasionally to allow all sides to be exposed to the air.
Feel free to share your hanger swirl soap designs with me.
Happy soaping! 🙂