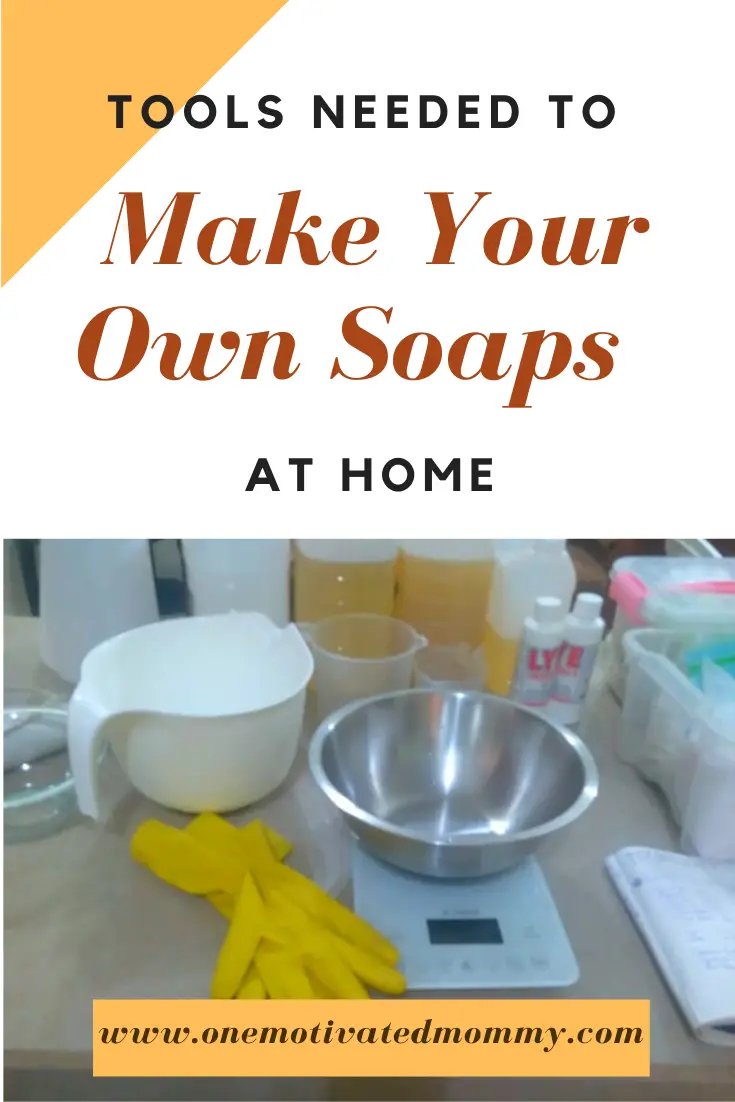
Sourcing tools to make soaps at home does not have to be expensive as most of the equipment that you will need, you probably already have in your kitchen.
I always find it best to have a checklist of your soapmaking tools handy when preparing to make a batch of soap.
This helps to have everything laid out and ready to go and will prevent scrambling to find something at the last minute when you are in the midst of working with sodium or potassium hydroxide.
It is always best, just as you plan out your soap recipe, to also plan out the steps that you will take from start to finish, as that may include weighing out your fragrances, mixing colourants, preparing additives like herbs or purees and melting hard fats and butters.
Also, ensure that you have adequate space and do not prepare meals while you are making soap. Dedicate time to make your soap and clean up when finished.
Ensure that your production area is safe and that children, pets and curious family members are not nearby.
Related Post: Soapmaking for Beginners
Always make safety your first priority when working with lye!
Keep in mind that certain metals react with the lye. Aluminium, for example, will react with sodium hydroxide to produce hydrogen gas. This, therefore, should never be used when making soap. To be safe, stick to stainless steel, and heavy-duty plastic.
Should you have extra bowls, spoons etc., in your kitchen that you can dedicate to soapmaking, I would advise, that you keep separate tools for your cooking and your soapmaking.
So, if you would like to venture into the wonderful world of handmade soaps, here is a list of items you would need to get you started.
Immersion/Stick Blender

A stick or immersion blender helps to emulsify the oils and lye solution to create the soap. Doing this manually can be a long process to achieve trace, but thankfully the immersion blenders on the market that have made this job so much easier. With manual stirring, it can take up to an hour to achieve trace whereas it would only take a few minutes with a stick blender.
Digital Scale

Most of the measurements in soapmaking are by weight, exceptions may be a teaspoon of colourant, for example. Therefore, it is necessary to have a reliable digital kitchen scale that can measure up to 0.01grams or 0.05 ounces.
Mixing Bowl

A bowl large enough to contain all the oils in your recipe and with room to allow for proper immersion of the stick blender and blending is needed to make your soap. It does not have to be expensive either. The mixing container should be non-reactive with lye such as stainless steel or heavy-duty plastic.
Spatula

A silicone spatula is good to have on hand as it helps to scrape out oils from their containers and after measuring into the mixing bowl and also to get raw soap into the mold and off of the immersion blender.
Stainless Steel Spoons

You need non-reactive materials to mix the lye. Stainless steel spoons are good to have on hand to dissolve lye as well as to create swirls and decorative toppings in raw soap.
Stainless Steel or Heat-Resistant Plastic Container

A heat resistant container such as heavy-duty plastic like PP#5 (polypropylene) or stainless steel is necessary to make the lye/water solution. As the lye is added to the water an exothermic reaction takes place. This means that the lye heats up drastically and it also gives off fumes. The vessel in which it is mixed must be able to withstand the immense heat that is created.
Plastic or Stainless Steel Container to Weigh Lye

You will need a container to weigh the sodium hydroxide or lye. Plastic is suitable for this as the lye is not reacting with anything or creating heat. Just ensure that the container is dry and does not have any water droplets in it. A stainless steel bowl can also work as well.
Glass or Ceramic Container To Measure Fragrance and Essential Oils

Aroma oils can dissolve plastic and therefore, glass, ceramic or pyrex should be used to measure out your fragrance oils. A small ramekin or beaker can also be used.
Small Plastic Cups to Mix Colourants

You would need a few plastic cups or containers to mix your colourants before adding them to your soap.
Slow Cooker (for hot process)

A crock pot or slow cooker is ideal for making hot process soap. It allows for a more temperature regulated and slow cook. Definitely a must have in your arsenal if you make hot process soaps.
Thermometer

Although a thermometer is not absolutely necessary to make soap, it helps when trying to regulate temperatures of the lye and melted oils, or butters you may have in your recipe.
I do find it necessary, however, when making hot process soap to determine when to add fragrances to avoid adding them at their flash point temperature. A candy thermometer can work in this case if you do not have a stainless steel or an infrared thermometer.
Double Boiler or Microwave

This is necessary if you are including solid oils or fats (like shea or cocoa butter) into your recipe as you will need to melt them before mixing with the lye. As soap making releases heat during the process, it is important to only heat the fats or oils just to the melting point and avoid overheating. A microwave should be used in small increments to avoid overheating or burning the fat.
Soap Mold

You will need some sort of mold to set your soap in while it hardens. There are various types on the market from simple wooden loaf and cavity silicone molds to fancy detailed patterns like this. You could invest in a loaf mold and cut your soaps to your liking or you can use containers from your kitchen. Just be sure not to use any of the materials that would react with lye. Here is an article detailing types of materials from around the home that can be used as soap molds.
Gloves, Long-Sleeved Clothing and Safety Goggles

Due to the caustic nature of sodium hydroxide, it is important to protect your skin and eyes while working with this chemical. Lye can burn the skin and cause blindness if it gets into the eyes. For this reason, you should wear safety goggles to protect your eyes and cover up exposed skin that could come into contact with lye if there is a splash or spillage. You should always be careful to avoid splashing lye or raw soap.
Household Vinegar and Paper Towels

Vinegar is acidic and will neutralize and spills of lye or raw soap. Have a spray bottle with some white vinegar and some paper towels on hand to wipe up any spills.
Garbage Bag or Bin

This is necessary to discard of items as you go along so that they will not clutter your workspace and also if there are any spills that you wipe up, although they should be neutralized by the vinegar, you can get rid of the paper towels immediately.
Notebook and Pen

A notebook dedicated to soap making is vital. You will need to keep notes as you create your recipes, listing ingredients, additives etc. Also, any reactions that take place such as overheating, seizing after adding a particular essential or fragrance oil, false trace, fading of colours, etc., can help you to troubleshoot in the future. Fragrances that you like and how they reacted in the soap, as well as the end result, will all help you to improve on your soap making. The date of production and expected end of cure time should also be noted.
Additional Equipment
Measuring spoons to measure pigments, clays, micas etc
Mini Mixer to dissolve powders such as oxides and pigments
Wooden skewers or soap sticks to create swirls.
Soap Cutter – This can be as simple as a large kitchen knife or a Chinese chopper or you can purchase a crinkle cutter like this one.
If you would like to share your favourite tools from your soapmaking arsenal that may not be part of my list, feel free to do so in the comment section.
Happy soap making!