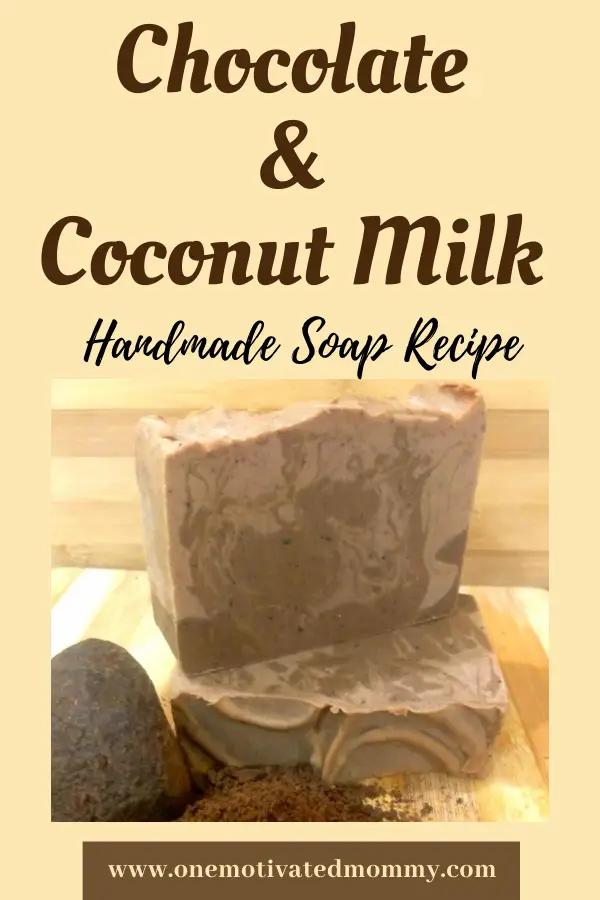
This moisturizing chocolate and coconut milk soap is very luxurious and creamy.
The natural sugars in the coconut milk contribute to a fluffy lather while the cocoa helps to slough off dead skin cells to smooth and brighten the skin.
Natural cocoa also contains flavonoids which are plant compounds that have antioxidant and anti-inflammatory properties and it has been shown to have an anti-aging effect on the skin.
I did not add my usual shea and cocoa butter to this recipe as the coconut milk and cocoa add additional superfatting and conditioning properties.
This batch size produced approximately 2 lbs of soap. To resize this recipe run it through a lye calculator.
If you have never made soap before, see my posts on Soapmaking Basics for Beginners and Tools Used to Make Handmade Soap.
Ingredients
- 18 oz Olive oil
- 13 oz Coconut oil
- 2 oz Castor oil
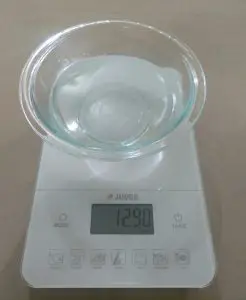
- 12.9 oz Distilled water
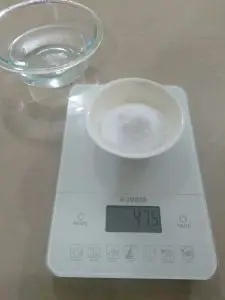
- 4.75 oz Sodium Hydroxide
- 1 tsp Titanium dioxide
- 1/2 oz Coconut milk powder
- 1/2 oz Unsweetened cocoa
- 1 oz Fragrance oil (optional)
Directions to Make Chocolate and Coconut Milk Soap
First, safety is always paramount when working with sodium hydroxide. Put on your safety gear – long sleeves, safety goggles and gloves. Ensure that children and pets are not in your production area and that there are no distractions.
The first step is to mix the sodium hydroxide solution and allow it ample time to cool to room temperature – as we will be adding coconut milk to this recipe, the naturally-occurring sugars in the milk can cause the soap to overheat.
So first, weigh out the water in a stainless steel or heat-proof container.
Next, weigh the sodium hydroxide.
In a well-ventilated area, add the sodium hydroxide to the water, in that order. (Adding the water to the sodium hydroxide can cause it to spatter and volcano, which we do not want.)
Stir with a stainless steel spoon to fully dissolve. The dissolving solution will become very hot and emit fumes. Ensure that you do not inhale the fumes.
Set the lye aside in a safe area to cool to room temperature and prepare the rest of your ingredients.
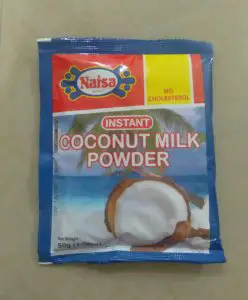
I used coconut milk powder, but if you want to use fresh coconut milk, feel free to do so. If, for example, you are using three ounces of fresh coconut milk, discount three ounces from the water and add the milk to your oils. You can see my post on Aloe Vera and Coconut Milk soap to get an idea of how to do it.
I also used handmade, unsweetened drinking chocolate, purchased from a local vendor at the Tunapuna Market (shown as a ball in the picture below), which I grated to get a coarse ground for exfoliation. You can do the same with store-bought unsweetened chocolate or cocoa powder if that is what you have on hand.
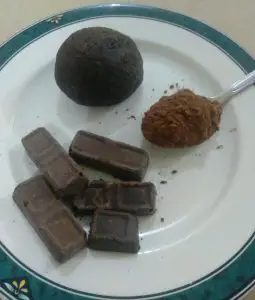
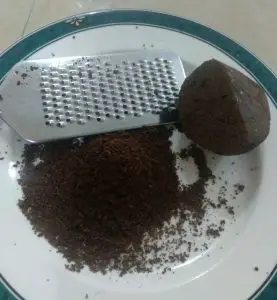
Prepare and weigh out your chocolate/cocoa, coconut milk powder and titanium dioxide.
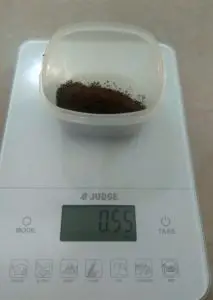
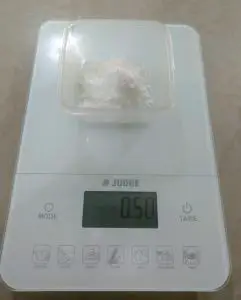
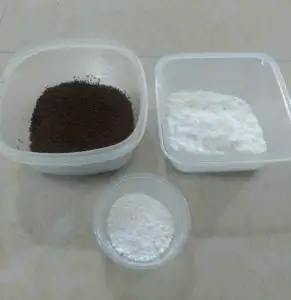
Next, weigh your oils individually and add them to the mixing bowl.
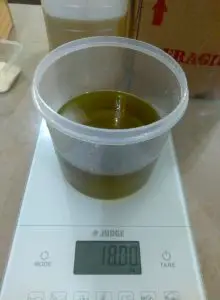
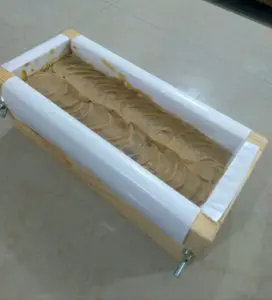
Prepare your soap mould if necessary. I used a handmade wooden mould and lined it with freezer paper.
Now we are ready to make the chocolate and coconut milk handmade soap.
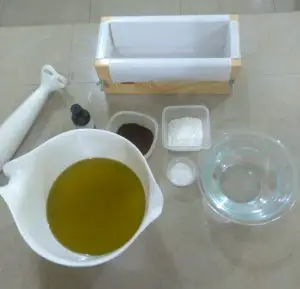
Add the coconut milk powder and the titanium dioxide to the oils and stick blend until thoroughly mixed and there are no clumps.
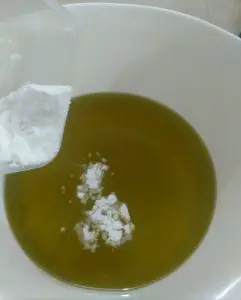
Next, carefully add the lye solution to the oil mixture.
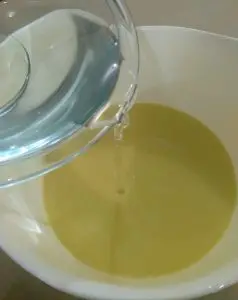
Blend with an immersion blender until you reach a light trace.
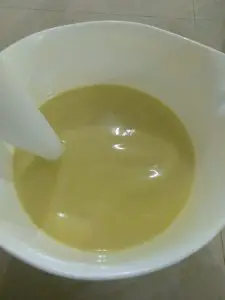
At trace add your essential or fragrance oil. Stick blend just enough to incorporate it fully.
The fragrance oil I used for this soap was the Raspberry Truffle fragrance from Brambleberry. It has a wonderfully sweet, fruity and chocolatey smell that goes well with the theme of this soap.
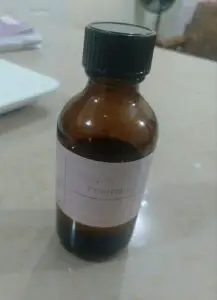
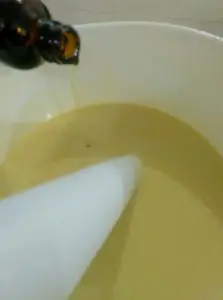
Next, divide the soap batter into two and add the unsweetened ground chocolate or cocoa powder to half. Using a stainless steel spoon, mix well.
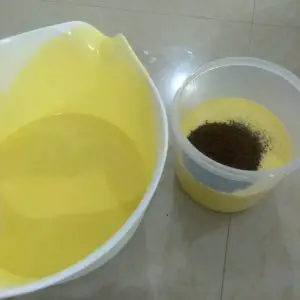
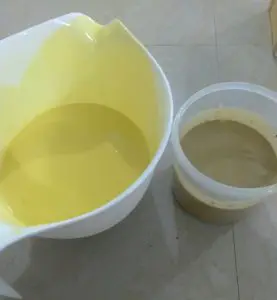
Now it’s time to pour it into the mould. Start pouring alternating colours into the mould to create your swirl design. Have fun with it but don’t mix everything together.
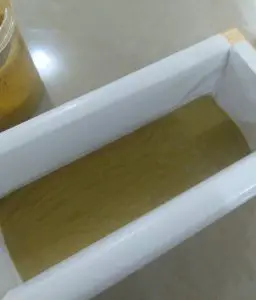
Once all the batter is in the mould, you can use a wooden skewer or chopstick to run it through the soap to create your swirl or use the hangar swirl method I described in my previous soap recipe.
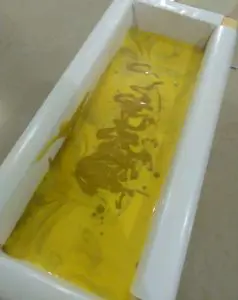
Texture the top of the soap if desired.
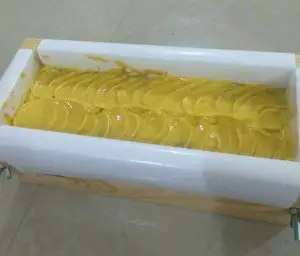
Cover the mould and allow the soap to rest in an area where it will be undisturbed for at least 24 hours. If the soap is still too soft let it rest for another day or so. Once it is solid enough, take it out of the mould and cut it into bars.
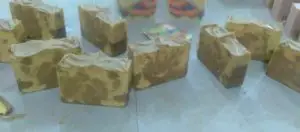
Place the bars in an open area to allow them to cure fully for at least 6 weeks before use.
Happy Soaping 🙂
