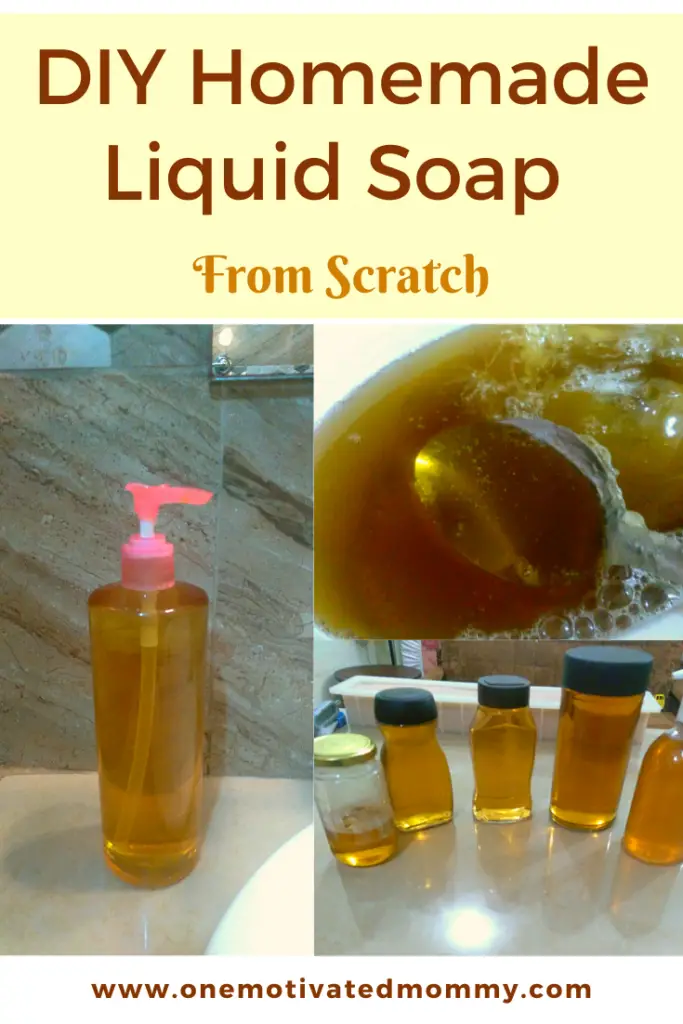
Making liquid soap at home for yourself and your family is a very rewarding experience. It can be used for handwashing, as a body wash or even around the home… left unscented or infused with a refreshing blend of your favourite fragrances to excite your senses.
Since my first adventure into the world of handmade liquid soaps and especially over the past two years, I have been making lots of liquid soaps and trying different recipes…and yes, I’ve had my fair share of soap volcanoes lol. But I have enjoyed the learning experience thoroughly and now I always have homemade liquid soap on hand and also to share with family and friends.
Here is a recipe to create your own natural liquid hand soap at home without the harsh chemicals found in commercial soaps.
This recipe uses the paste method to make liquid soap.
Ingredients
- 22 oz Coconut oil
- 8 oz Olive oil
- 2 oz Castor oil
- 12.16 oz Distilled water
- 7.46oz Potassium Hydroxide (KOH)
- Additional 2 Litres (67 ounces) of Distilled water for dilution.
Optional –
For Thickening
- 0.5oz Table Salt (sodium chloride)
- 1.5oz distilled water
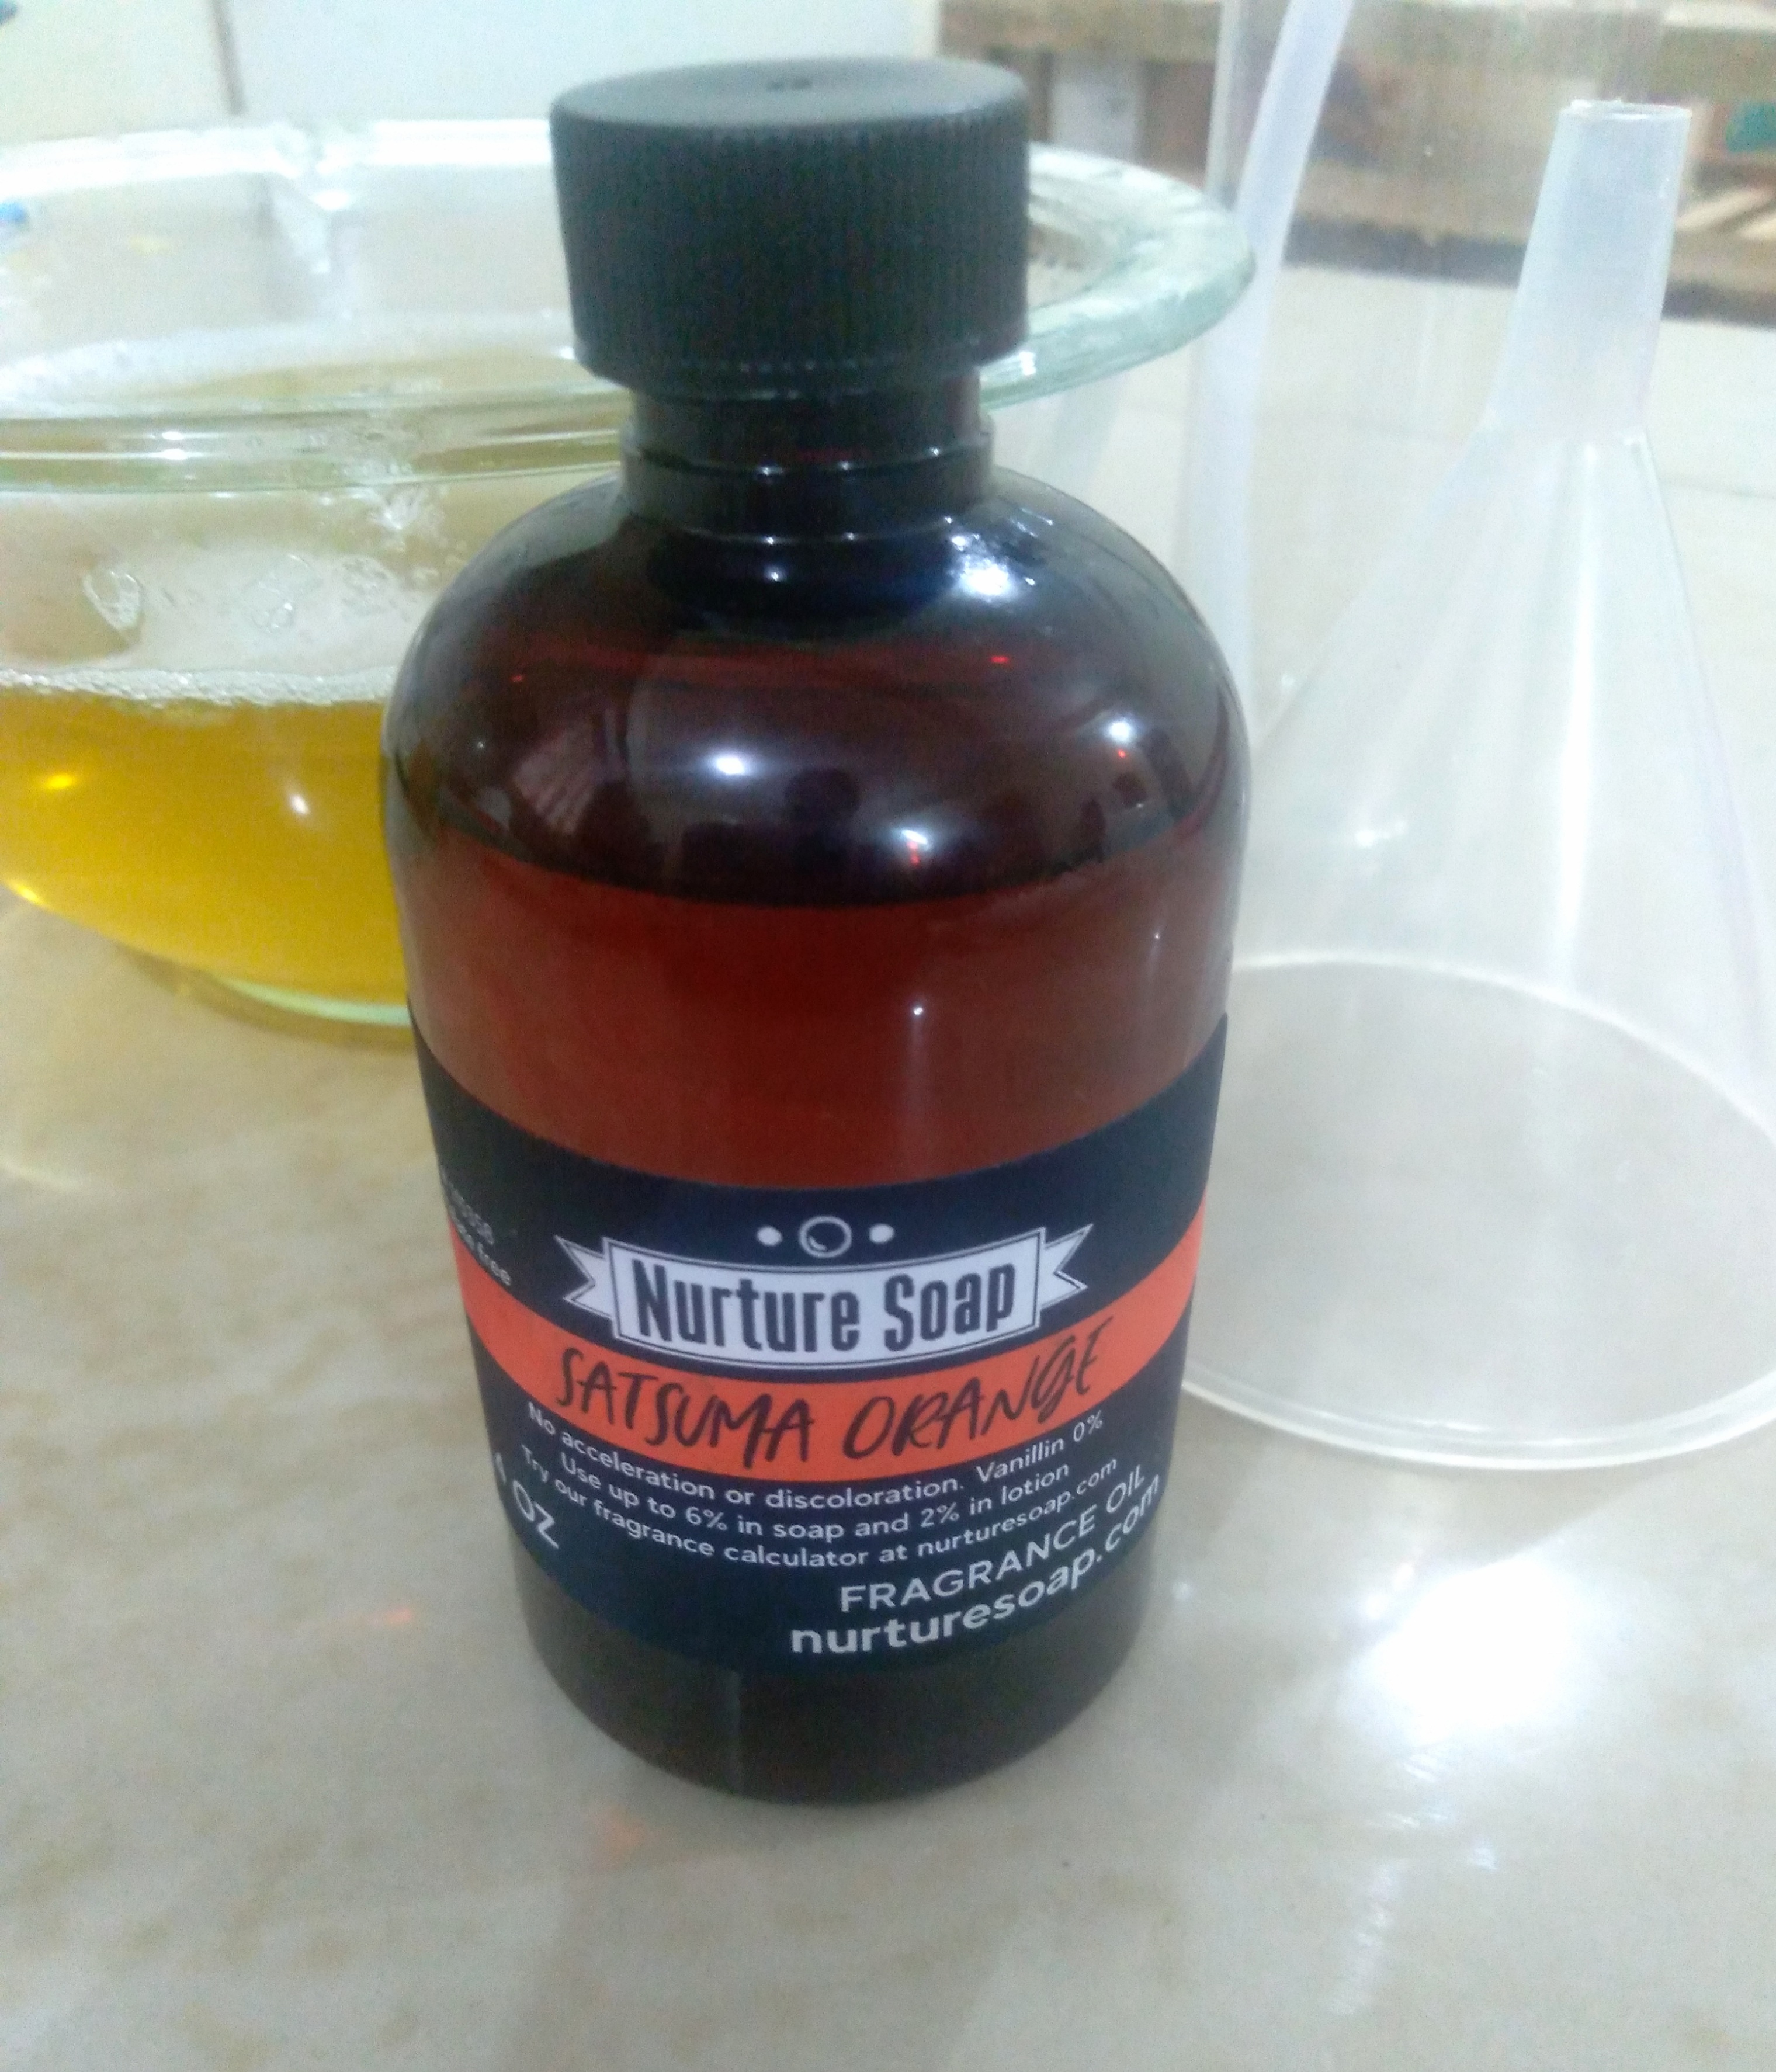
Fragrance – This quantity is usually 2% the weight of your finished product.
For the liquid soaps I make for use at home, I love the sweet citrus smell of Satsuma Orange by Nurture Soap.
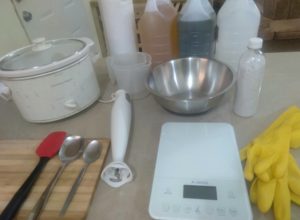
Tools Required
Minimum 3-quart slow cooker. I would suggest that you have a designated slow cooker to make hot process and liquid soap as it is not recommended to cook food once it has been used to make soap. You may be able to get a used one inexpensively at a thrift store or garage sale.
Stainless steel or heavy-duty plastic container to mix your potassium hydroxide solution.
Stainless steel spoon to dissolve the potassium hydroxide in the water.
Silicone spatula to mix the paste while cooking – avoid using a spoon that may scratch the interior of the slow cooker.
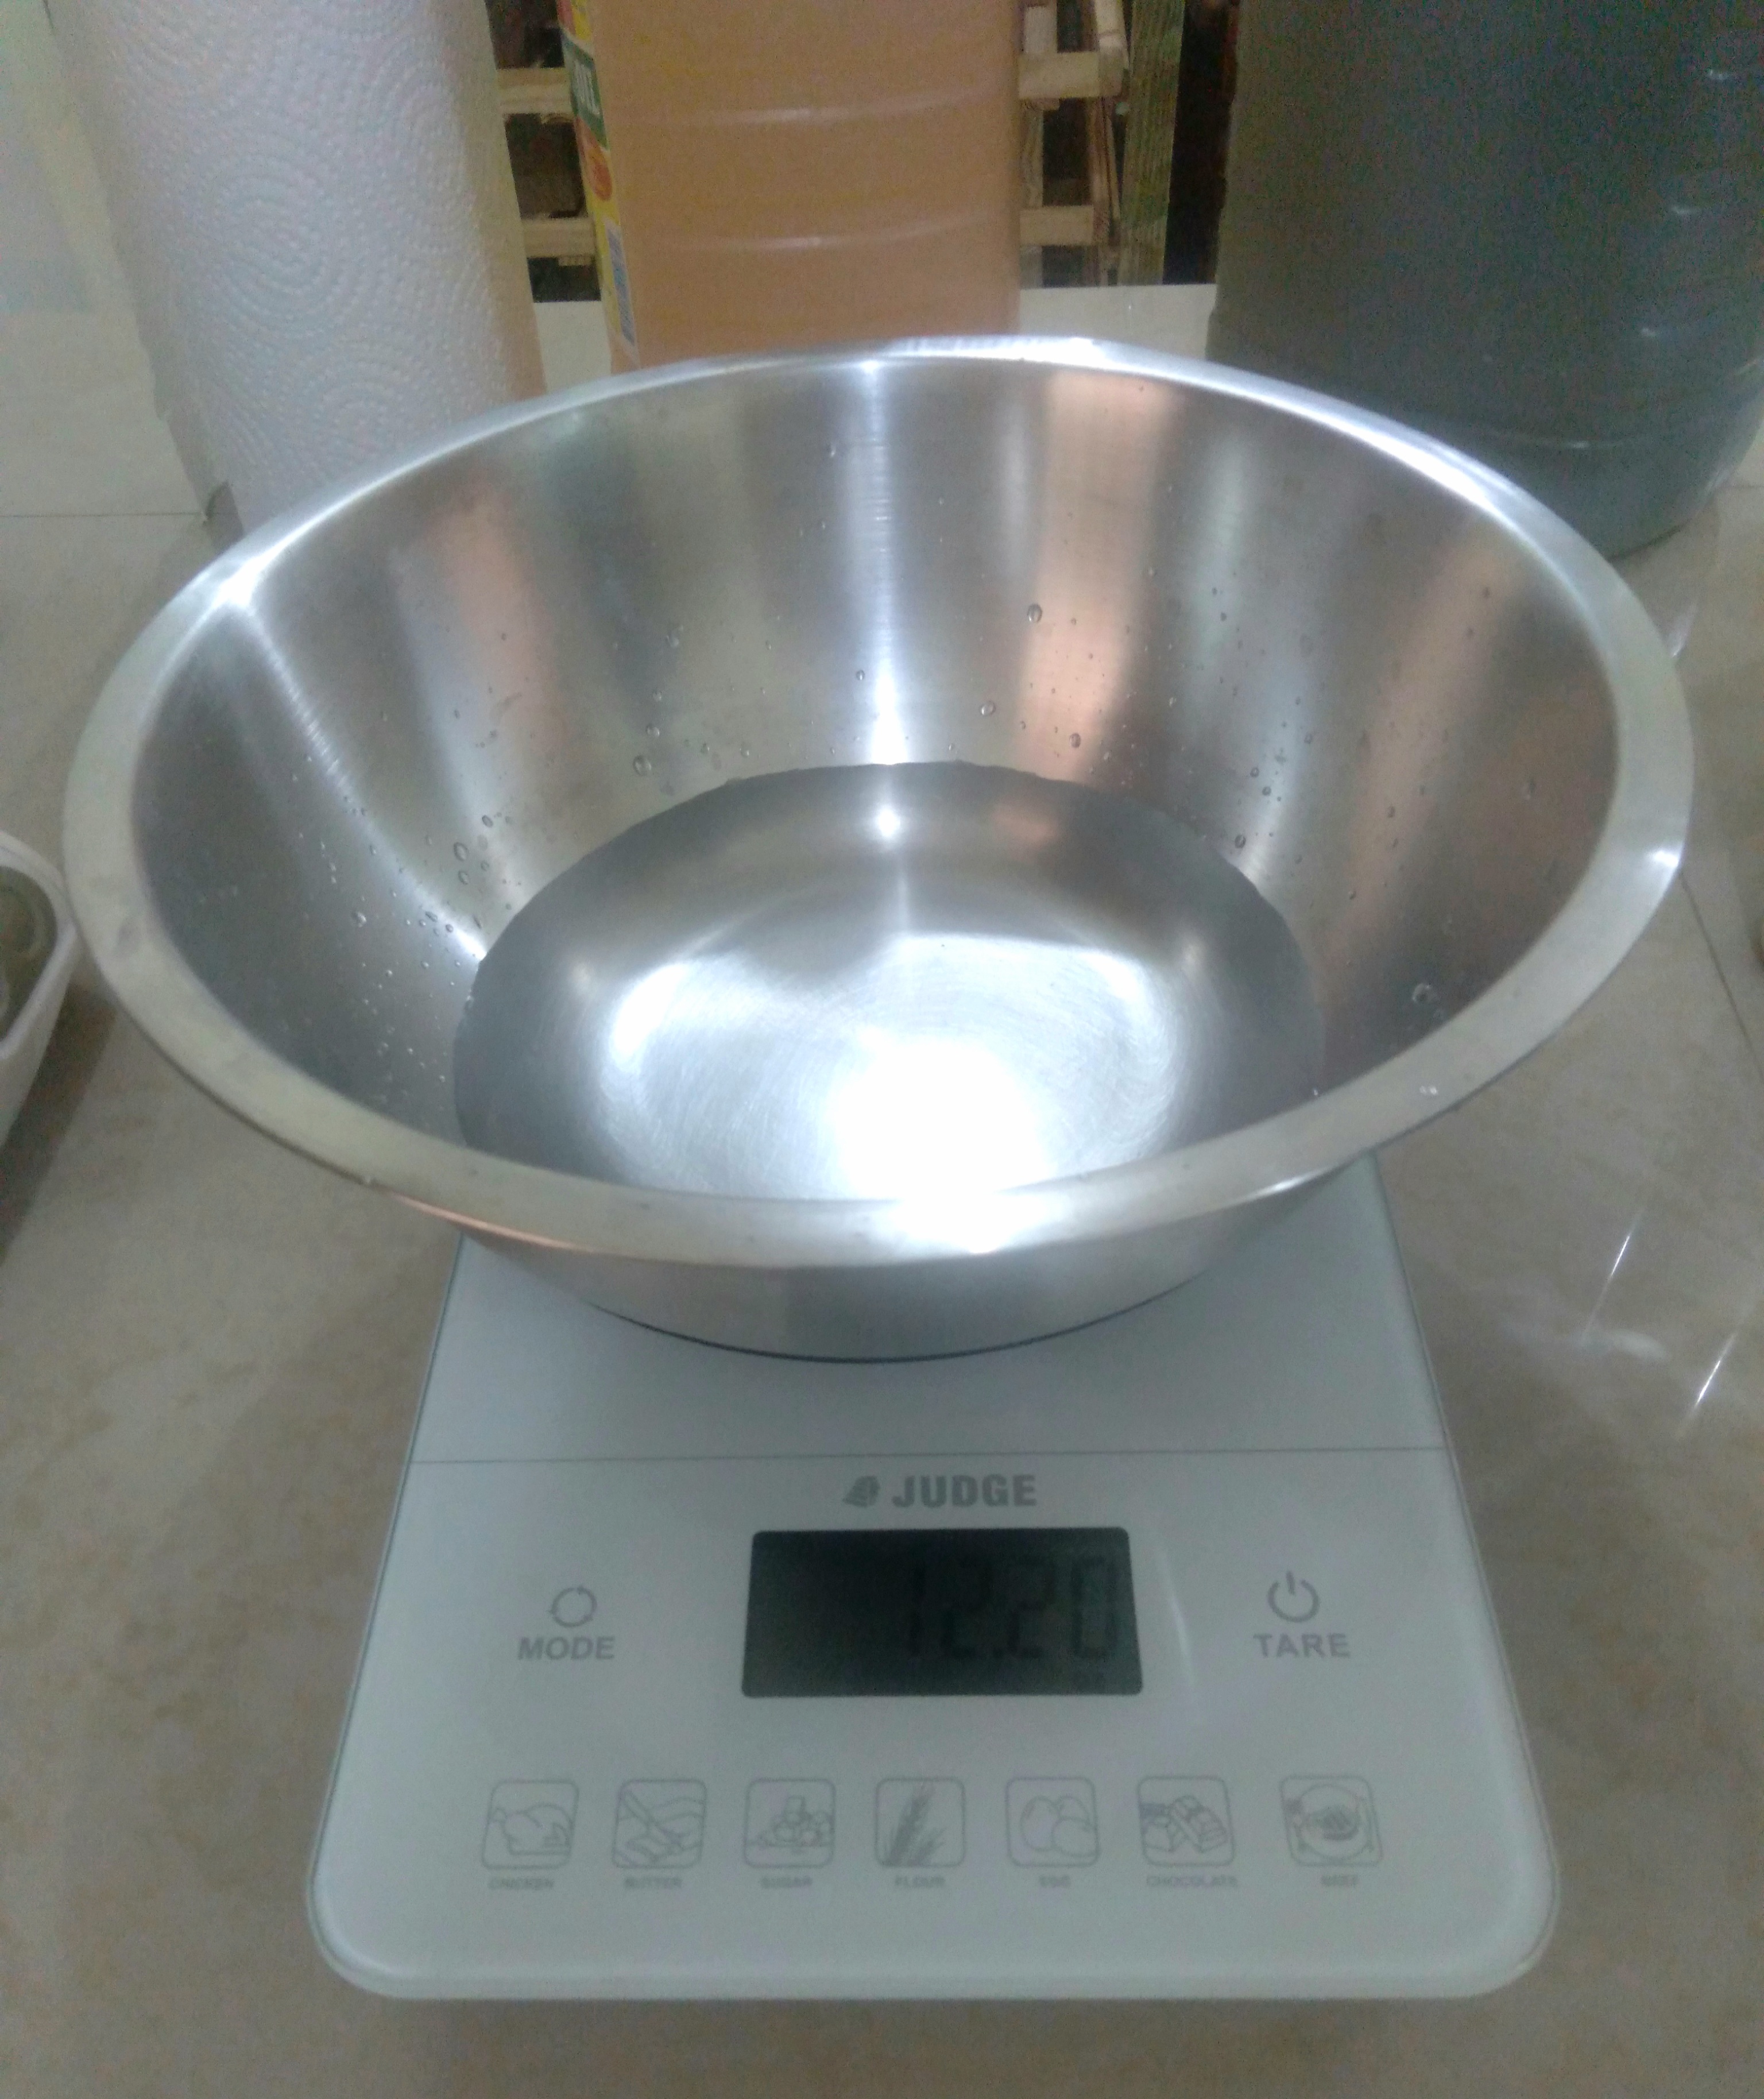
Digital scale that can measure ounces to at least 0.1oz.
Plastic containers to measure oils and potassium hydroxide.
Safety equipment – gloves, long-sleeved clothes, safety glasses.
Bucket for dilution – this is optional and based on what you have available in the desired size to dilute the soap paste.
Directions
Get all your ingredients and tools ready and at hand.
Safety is paramount in soapmaking. Always suit up for safety before making soap. Wear your gloves, safety glasses, and protective long- sleeved clothes. Ensure that there are no children or pets in your production area and that you have sufficient time allotted during the day to make the soap. Do not leave the cooking soap unattended.
Prepare the potassium hydroxide solution.
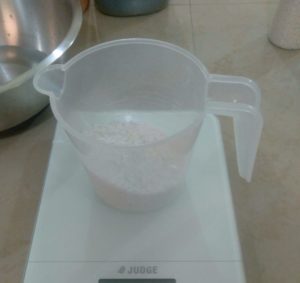
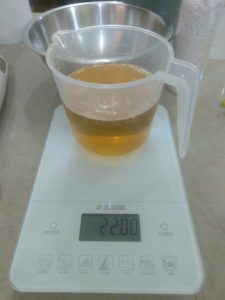
Weigh the distilled water in a stainless steel or heavy-duty plastic container.
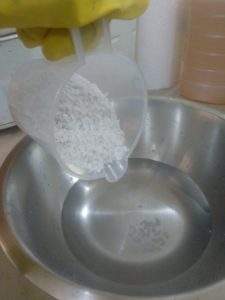
In a separate dry container, weigh the potassium hydroxide.
In a well-ventilated area gently and carefully add the potassium hydroxide to the water (and not the other way around). Stir with a stainless spoon to dissolve thoroughly, avoid splashing. The dissolving potassium hydroxide will make a sizzling sound and give off fumes. Ensure that you do not inhale the fumes.
Set aside your lye solution in a safe area to allow it to cool to a temperature of between 135-165 degrees Fahrenheit.
Next, weigh out the individual oils in another container and add them to the slow cooker. Where I live in the Caribbean, coconut oil is always liquid at room temperature. If it is solid, allow it to melt on low heat in your slow cooker before adding the additional oils. As this recipe is high in coconut oil it is best to allow the oils to reach a temperature of 160 to 175 degrees Fahrenheit.
Once the lye and oils are at the optimal temperatures, add the potassium hydroxide solution to the oils in the slow cooker.
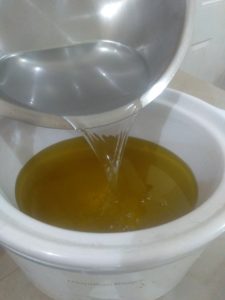
At this point, you may turn on your cooker on high. You do not want it to be preheated especially as this recipe is high in coconut oil and tends to trace relatively quickly (compared to recipes with a high percentage of olive oil).
Next, insert your immersion blender and blend to mix. I suggest blending in 10 seconds intervals and allowing the blender to rest for a minute or two in between blending. You may occasionally stir it in between when there is noticeable separation. I have found with liquid soap high in coconut oil, that it is not necessary to keep working the mixture, but more to maintain a decent emulsion until trace is achieved.
Repeat this until trace is achieved. Trace is when the emulsion has become thick and when it is drizzled upon itself, leaves a noticeably raised trail on the mixture.
Do not cover your slow cooker until trace is achieved and the mixture starts to thicken. When it does, cover and monitor every 15 minutes for about half-hour. Also, take note of the time that trace is achieved.
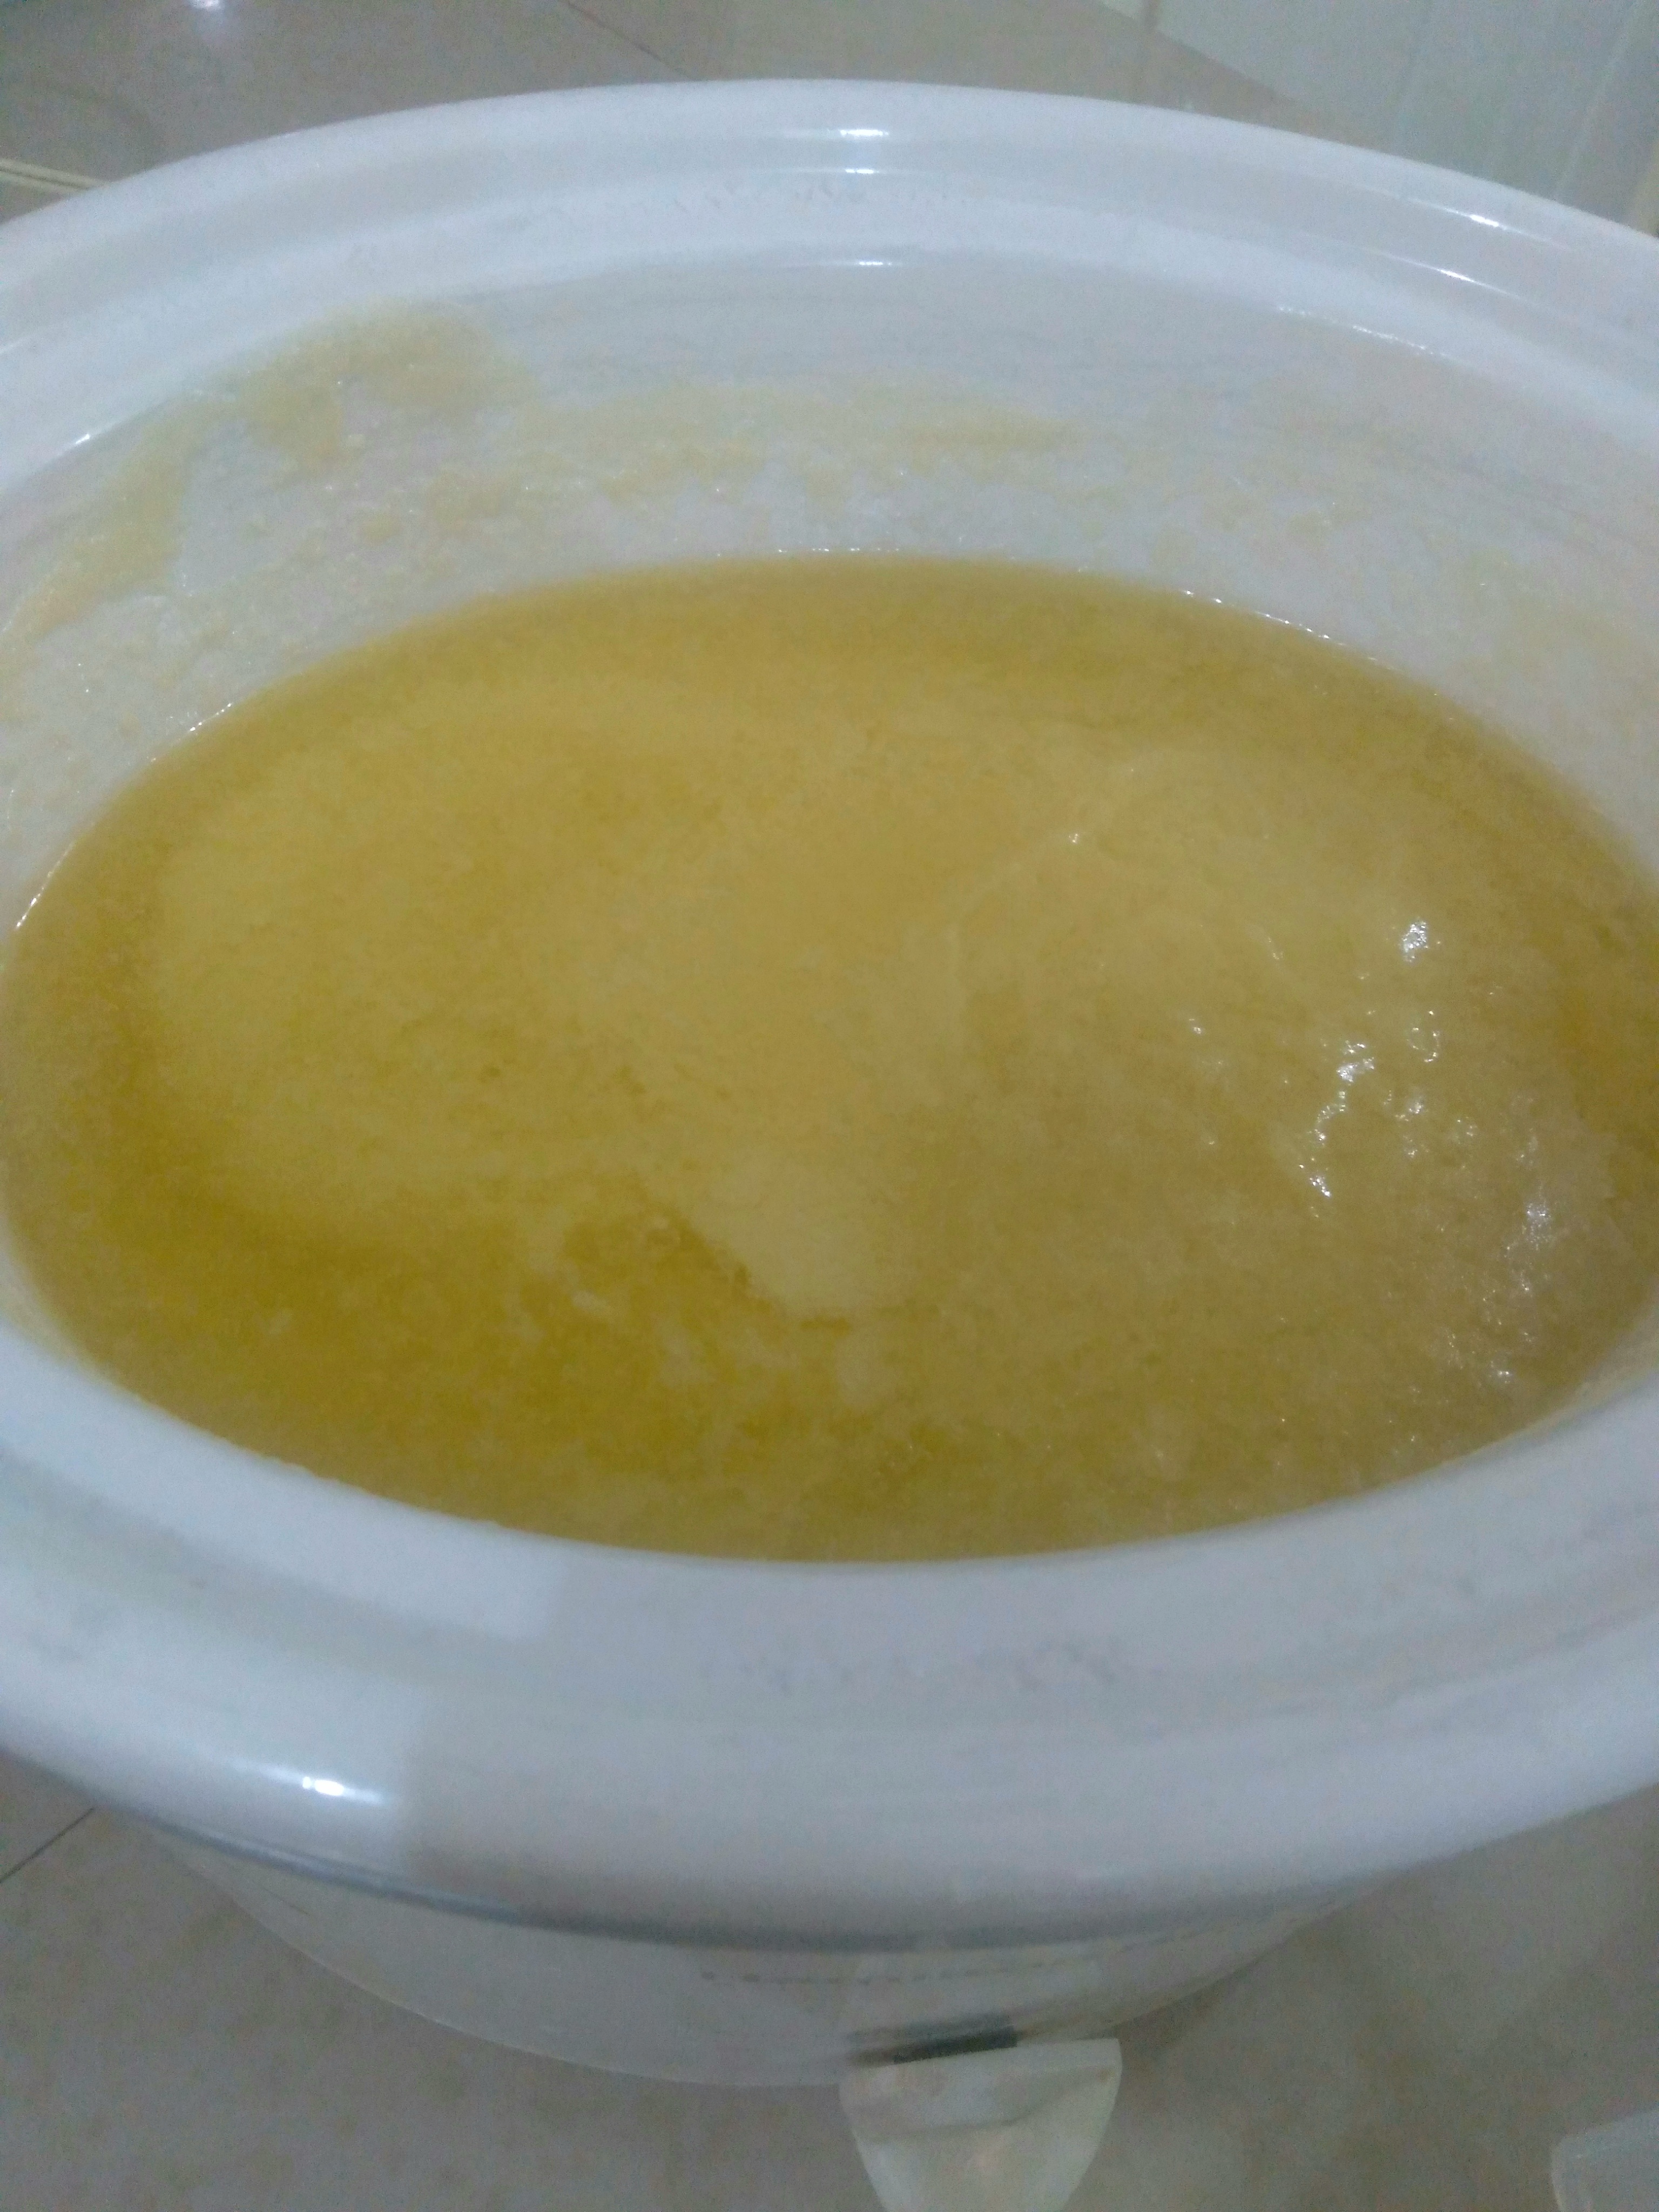
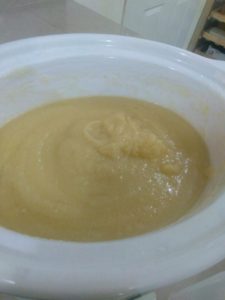
The above picture shows the separation that will occur before trace is reached. When you notice this happening, blend it again for another ten seconds.
The beginning of trace.
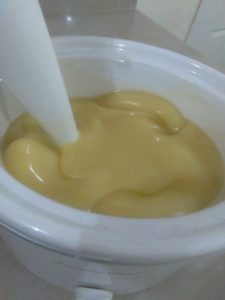
The mixture starts to thicken up more as it traces.
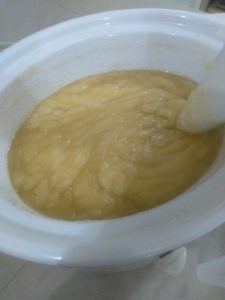
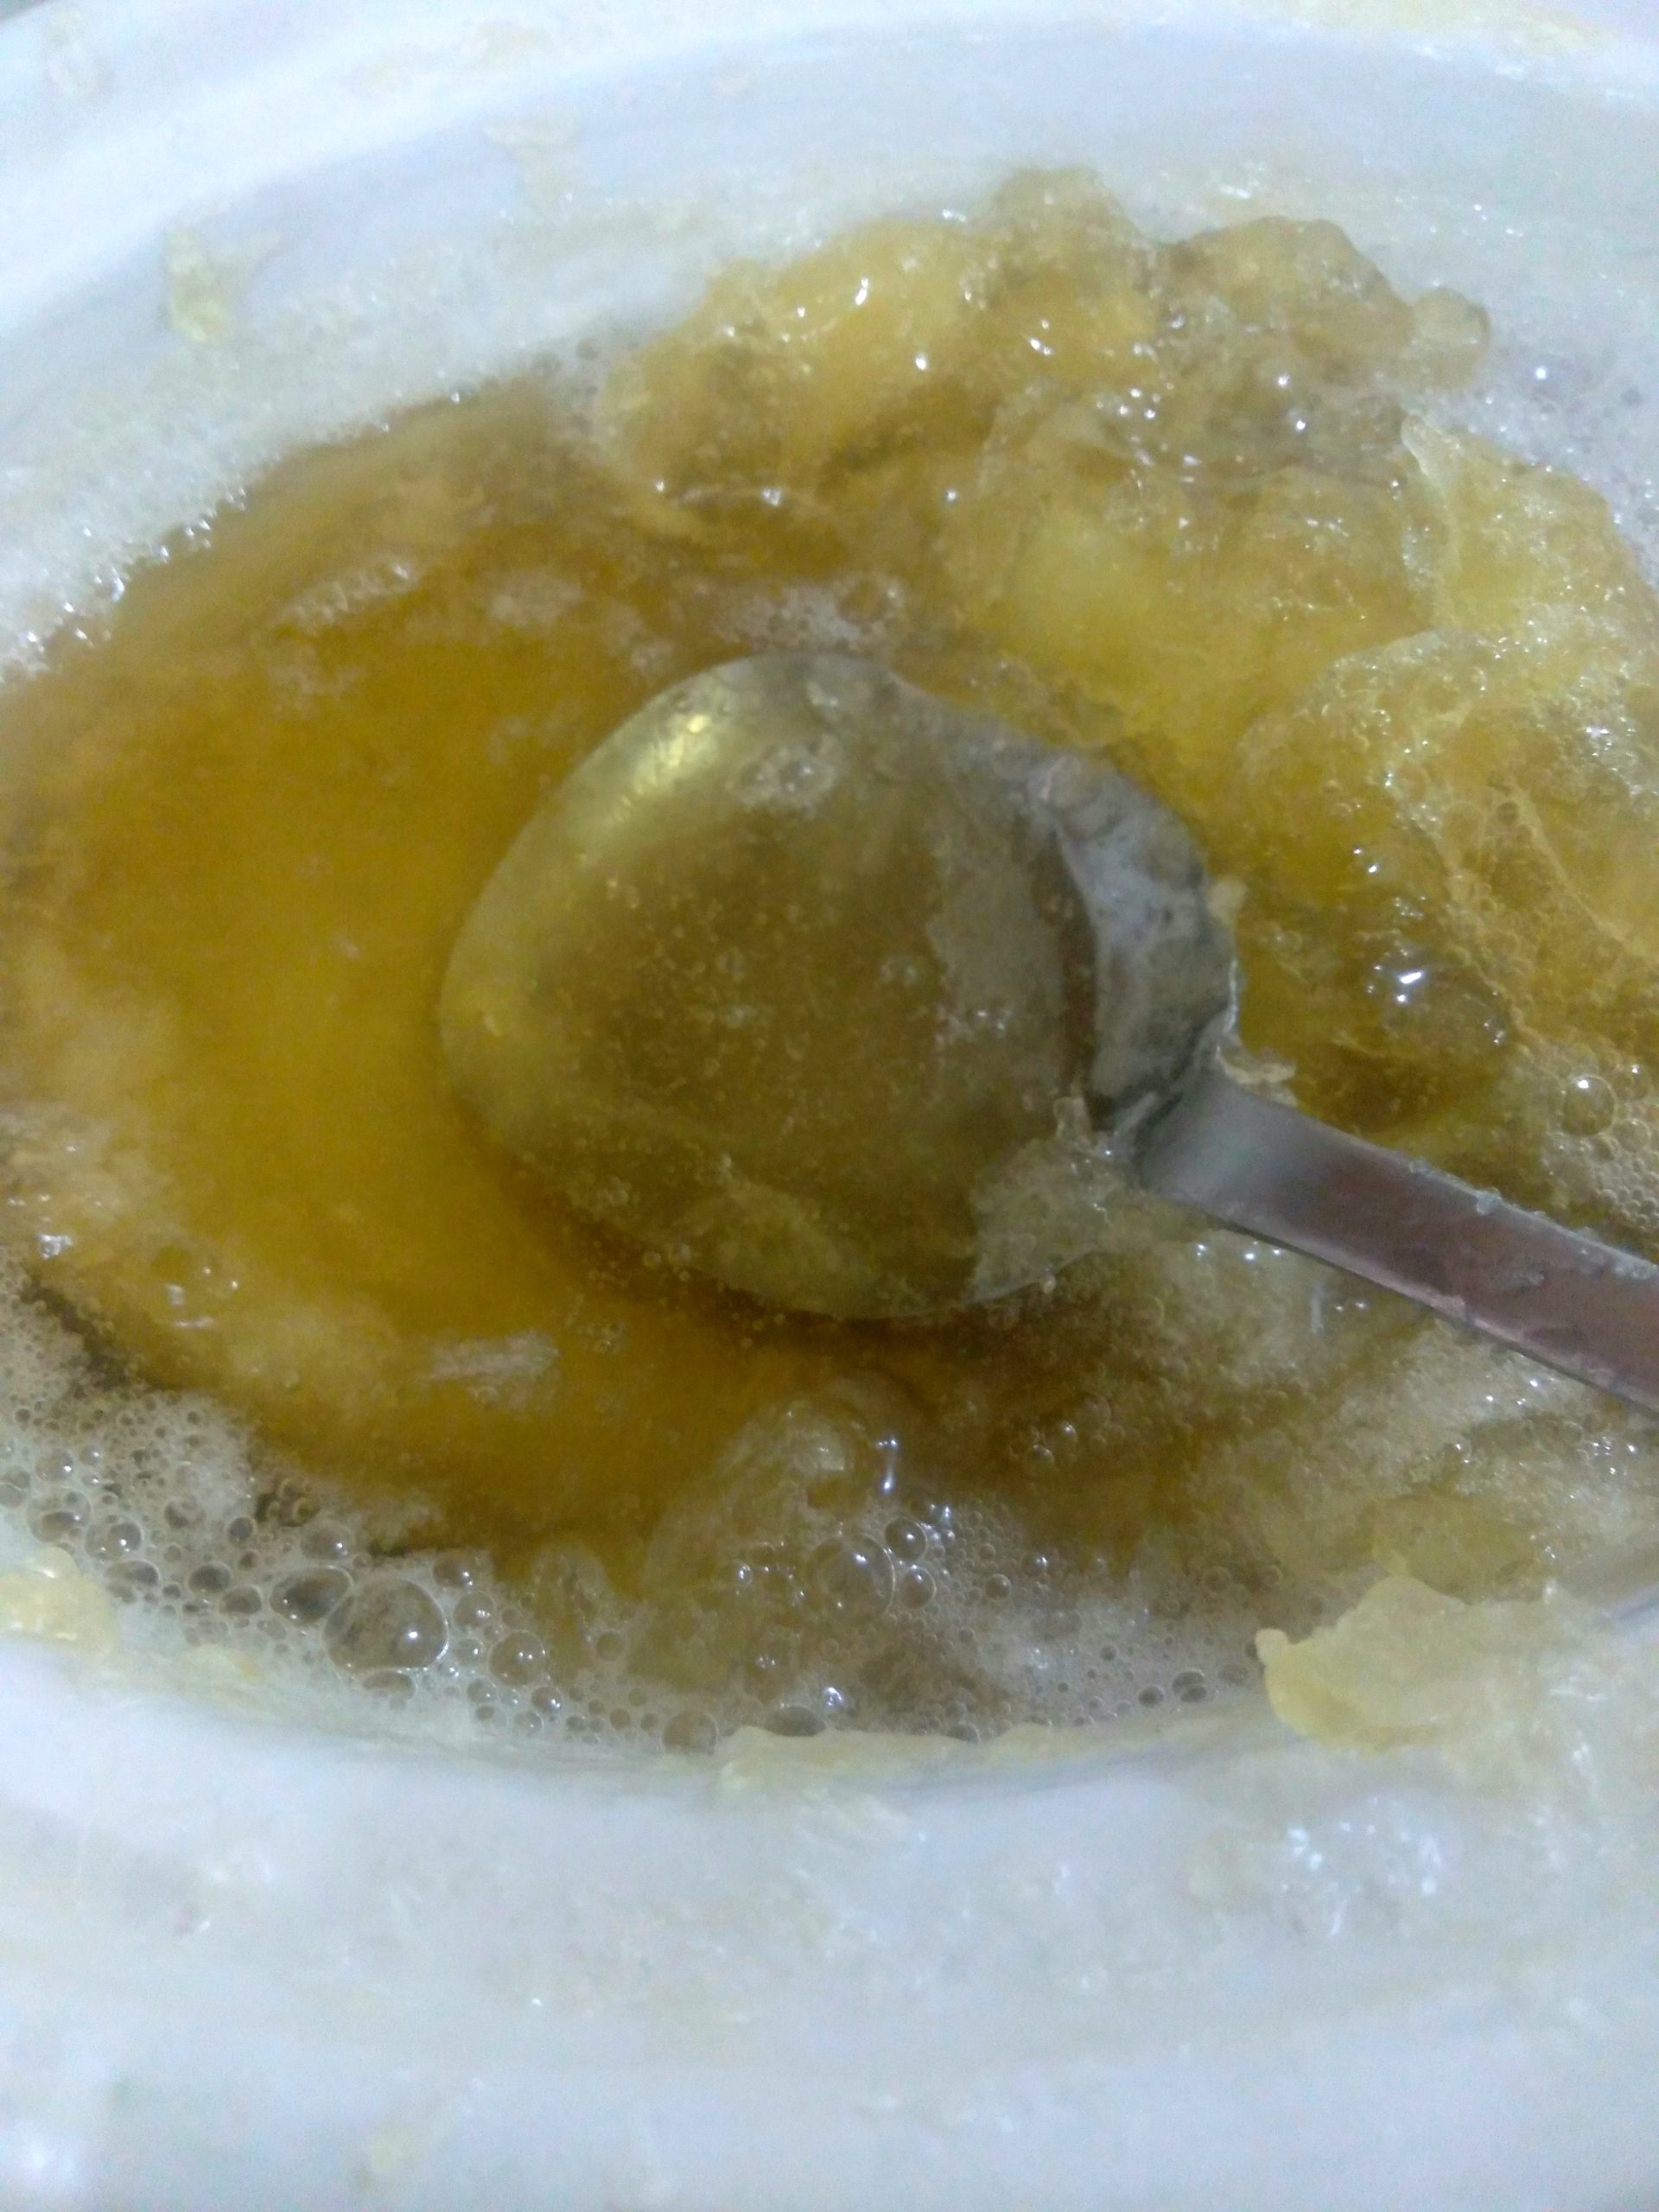
This is what full trace looks like in soap high in coconut oil. It begins to take on a glossy, jelly-like texture and becomes like a thick pudding. At this point, remove the immersion blender and monitor for separation. If it does separate, stir it only until well-mixed and leave it again. Keep doing this until no separation occurs, then it is ready to be left to cook.
Cooking the Soap to Saponification
At this point, the soap needs to be allowed to cook so that the alkali (potassium hydroxide) can fully saponify the oils.
Stir the paste every half an hour with a silicone spatula and keep an eye on the cooking process. Keep the slow cooker covered after stirring. Do not leave it unattended as the soap can bubble up out of the pot and cause a grand mess. Occasionally peeping at the cooker and stirring every half hour should be sufficient.
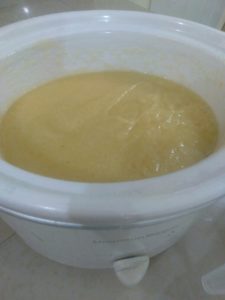
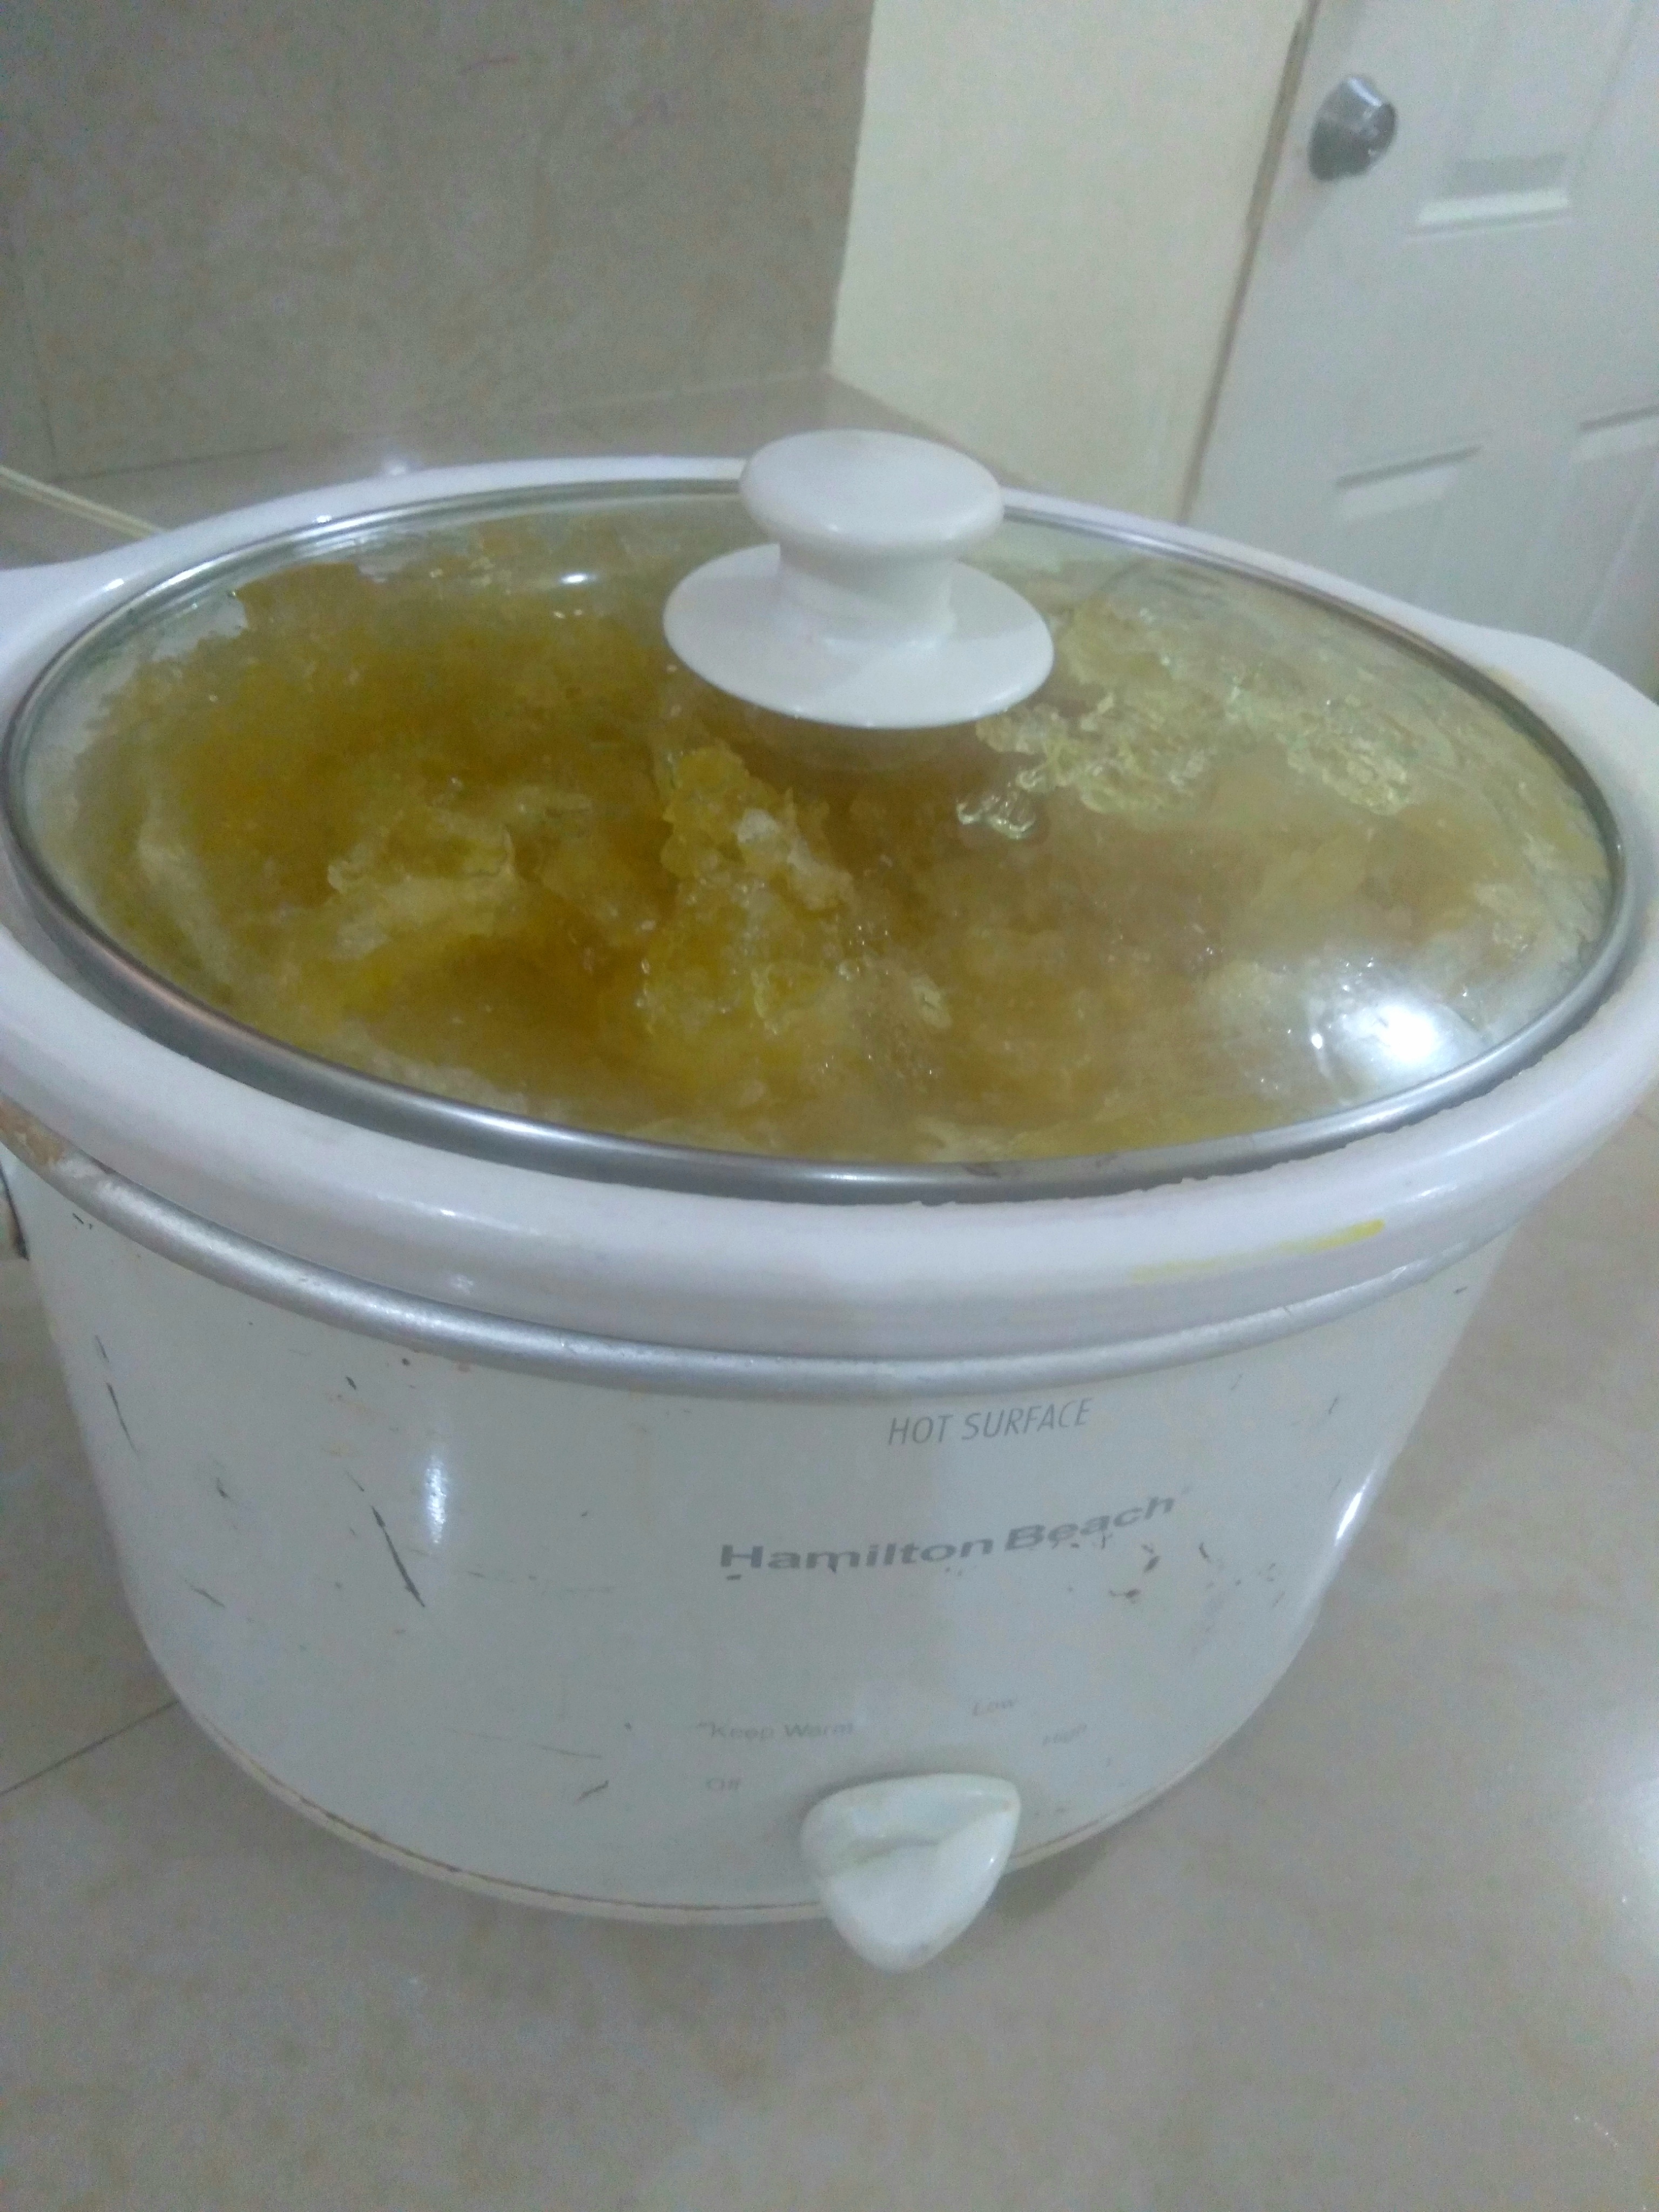
As the soap cooks, the paste will become more like jelly and translucent.
The time taken to achieve full saponification will depend on your slow cooker and the heat it produces. It is best to work with low temperatures until you can determine how your individual recipes behave under different heat settings.
I have found that the sweet spot for my liquid soap in my slow cooker is 4 hours. I usually do not perform the clarity test until the 4-hour mark is reached. At this point, I almost always get a perfect clarity test.
Testing for Clarity
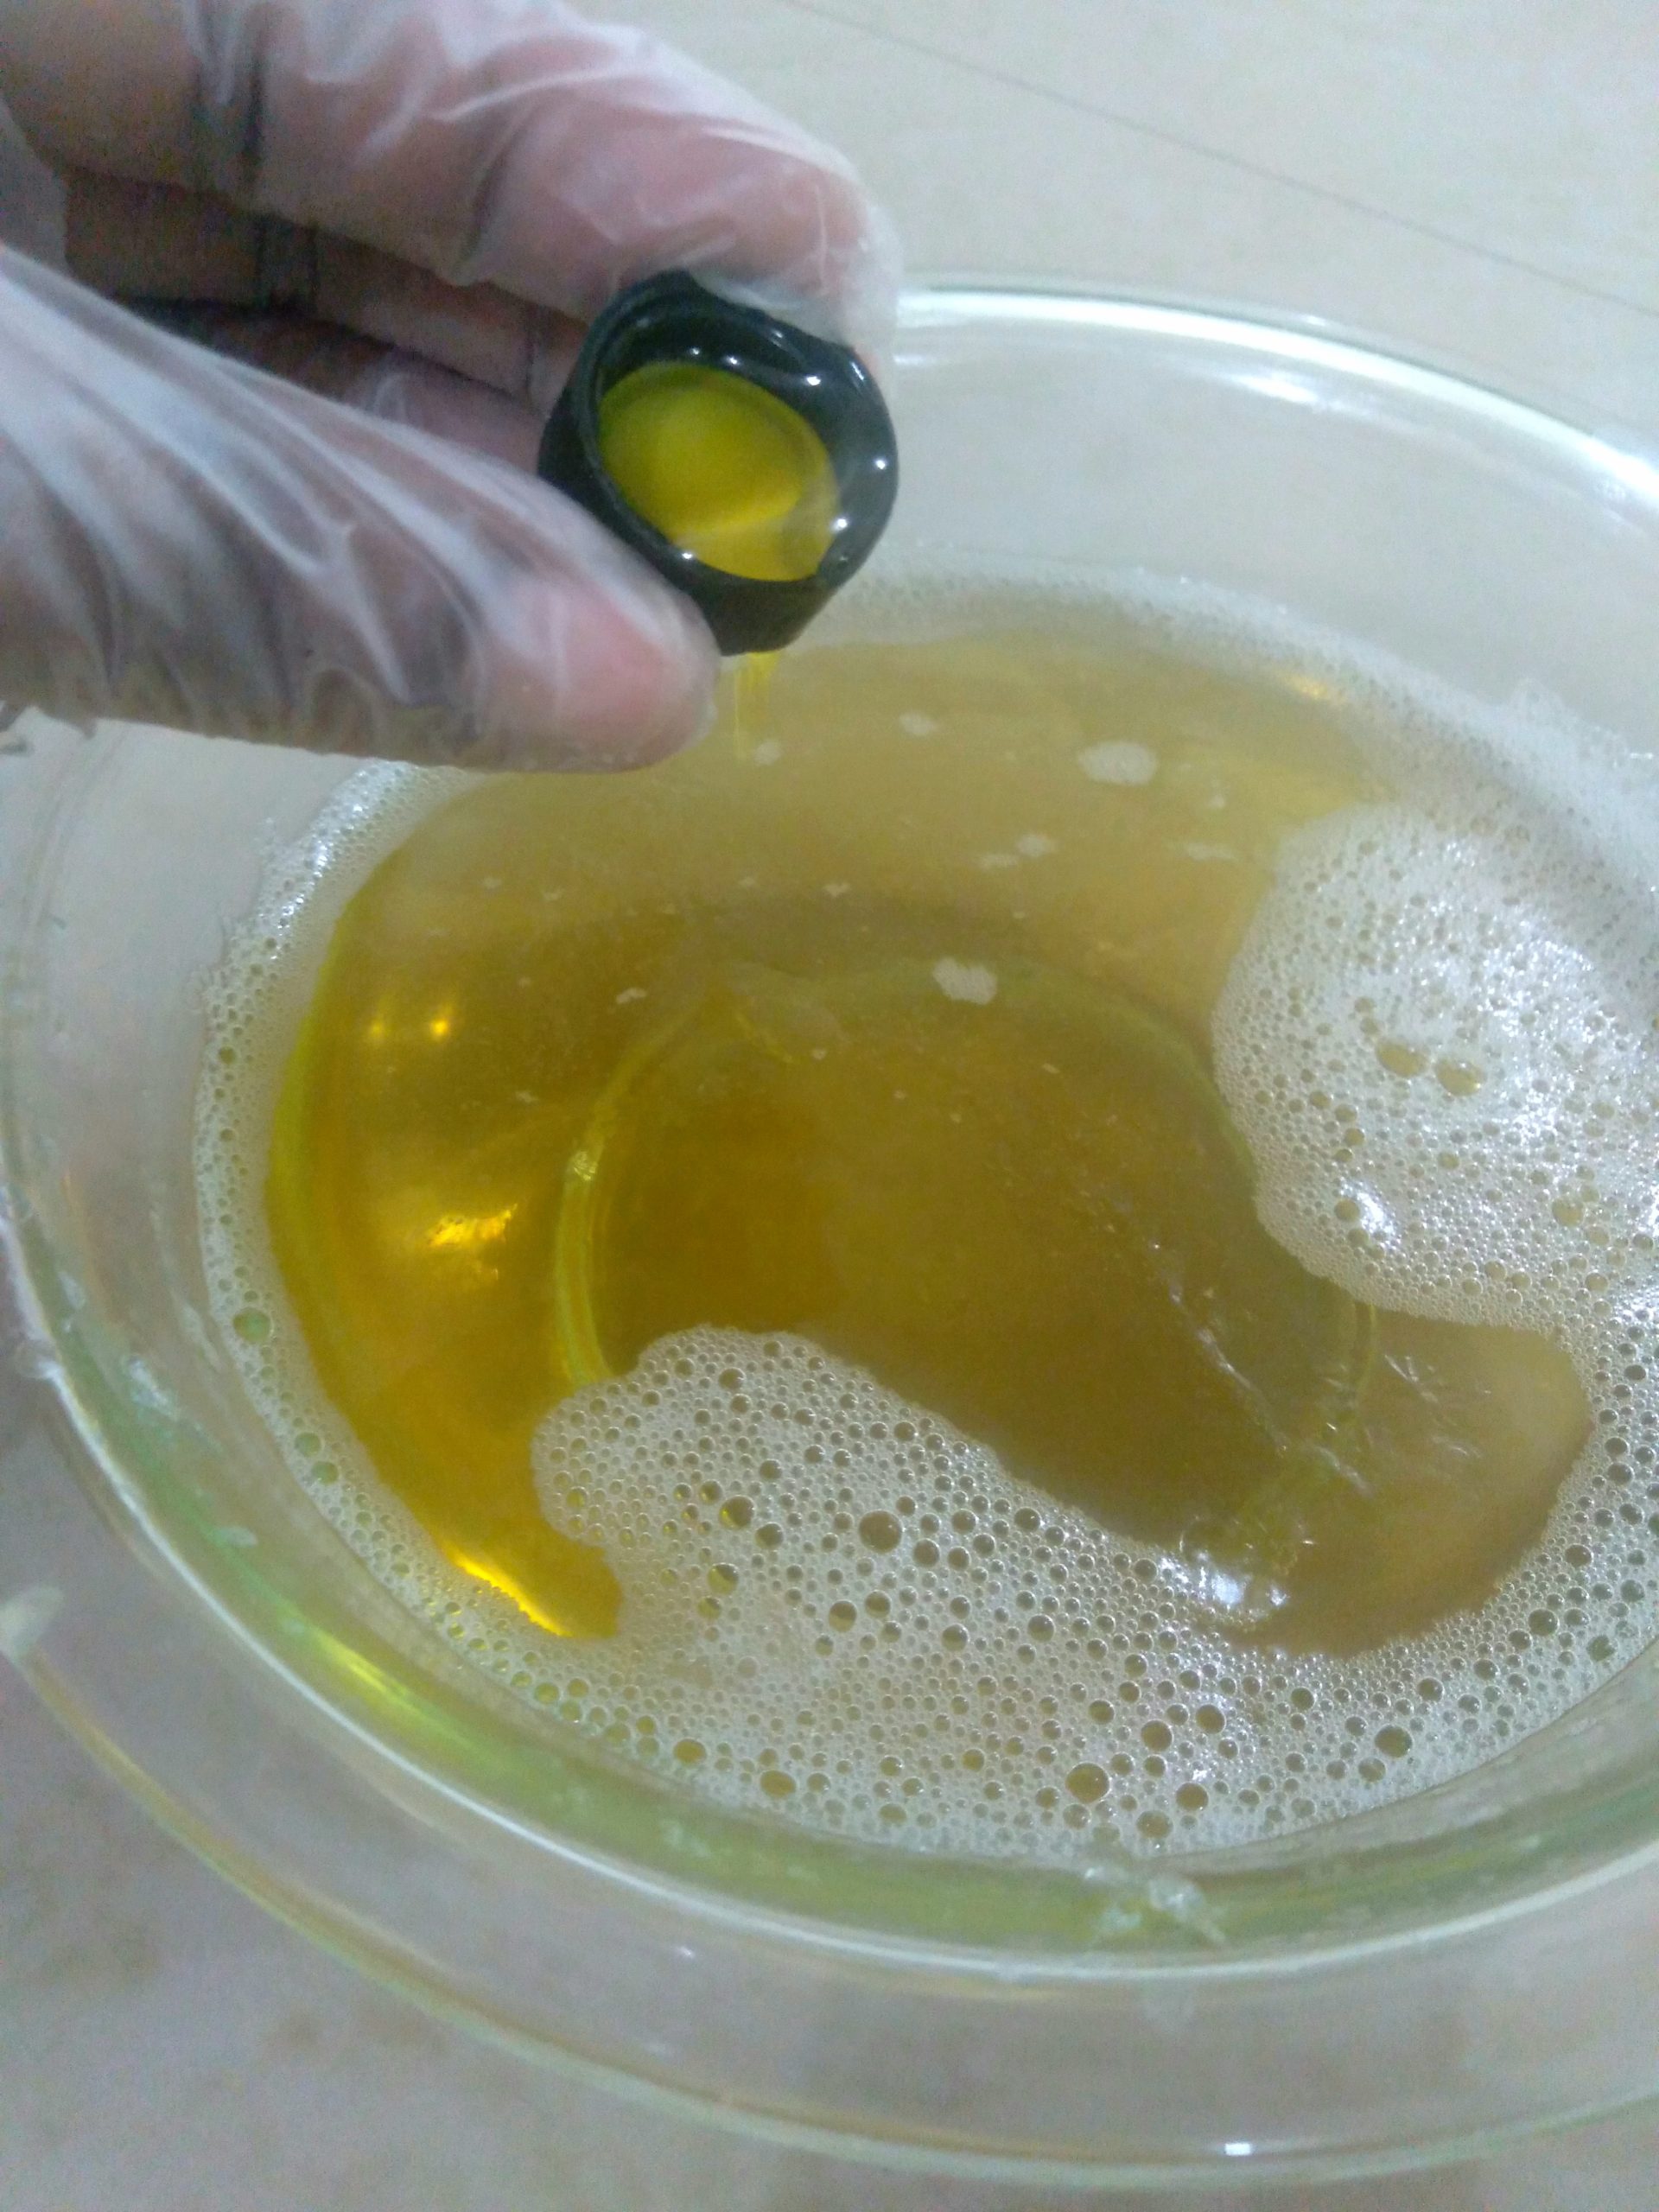
Once the soap has taken on a clear gel-like appearance, it is time to test it for clarity. This test is to determine if all the oils in the soap have been fully saponified. Unsaponified oils present in the paste would cause distilled water to cloud.
In a clear container, such as a glass bowl, add about a quarter cup of distilled water and proceed to dissolve a tablespoon of paste in the water. Keep stirring until fully dissolved.
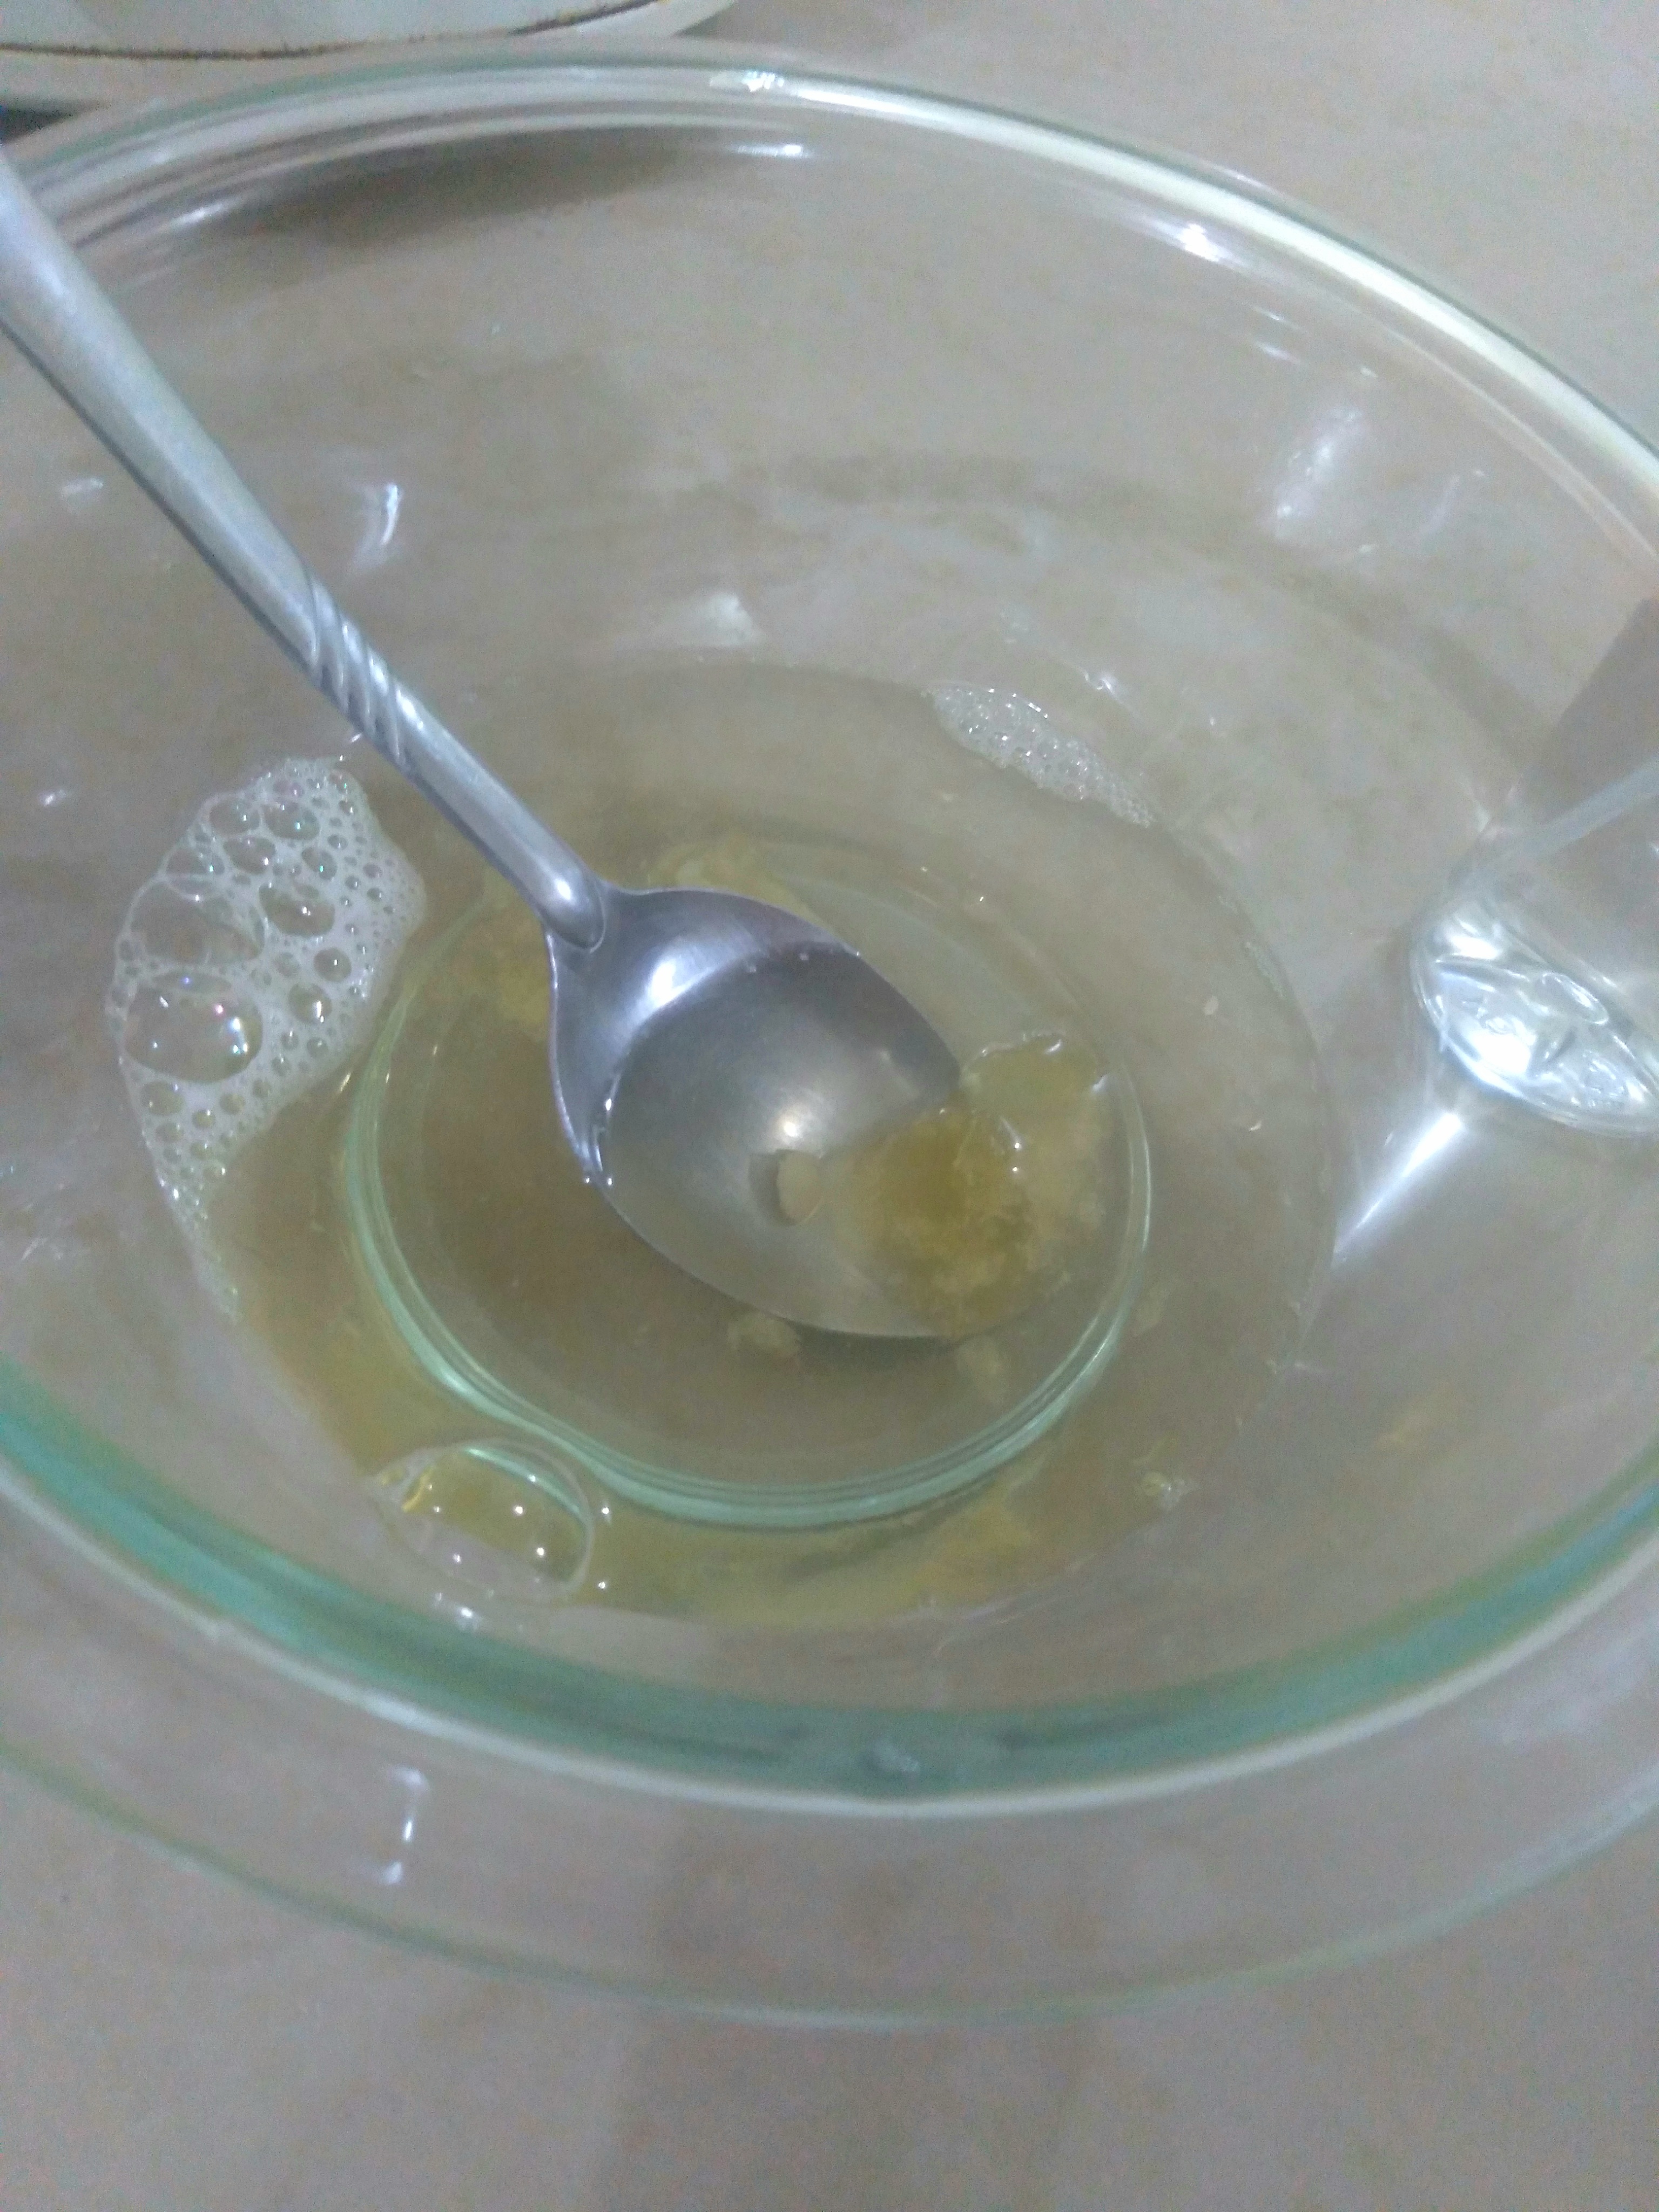
If the resulting liquid soap is crystal clear, then the oils are fully saponified. If not, you may have to cook it longer and do the test every thirty minutes until clarity is achieved.
Diluting The Paste
There are two methods I use to dilute the paste.
To dilute in the slow cooker immediately after cooking, the dilution water must be heated before being added to the paste. This is simply to avoid cracking the crockpot with a sudden drastic drop in temperature. Also, the crockpot must be able to accommodate the additional liquid needed to dilute. The higher temperatures tend to help the paste to dissolve faster so the slow cooker can be allowed to continue heating on a low temperature until all the paste is dissolved. This is the method I used below.
The second method is to immediately remove the hot paste to a sanitized stainless steel or heat-resistant plastic bucket and pour the room temperature water into it. Here it is allowed to sit for a day or two and the paste softens and dissolves beautifully on its own. If the paste is taking longer than you would like, you may use an immersion blender to help it along. You can spray the surface of the soap with rubbing alcohol to remove the bubbles at the top.
When the soap is diluted, allow it to sit in a bucket for about a week to sequester or settle. This allows any unsaponifiables that may be present to settle to the bottom.
Adding Fragrance and Thickening
Pour off the clear liquid soap and add your fragrance oil. The fragrance is usually added at two percent (2%) of the total weight of the finished product, but do check the manufacturer’s instructions for individual fragrances.
Liquid soaps high in coconut oil tend to be thinner than soaps high in olive oil. If you would like to thicken this liquid soap, a 25% salt solution can be added by dissolving 0.5oz salt in 1.5oz of distilled water.
Add the salt solution to the liquid soap slowly while stirring and observe the thickening. Once you achieve the desired viscosity, allow the soap to sit for about an hour.
Next, bottle your liquid soap and it is ready to use.

Happy Soaping!!! 🙂