
Hot process soapmaking is different from the cold process method in that the traced soap is heated to speed up saponification and neutralize it before putting it into the mold.
A benefit to making soap this way is that the soap is fully saponified and can be used right away.
This method creates a more rustic looking bar that is not as smooth as cold process soap. You are not able to be creative with the soap because it is not fluid as cold process, therefore elaborate swirls and detailed designs are not suited to this method.
Hot process soap goes through three phases. These are:
- Separation
- Apple sauce
- Vaseline
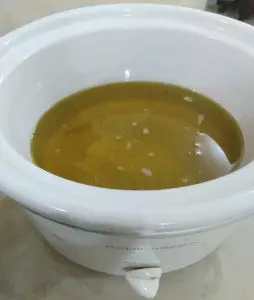
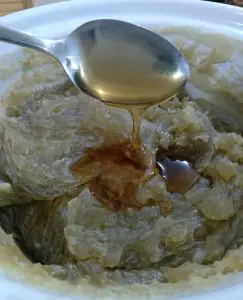
About 15 to 20 minutes into heating your soap it will reach the separation phase. During this phase, there appears to be oil separating and floating on top of the traced soap.
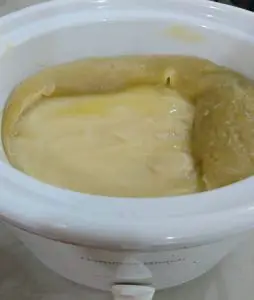
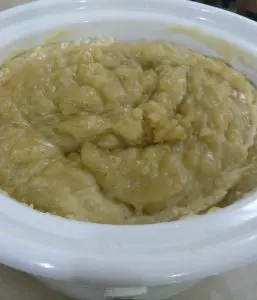
The apple sauce phase takes place approximately 15 to 20 minutes after the separation stage and the cooked soap starts looking like applesauce.
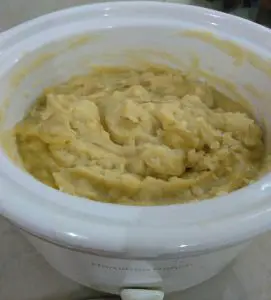
In another 15 to 20 minutes the soap reaches the Vaseline phase. Here the soap takes on a shiny appearance similar to that of petroleum jelly, hence the name Vaseline phase. It is after this phase is achieved that you know that your soap ready.

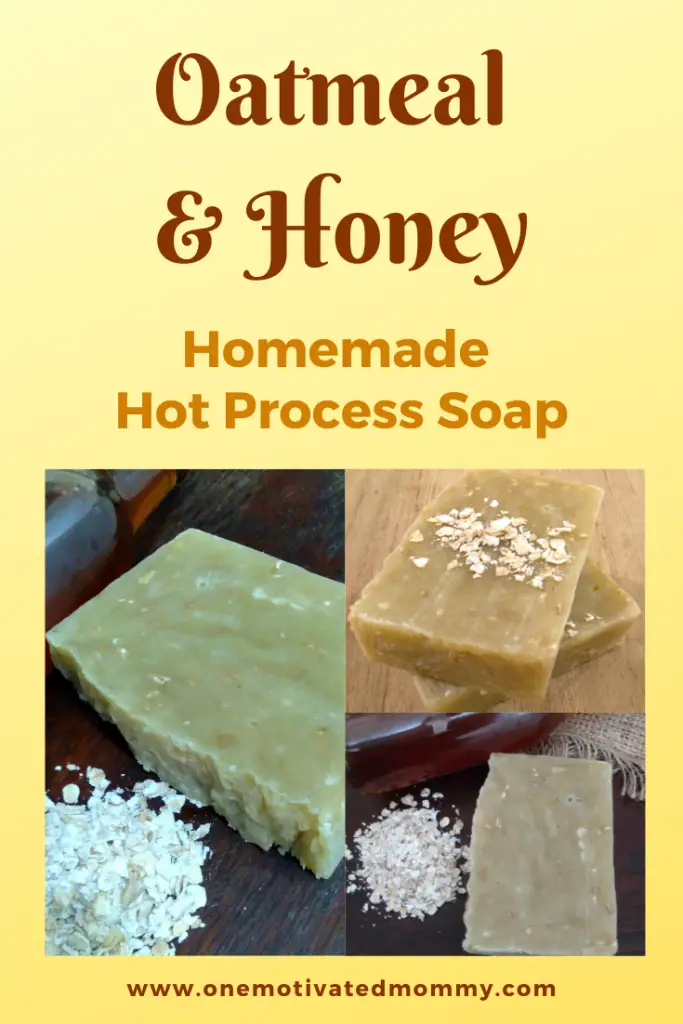
Any cold process recipe can be used to make hot process soap. I made a classic favourite – oatmeal and honey. Oats have been known to have a soothing effect on skin while honey, which is a humectant, is good for moisturising and softening.
Ingredients
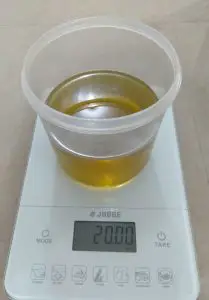
- 20 oz Olive oil
- 10 oz Coconut oil
- 2 oz Castor oil
- 12 oz Distilled Water
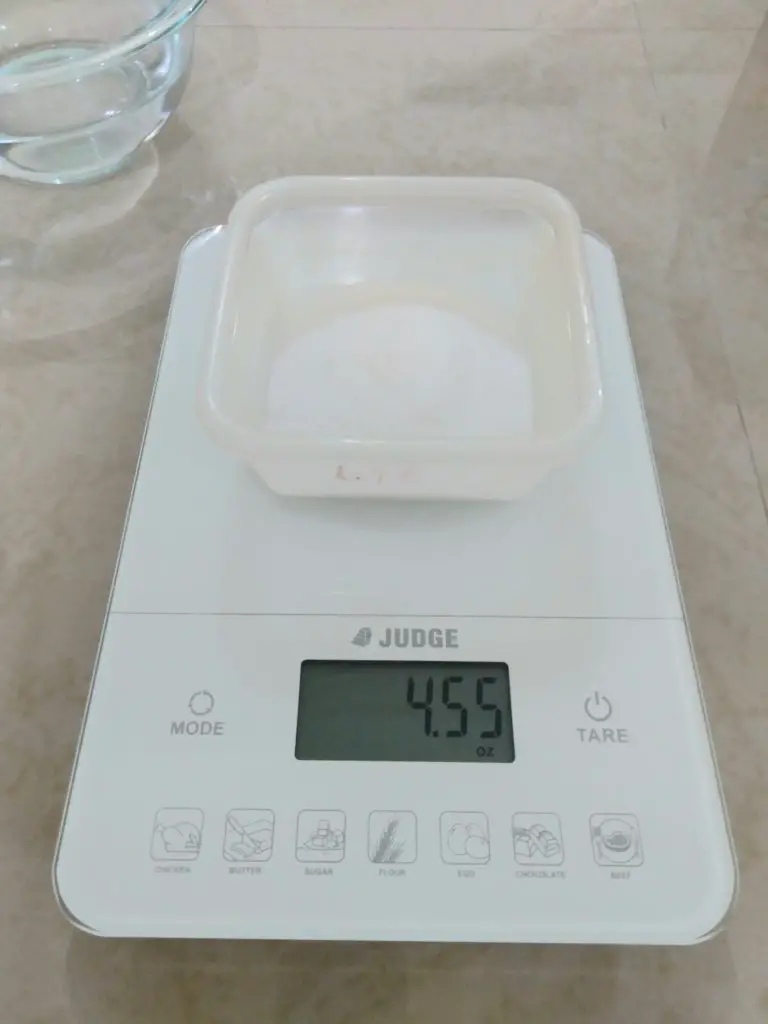
- 4.55 oz Sodium Hydroxide
- 1 ounce Fragrance oil
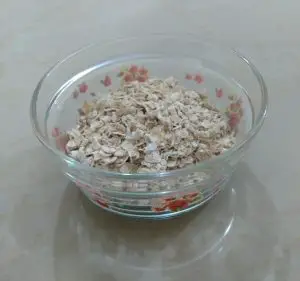
- 3 Tablespoons ground oats
- 2 Tablespoons honey
Directions to Make Oatmeal and Honey Hot Process Soap

If you have never made soap before, see my post on Basic Soapmaking for Beginners.
As with cold process soap, safety is paramount when working with sodium hydroxide. So, suit up for safety – put on your long sleeved clothing, safety glasses and gloves. Ensure that there are no pets or children in your working area.
Weigh out your water and weigh out your sodium hydroxide.

In a well-ventilated area, add the sodium hydroxide to the water – it is important that you add the sodium hydroxide to the water and not the other way around.

Stir it with a stainless steel spoon to dissolve it fully. The sodium hydroxide (or lye) solution will get very hot. Be careful to avoid inhaling the fumes that will be given off during the process.
Once it is dissolved, set it aside in a safe area while you prepare your oils.
Weigh out your castor, coconut and olive oils and add them to the slow cooker.
Note, where I live in the tropics, coconut oil is always liquid at room temperature. If when you are soaping your coconut oil is solid, go ahead and melt it at a low temperature in your slow cooker and then add the other oils. Proceed with the next step.
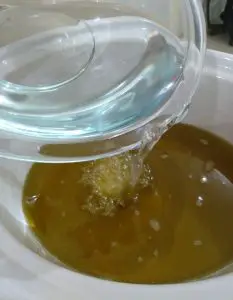
Carefully pour the lye solution into the oils.
It is at this point that I usually turn on my slow cooker. Depending on your brand of slow cooker, you may have to start with the heat on low or even preheat it if it takes a while to warm up.
Using the immersion blender, bring the soap to trace.
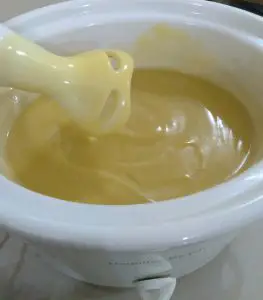
Once the soap has reached trace, cover the slow cooker and allow the soap to cook for 15 to 20 minutes. Here is where your soap should reach the separation phase. If you look at the picture below you can see where it appears that the oil is separating from the soap and floating to the top.
Using a stainless steel spoon, stir the soap to incorporate all the textures together – continue to mix until it is all well-blended.
Cover the slow cooker again and allow the soap to cook for another 15 to 20 minutes after which it should reach the applesauce phase.
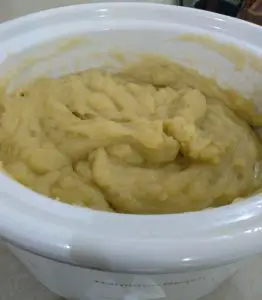
Stir your soap again, folding it in on itself, then cover and let it continue cooking for another 15 to 20 minutes. At this point the soap should take on a glossy appearance very similar to petroleum jelly. This is the Vaseline phase.
Depending on the fragrance or essential oil being used in the recipe, the soap may have to cool to below a particular temperature. This is the temperature at which the fragrance oil becomes combustible and is known as the flash point.
I refer to the data sheet that is usually available from the supplier online to get the flash point for the essential or fragrance oil that I am using.
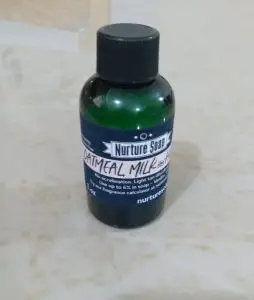
In this hot process soap recipe I am using the Oatmeal, Milk and Honey fragrance oil from Nurture Soap. In the planning and preparation stage of this recipe, I went here, under ‘Testing Notes and Info’ on the website product page to find the flash point of the fragrance oil which was 200°F.
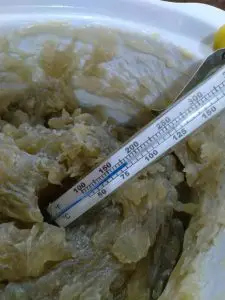
The slow cooker was left uncovered for about 20 minutes for the soap to cool down a bit. I used the candy thermometer shown below to ensure that the temperature was below the flash point of the fragrance oil.
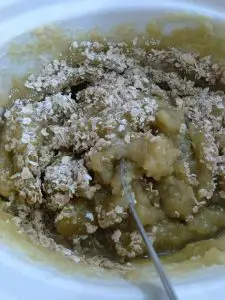
When your soap is cool sufficiently, add the honey, oats and fragrance oil. Mix well to incorporate fully.
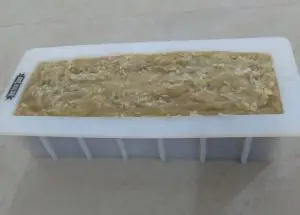
Scoop the soap into your mold and tap the mold on a firm surface to remove spaces and air pockets. I used my 10″ silicone mold from Nurture Soap.
Allow the soap to sit in the mold uncovered. I usually just let it rest overnight and cut the loaf into bars the following morning.
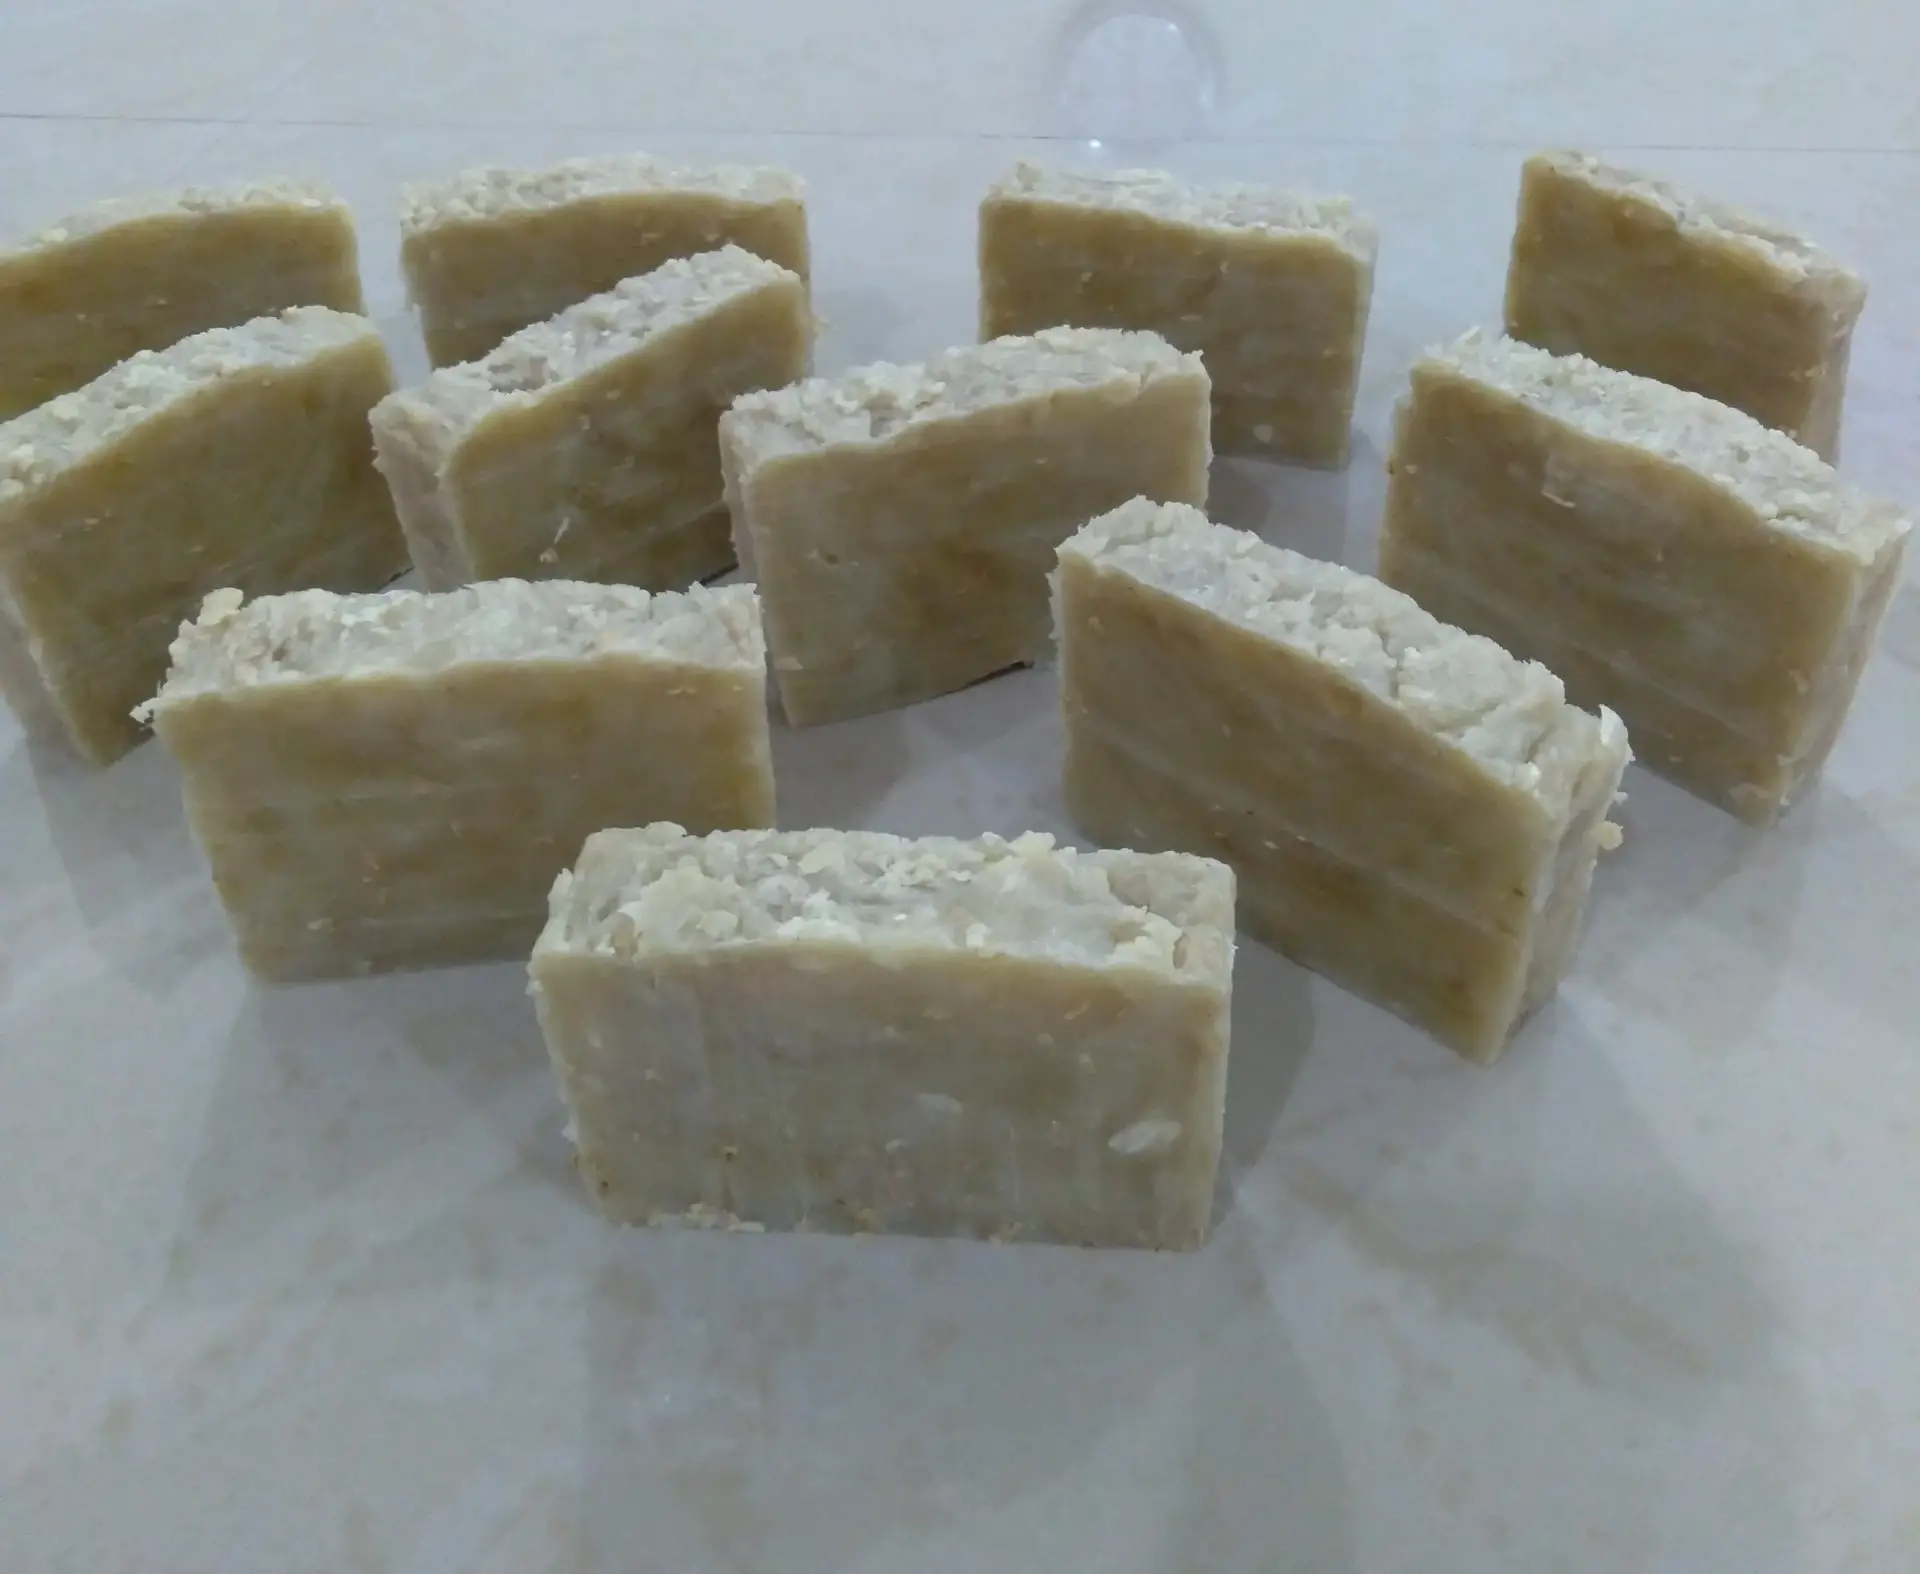
Although the soap is ready to be used right away, it is best to let it rest for about three weeks to allow the bar to harden. This way it would last longer in the shower.

Do you count the honey as liquid?
No, it is not necessary to discount liquid for honey as the amount is small and it is added after the cook.
Thank you so much for sharing this great recipe. The soap is wonderful!!! Do you know if it is possible to simply double the recipe for a larger batch?? Thanks again!!!
You are very welcome!
You may double the recipe to create a batch twice the size, but always run the recipe through a lye calculator, such as Soapcalc, to determine the amount of lye and water needed. Happy soaping 🙂
Thank you for sharing this recipe. This is our go to recipe. Works perfect every time.
I am happy to hear that! 😊