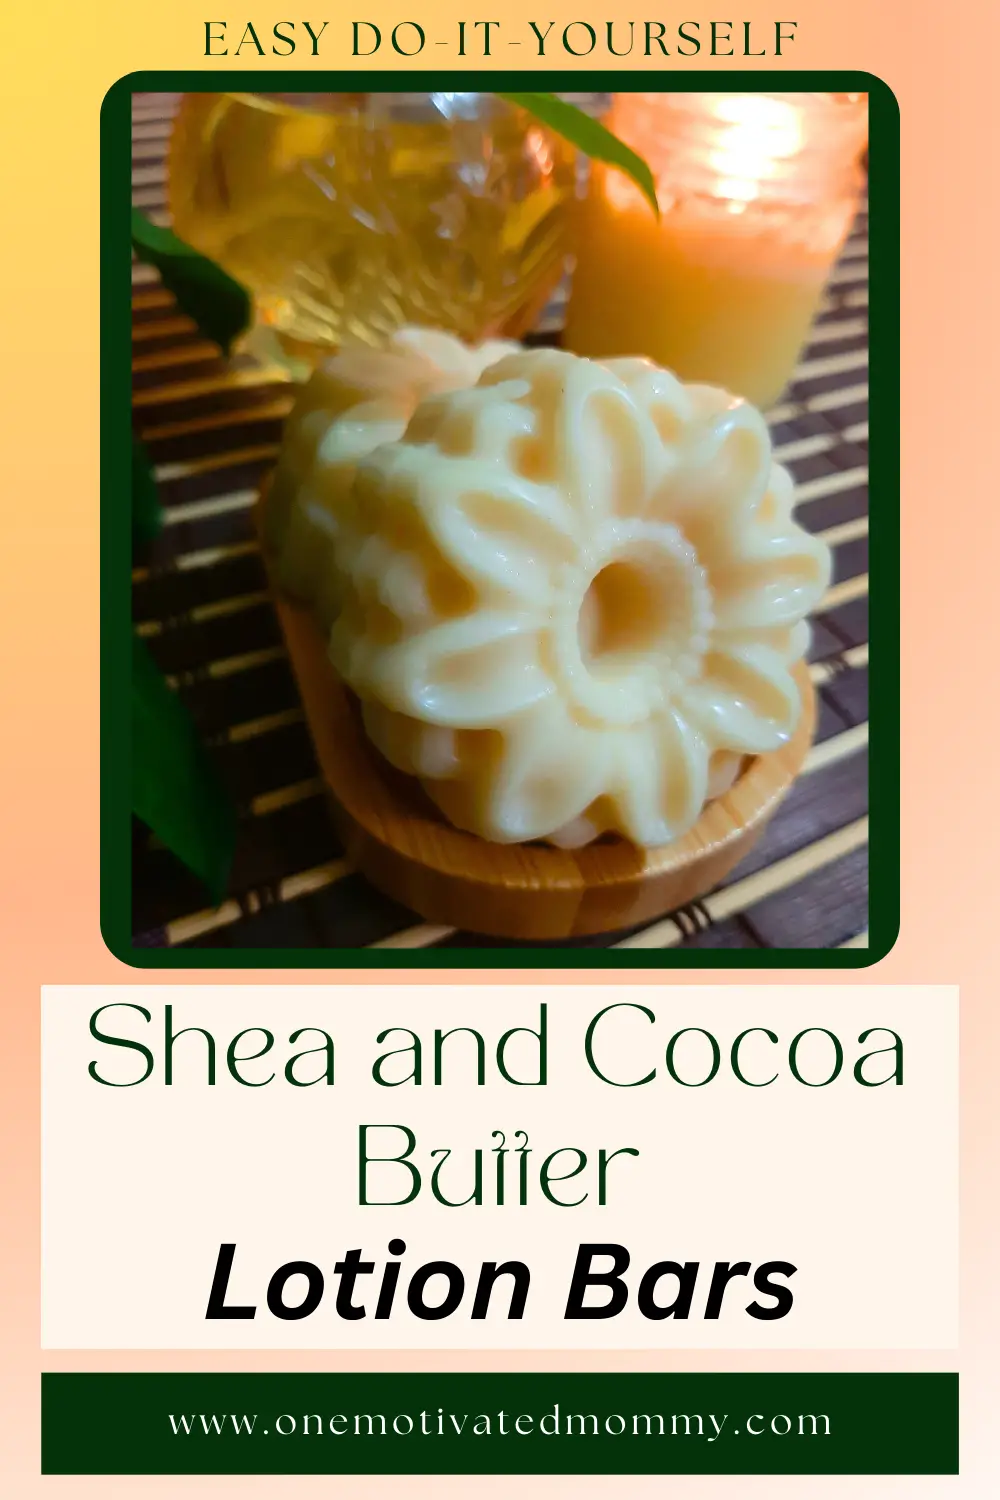
Today I am sharing with you my recipe for a homemade Shea and Cocoa Butter Lotion Bar. It is one of my favourite DIY skincare products that leaves skin feeling soft, smooth and well-pampered. It is easy to make and you can customize it to suit your preference.
What is a Lotion Bar?
A lotion bar is a solid product that is used similarly to traditional lotions to keep skin moisturized. Unlike liquid lotions, which contain water, lotion bars do not require the use of a preservative and its firm form makes it less messy and convenient.
Crafted from wholesome natural ingredients, such as beeswax, cocoa butter and nourishing oils, it is much healthier for the skin and does an excellent job at sealing in moisture and forming a protective barrier.
It is a great sustainable and eco-friendly skincare product that is perfect for moisturizing the skin while on the go.
- Related Post: DIY Soft and Silky Lotion
- Related Post: Handcrafted Cold Cream Recipe

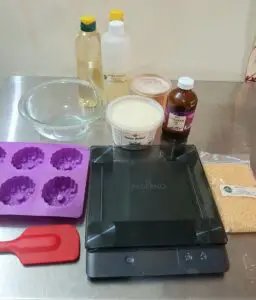
To make the Shea and Cocoa Butter Lotion Bars, you will need the following tools and equipment:
Double Boiler or Heat-Safe Glass Bowl: To melt and combine the ingredients without direct heat exposure.
Measuring Scale: To accurately measure the weights of the ingredients.
Silicone Molds or Small Containers: For shaping and storing the lotion bars.
Stirring Utensil: A spoon or spatula to mix the ingredients thoroughly.
Small Pot: If using a double boiler setup, you’ll need a pot to hold simmering water.
Labels: To mark the date of creation and any essential details about the lotion bars.
Fridge (Optional): If you live in a warm climate or want to speed up the solidification process, you can use the fridge.
For this recipe, I’ve used a combination of oils and butters that are well-known for their benefits when it comes to skincare:
- Cocoa Butter is high in antioxidants that can help to combat free radicals known to cause ageing. It is rich in fatty acids that nourish and soften the skin which makes it particularly beneficial for rough and dry skin.
- Shea Butter contains essential vitamins and fatty acids that reduce inflammation, soothe irritation and contribute to smooth skin. It provides intense hydration without clogging pores as it is non-comedogenic.
- Avocado Oil has antioxidant and anti-inflammatory properties and is abundant in vitamins A, D and E. This unique oil penetrates deeply into the skin and can help provide relief for dry, flaky or mature skin.
- Sweet Almond Oil is a lightweight oil that functions as a gentle emollient, sealing in moisture and leaving the skin soft. It is also rich in vitamins A and E and omega-3 fatty acids that can help protect the skin from premature ageing.
- Beeswax is a natural emulsifier and thickening agent in lotion bars. This helps to create a solid and easy-to-apply consistency. It has humectant properties which help to draw moisture to the skin which contributes to hydration. It is also protective against the natural elements while being gentle on the skin.
These ingredients combined create a skin-loving nourishing lotion bar that leaves skin radiantly soft, smooth and supple.
Ingredients to Make Shea and Cocoa Butter Lotion Bars
Note: With the exception of the essential oil, the other ingredient amounts listed are by weight.
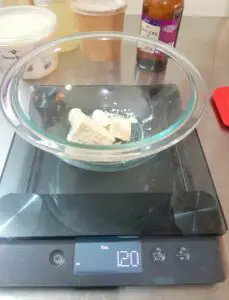
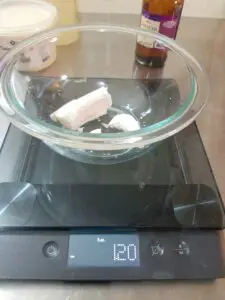
- 1.2oz Shea Butter
- 1.2oz Cocoa Butter
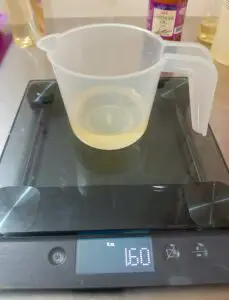
- 1.6oz Avocado Oil
- 1.6oz Sweet Almond Oil
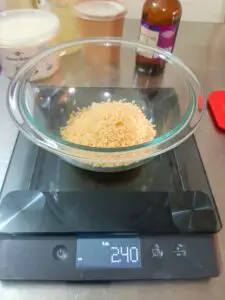
- 2.4oz Beeswax
- 2ml Lavender Essential Oil (or essential oil of your choice)
Directions
Gather all your tools and ingredients.
Next, weigh the beeswax and butters and add them all to the heatproof container.
Weigh the oils and set them aside.
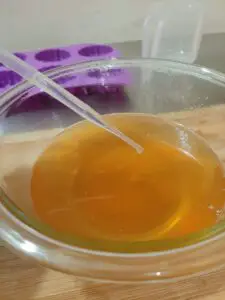
In a double boiler or a heat-safe glass bowl over a pot of simmering water, heat the shea butter, cocoa butter and beeswax pellets together until fully melted.
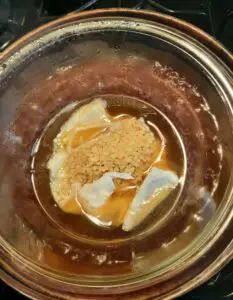 After melting, remove the mixture from the heat and allow it to cool slightly.
Next, add the avocado oil and sweet almond oil.
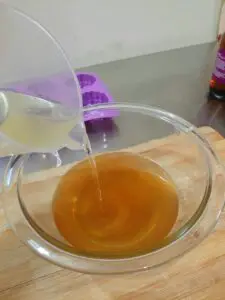
Stir in lavender essential oil and mix well to combine.
Pour the mixture into silicone moulds or small containers of your choice.
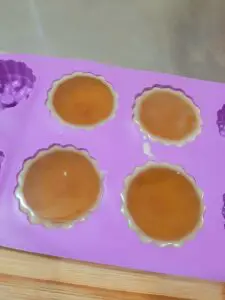
Let it cool and solidify at room temperature or speed up the process by placing them in the refrigerator.
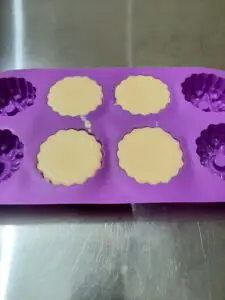
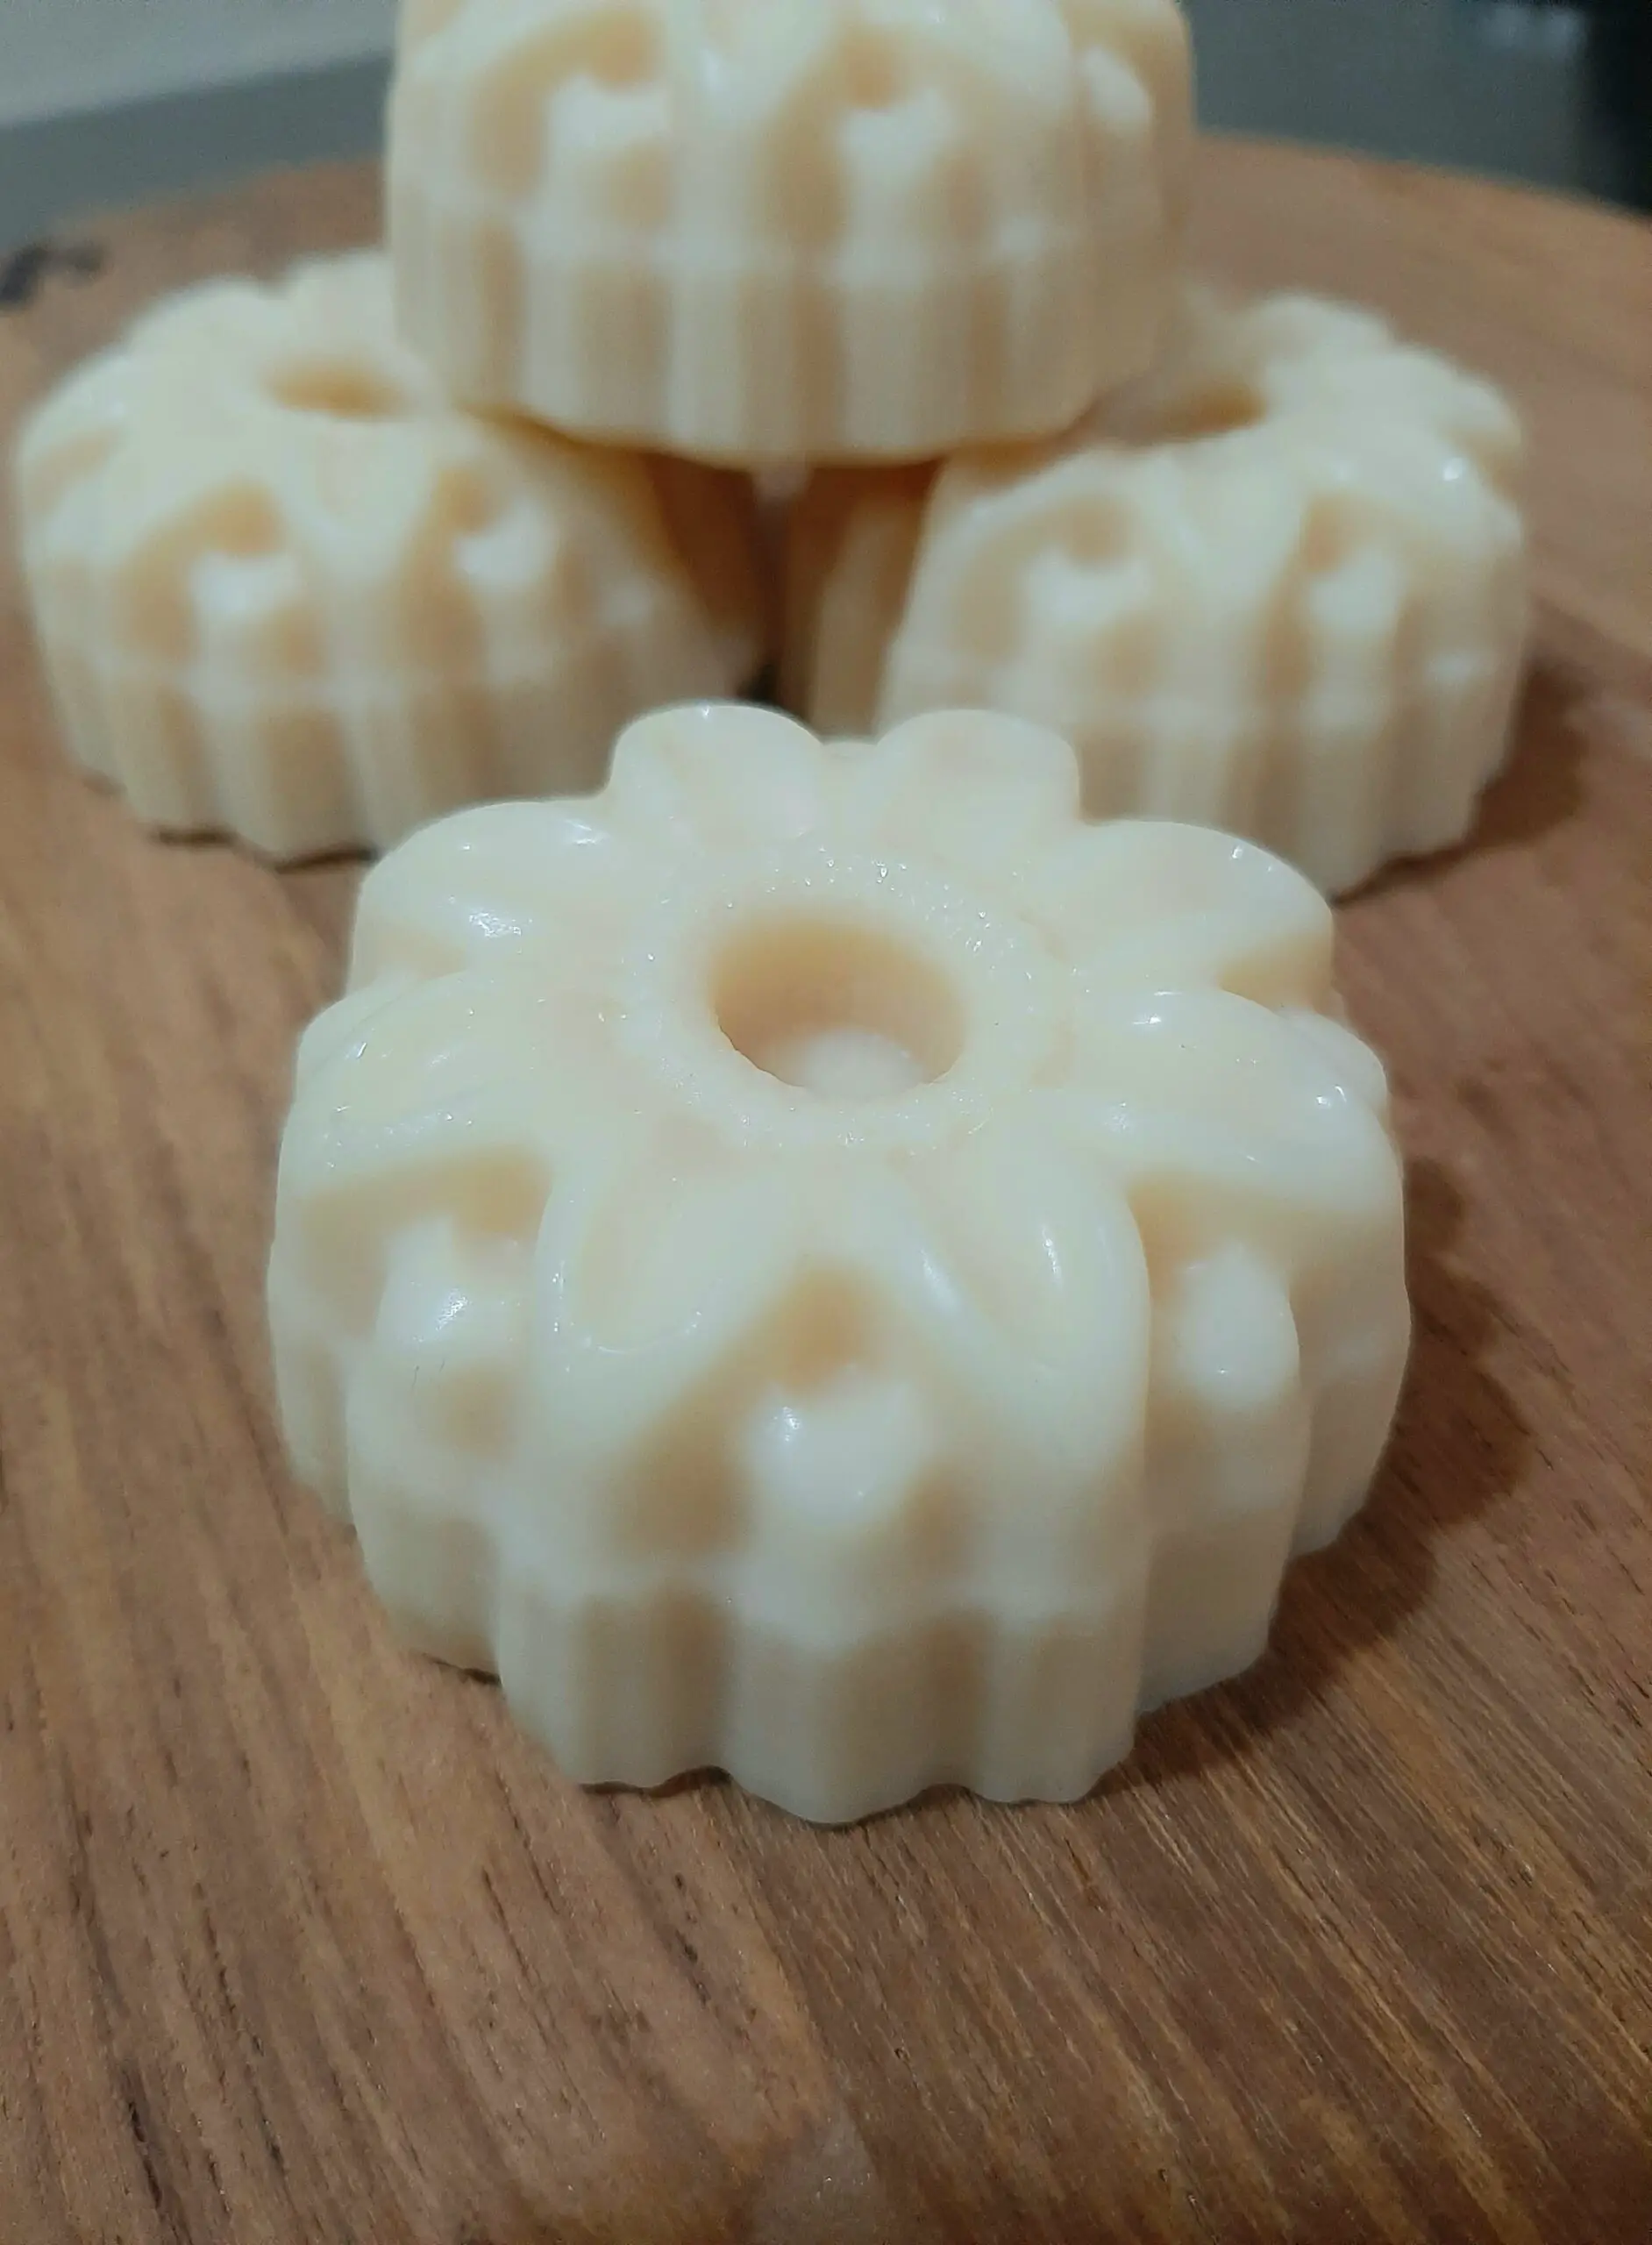
Once solid, remove the lotion bars from the moulds or containers.
Using Your Lotion Bar
To use the lotion bar, rub it between your palms to melt it slightly with your body heat before applying it. You can also apply it directly to the desired area and massage it in, paying attention to areas that may be more prone to dryness.
How to Store The Lotion Bars
Proper storage is essential to ensure the effectiveness and longevity of the lotion bars.
Keep them in an airtight container in a cool, dry place away from direct sunlight or heat. Exposure to heat can cause them to melt and change their texture and consistency.
Also, avoid keeping them in a humid environment such as the bathroom. This can cause them to become sticky or soft.
Take note of the date you made lotion bars, label them, and use them within 6 to 12 months. The shelf life usually depends on the shelf life of each of the individual ingredients used. So try to get the best quality ingredients you can source with a long shelf life.
If you live in a tropical climate, as I do, or are experiencing warmer temperatures, you can store them in the fridge to maintain their shape and consistency.
This DIY Shea and Cocoa Butter lotion bar is perfect for keeping your skin moisturized and beautifully nourished, especially in dry or colder months. If you try it, let me know how it turns out.
Happy lotion bar making! 🙂