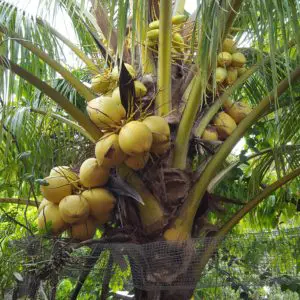
Coconuts have always held a special place in my childhood memories.
Our backyard was home to two flourishing coconut trees, their fronds swaying in the breeze while we lounged in a hammock suspended beneath them. Those weekends were magic.
After our morning chores, raking up the leaves in the yard and tidying, Pappy, my grandfather, would pick fresh coconuts for the family. With his skilled hands and deft cutlass, he would cut them open then pass one to each of us.
Those precious coconuts became our afternoon delight. We’d savour the cool, refreshing coconut water and devour the tender ‘coconut jelly’ that lined the shells.
Another cherished memory involves the ‘coconut man,’ a regular visitor, wheeled his barrow laden with dried coconuts harvested from his patch. Pappy would gather a few twenty-five-cent pieces whenever he spotted him coming and would go to meet him, returning with a bounty of dried coconuts that he’d expertly husk with a garden hoe.
Coconut was also woven into the fabric of our culinary world. It starred in Pappy’s ‘sugarcake‘ and homemade icecream and graced Granny’s sweetbread, bake, curries and stews.
Today, I want to share with you my Granny’s method of making homemade coconut oil. This oil wasn’t solely for cooking; it was also an elixir we used for nurturing hair and skin.
How to Make Homemade Coconut Oil
When purchasing dried coconuts, if you can, source them directly from local farmers or markets. This may be the best option for obtaining fresh produce as well as supporting local agriculture and sustainability.
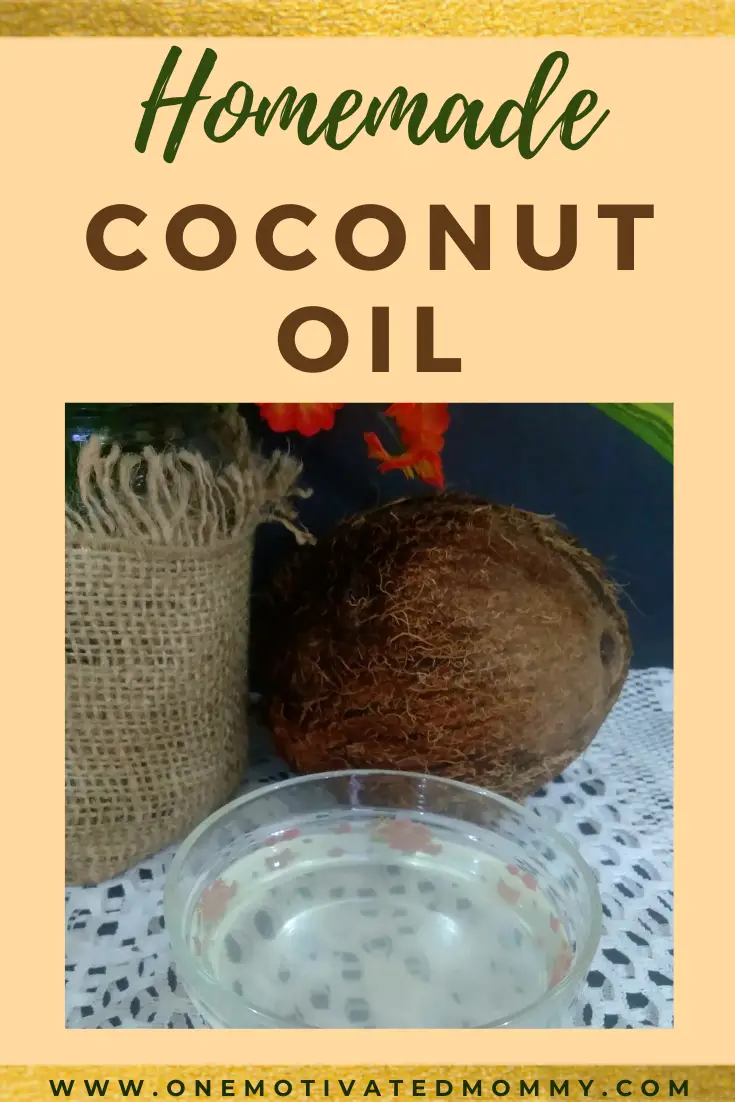
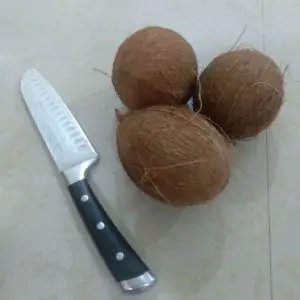
For this batch of coconut oil, I used three dried coconuts that yielded approximately 6 ounces of beautiful, clear and fragrant oil.
It is worth noting that alternative methods exist for crafting coconut oil, such as the fermentation process, the cold method involving chilling the milk first. However, this is a simple method I’m about to share; a method passed down through generations, though often enacted in the backyard over a wood fire.
Directions
First, I tapped the middle of the coconut shell with the blunt side of a heavy knife to break it open. A Chinese chopper, hammer, or mallet can also be used. This was done over a container to collect the coconut water for later use.
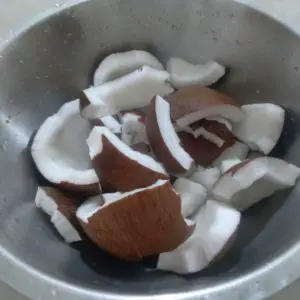
Next, I used a butter knife, inserted between the white ‘meat’ or jelly, as we call it, and the shell and gently pried it apart to separate the coconut from the shell.
The coconut was then thoroughly washed.
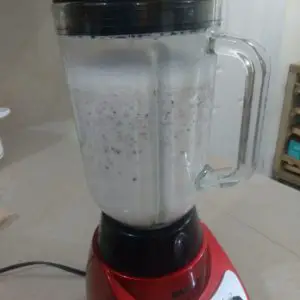
The chunks were then cut into smaller pieces to make the blending process easier.
The water collected from the coconuts and the coconut pieces was added to the blender. Three additional cups of water were then added. Next, it was thoroughly blended on the highest setting.
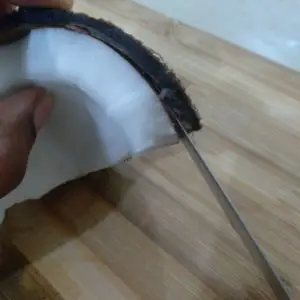
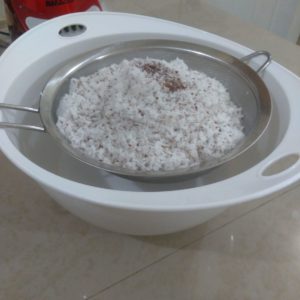
I strained the milk and squeezed the copra to extract as much milk as possible.
Note: After the milk is extracted the leftover coconut bits need not be thrown out. A few ways that it can be repurposed is by;
- Adding it to garden plants as mulch to help retain moisture and enhance the soil quality.
- Mixing it with your favourite body oil to use as a diy exfoliating body scrub
- And of course, you can add it to your compost pile.
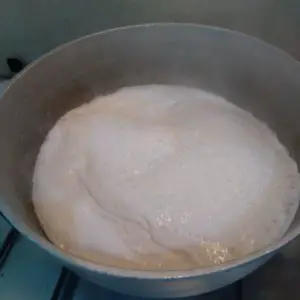
It is at this point that some chill the milk to allow the cream to rise to the top, but I went straight to the stove.
Separating the Oil From the Milk
The milk was placed in a large wide-bottomed pot on medium-high heat and allowed to come to a boil.

When it started to boil, the heat was reduced to medium to avoid boiling over and spilling.
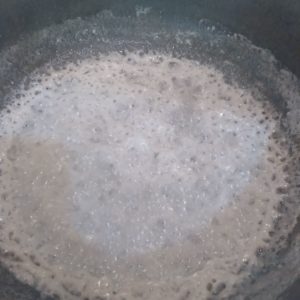
About 20 minutes into the simmer, the oil started to appear.
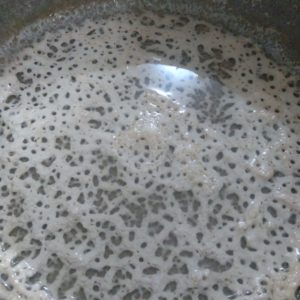
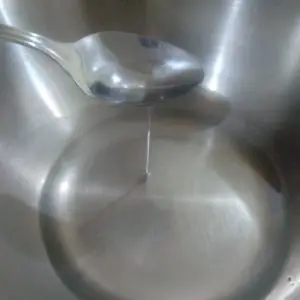
The water completely evaporated and the crystal-clear oil was ready to be poured, after another 10 minutes,
I strained the oil through a fine-meshed strainer into another bowl, ensuring that no remnants or solids were left in the oil.
Pour your coconut oil into a clean airtight glass container once it has cooled down. Store it in a cool, dry place away from sunlight.
There you have it – a few simple steps, a touch of tradition, and less than one hour – to create this nourishing homemade coconut oil.
The aroma of coconut oil on the stove will always remind me of my Granny. It’s a vessel of memories, love and heritage.
Consider trying your hand at crafting your own homemade coconut oil, the process and its rewards are worth it.