
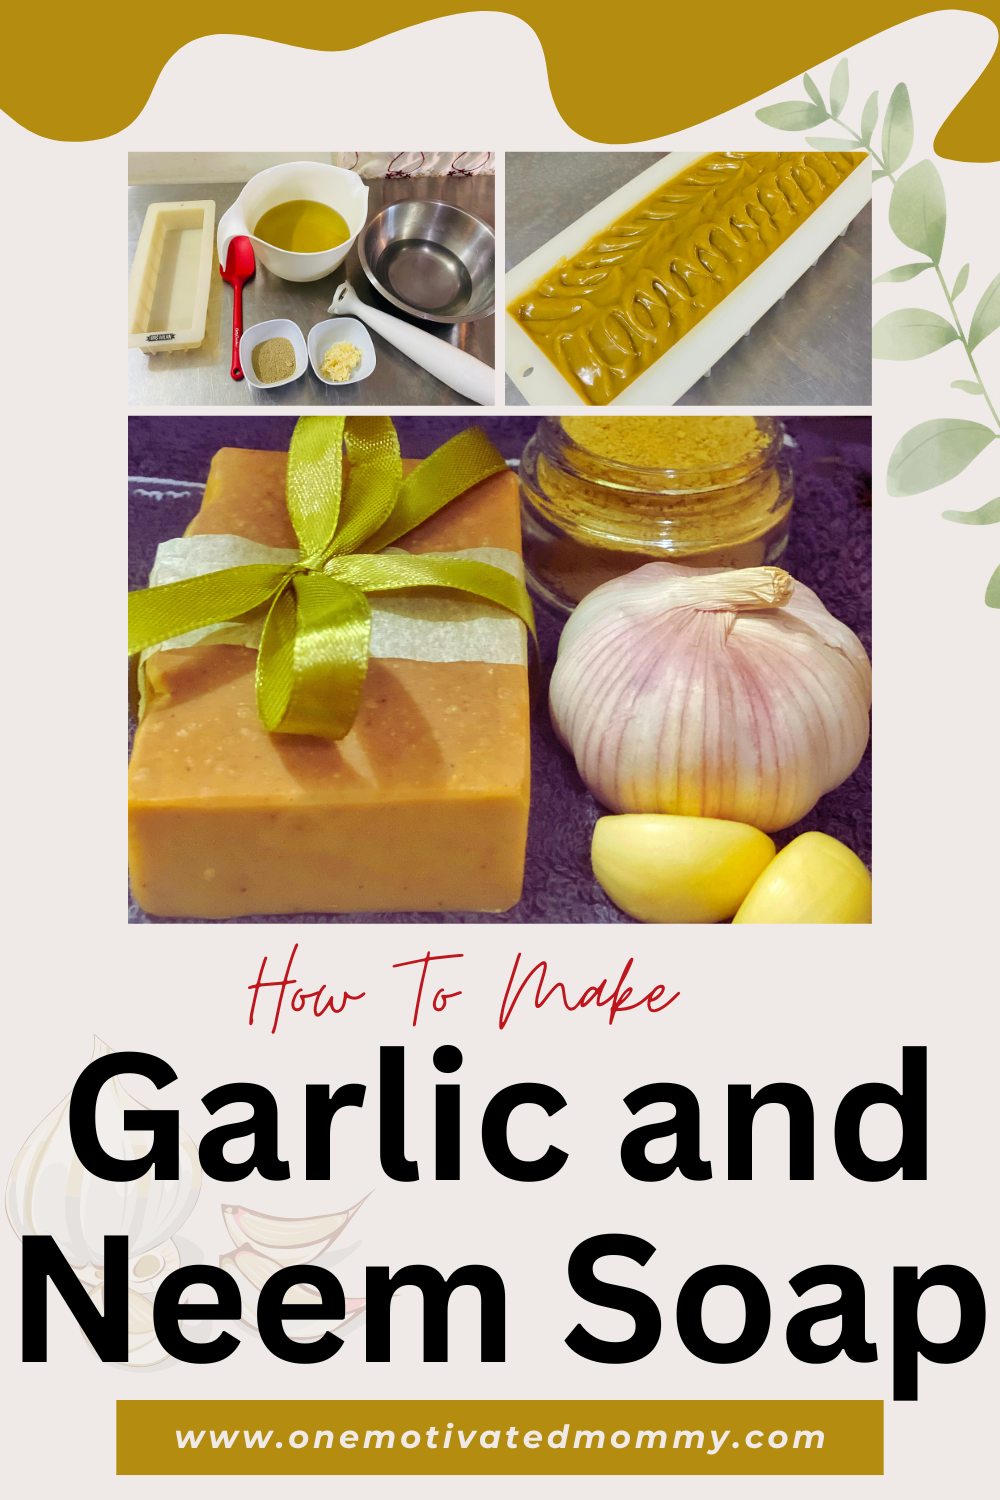
Garlic and neem make a powerful duo that promotes skin health. In this post, I share a step-by-step guide to making this potent soap at home, perfect for tackling problem skin with natural ingredients.
This DIY soap harnesses the antioxidant and antimicrobial power of both garlic and neem, making it a valuable addition to your skincare routine.
Why Use Garlic and Neem In Soap?
Garlic Benefits for Skin
Garlic, rich in sulfur compounds, amino acids and minerals, has been used for thousands of years to treat various conditions. Its antifungal and antibacterial properties make it effective for:
Neem Benefits for Skin
Neem is a traditional medicinal plant from the Indian subcontinent, known for its anti-inflammatory, antimicrobial, antioxidant and antiseptic properties. In Ayurveda, neem is used to treat:
Together, garlic and neem create a soap that cleans your skin, eliminates harmful microbes, hydrates and provides soothing relief, ensuring a healthy, balanced and radiant complexion.
Important: Always perform a patch test to ensure there are no adverse reactions before using this soap, as it may be irritating to some skin types.
Feel free to use a smaller batch than the 32 ounces of oil I used in my recipe. I have included the percentages used so you can resize the batch to your preference.
Related Soap Recipes
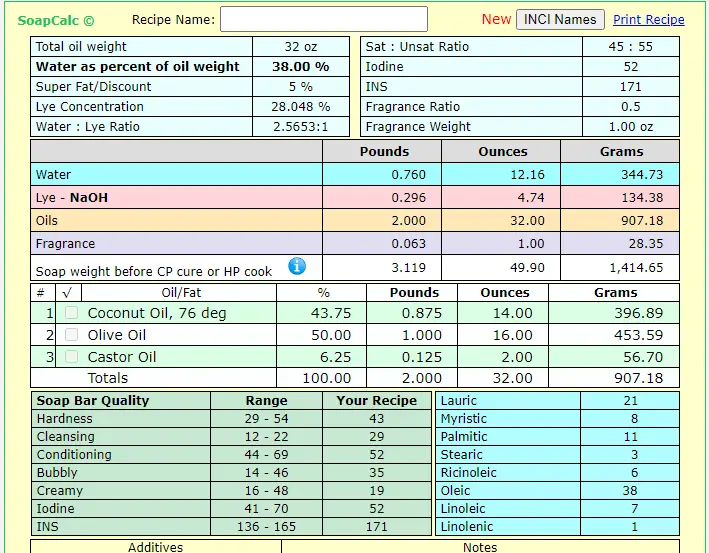
This is a simple recipe containing only three oils – coconut, olive and castor oils.
I left this soap unscented but an essential oil like tea tree or eucalyptus can be added for further antibacterial benefits. In my experience, the lye greatly reduces the smell of the garlic.
Ingredients
- 14 oz Coconut Oil (43.75%)
- 16 oz Olive Oil (50%)
- 2 oz Castor Oil (6.25%)
- 4.74oz Sodium Hydroxide
- 12.16oz Distilled Water
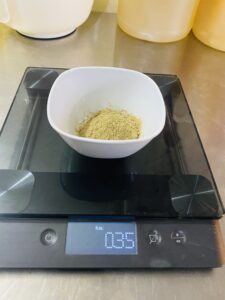
- 0.35oz Neem Powder
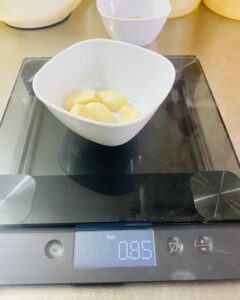
- 0.85 oz Fresh Garlic (grated or pureed)
- Optional – 1 oz of essential oil
Tools
- Digital Kitchen Scale
- Stainless steel or heat-resistant container
- Plastic containers
- Non-reactive mixing bowl
- Soap Mould
- Stainless steel spoon
- Spatula
- Immersion blender
- Rubber gloves
- Safety goggles
Directions To Make Garlic and Neem Soap
Safety First!
Working with lye requires caution.
Ensure that your working area is well-ventilated and wear safety glasses, rubber gloves and long-sleeved clothing to protect your eyes and skin. Keep children and pets out of the area.
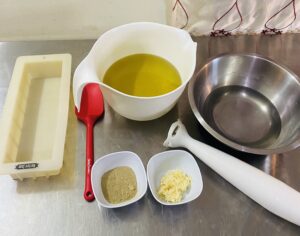
Gather your ingredients and tools.

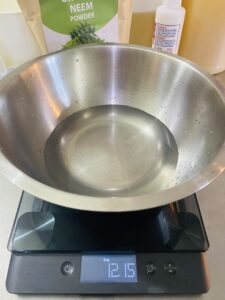
In a non-reactive, heat-resistant or stainless steel container, weigh the water.
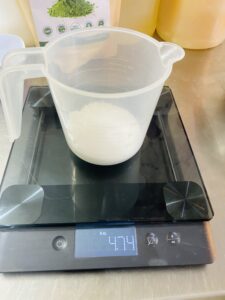
Next, weigh the sodium hydroxide in a separate container.
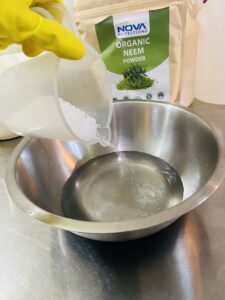
In a well-ventilated area, carefully add the sodium hydroxide to the water, stirring it with a stainless steel spoon to dissolve it completely. Avoid inhaling the fumes that will be given off as the sodium hydroxide dissolves. Also, the solution will become very hot so be careful.
Once the lye crystals are fully dissolved, set the solution aside to cool to room temperature.
Prepare The Other Ingredients
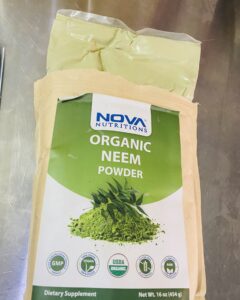
The neem powder I used for this soap is the Organic Neem Powder from Nova Nutritions.
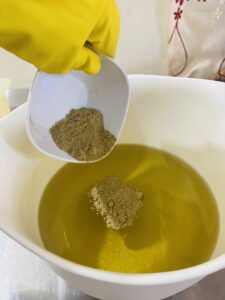
Weigh the neem powder.
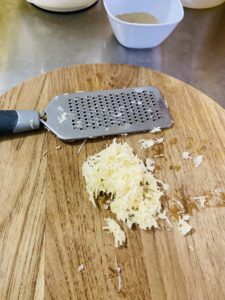
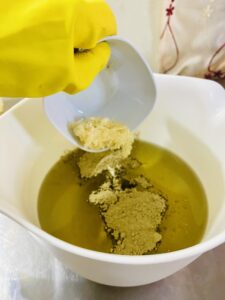
Weigh the peeled and washed garlic cloves.
If you have a food processor, grind or puree the garlic cloves to a fine consistency. I opted to use my favourite handheld grater for no reason other than I love it. 😀
I also found that the immersion blender does a great job of further grinding it when added to the oils.

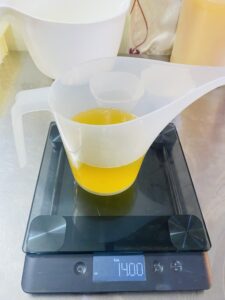
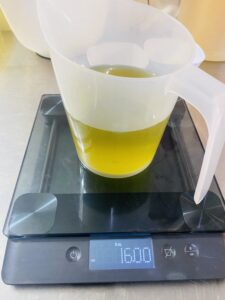
Next, weigh the oils.
I almost always weigh the castor oil first and directly into the mixing bowl.

Then weigh the other oils separately and add them to the mixing bowl.
When everything is prepared, get ready to make the Garlic and Neem soap.
Add the neem and garlic to the bowl with the oils.
Using the immersion blender, mix all ingredients thoroughly.
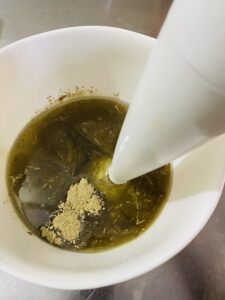
Carefully add the lye solution to the mixture while stirring with the immersion blender.
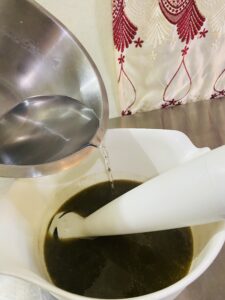
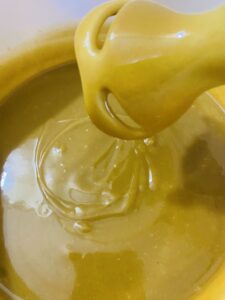
Using a mixture of blending and stirring with the immersion blender, bring the mixture to trace.
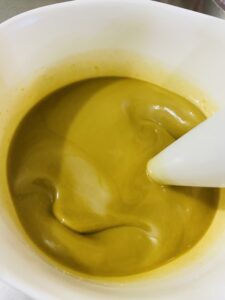
You will know the soap has achieved trace when the batter thickens and the soap creates a trail or trace when it is drizzled back on itself as shown below.
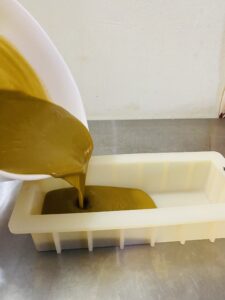
Pour the soap into your mould. Use a spatula to remove the last bits of soap from the bowl.
Gently tap the mould on a sturdy surface to remove any air bubbles and texture the top if desired.
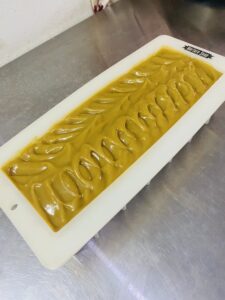
Set the soap in an area where it will be undisturbed for about 24 hours to allow it to harden.
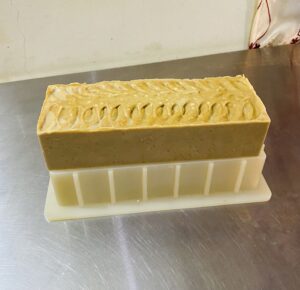
After it has solidified, remove it from the mould and cut it into bars.
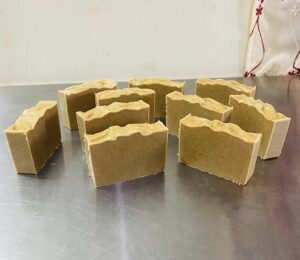
Curing and Storage
Place the bars on a shelf in a well-ventilated area and let them cure for a period of 4 to 6 weeks, occasionally turning the bars for even exposure to the air.
Store the cured soap bars in a cool, dry place for up to one year.

Conclusion
Making your own garlic and neem soap is a rewarding process and can be a beneficial addition to your skincare routine. This powerful combination helps fight bacteria and soothe inflammation.
Try crafting this homemade soap and enjoy the natural goodness it brings to your skin’s health and vitality! Happy Soaping! 🙂
beautiful recipe will try…thanks
You’re welcome, Liselle! 🙂