I always look forward to the Christmas season here in sweet T and T – parang music, poinsettia plants, pastelles, and of course, I get to make Christmas soap.
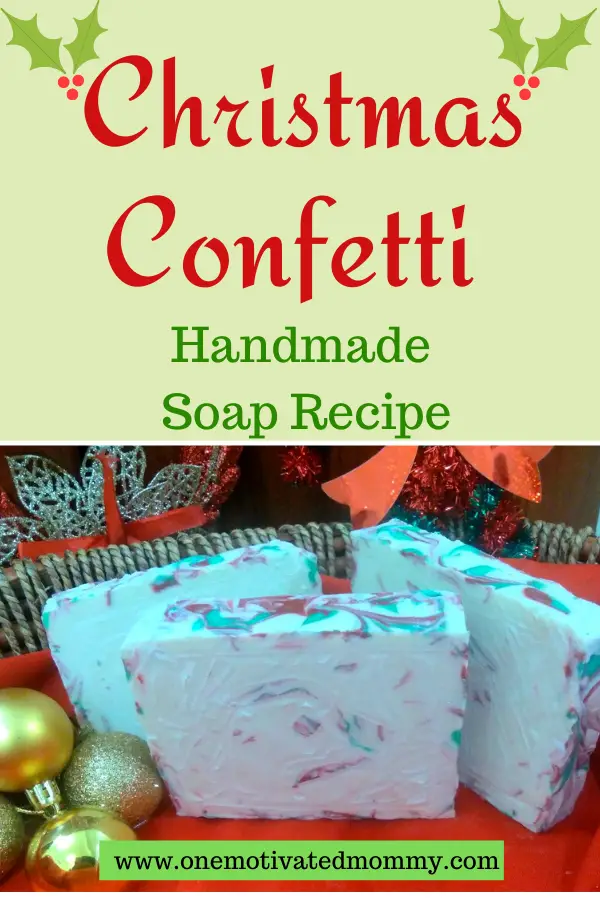
The soap I had in mind was based on texture and confetti – not too much colour and swirls, but vibrant specks of green and red here and there in random places. I also wanted to do a much larger bar to offer as a gift. So this is the soap that I created and I am sharing my process with you if you should feel inspired to create something similar.
This Christmas soap is made in two parts. First, the outer shell was made and allowed to set overnight before the second part was added.
Christmas Soap Part 1 – The Outer Shell
Ingredients
- 7 oz Coconut oil
- 7 oz Olive oil
- 1 oz Castor oil
- 1 oz Cocoa butter
- 2.35 oz Sodium Hydroxide
- 6.1 oz Distilled water
- 0.5 oz Fragrance Oil
- 1 tsp Green Vibrance Mica
- 1 tsp Really Red Pigment
- 1 tsp Titanium dioxide
The fragrance I chose for this soap is Star Showers from Nurture Soap. 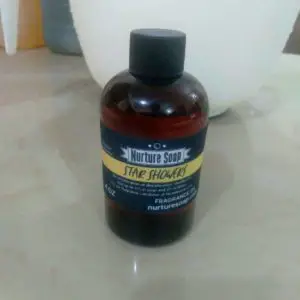
You may choose any fragrance you like, just ensure it does not cause acceleration in order to allow ample time to work with the colourants and create swirls.
Directions to Make This Christmas Soap
Safety first! Suit up with your safety gear – goggles, long sleeves, gloves and as always, ensure that no children or pets are in your soaping area. Avoid distractions.
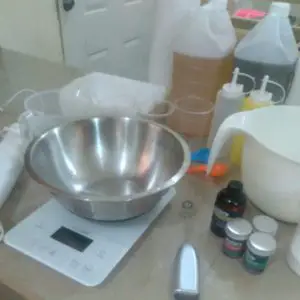
Gather all your tools and lay them out.
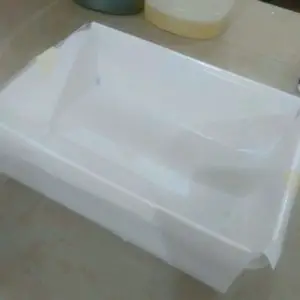
Prepare the mould.
I used a wide plastic container, lined with freezer paper as a mould for the outer shell. The base was wide enough to allow the soap to spread out in a sheet.
 Prepare the lye solution.
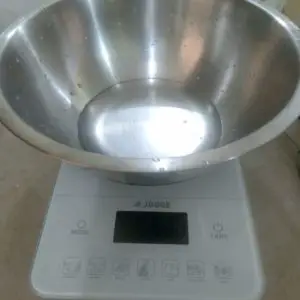
Weigh the water in a stainless steel or heatproof container.
Weigh the sodium hydroxide in a plastic container.
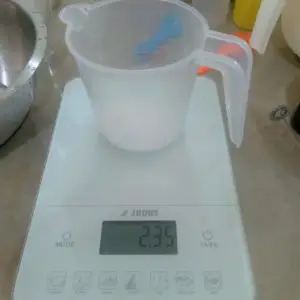
In a well-ventilated area, add the sodium hydroxide to the water and stir with a stainless steel spoon until thoroughly dissolved. Do not inhale the fumes that are given off while dissolving.
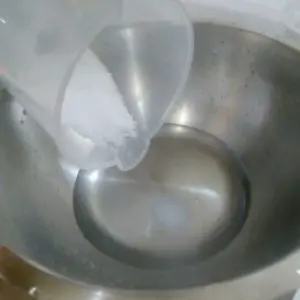
Set the lye aside in a safe place to allow it to cool to room temperature. Meanwhile, prepare your other ingredients.
Weigh your oils and add them to the mixing bowl.
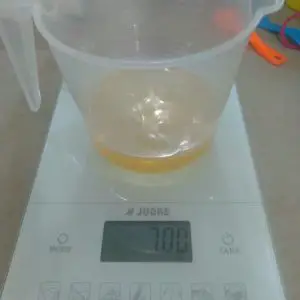
In three small cups or containers, add about a tablespoon of oil from your mixing bowl. Then, to each cup add 1 teaspoon of each of the colourants and the titanium dioxide.
The red and green colourants I used are Really Red Pigment and Green Vibrance Mica from Nurture Soap.
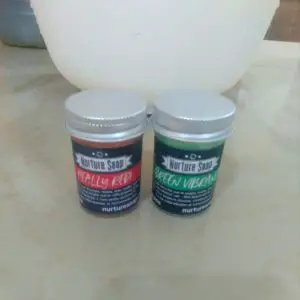 Using a mini whisk, mix each colour well to disperse. You may have to clean the head of the whisk in between mixing to avoid blending the colours into each other.
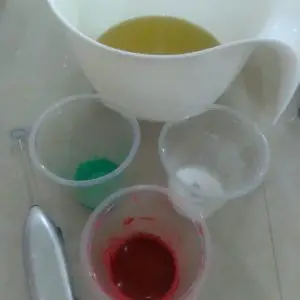
Next, weigh your cocoa butter into a microwaveable or heatproof container.
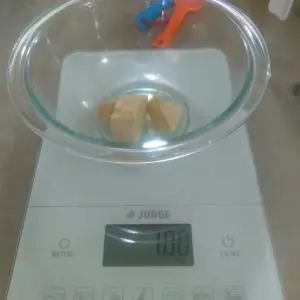
Using the microwave or a double boiler, heat the cocoa butter until melted.
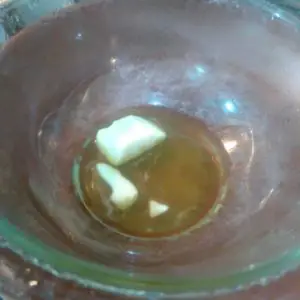
Add the melted cocoa butter to the mixing bowl with the oils.
Nexr, weigh your fragrance in a glass or ceramic container.
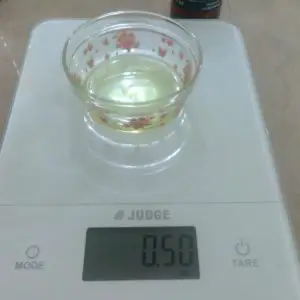
Now, let’s make the soap.
Carefully pour the lye solution into the mixing bowl.
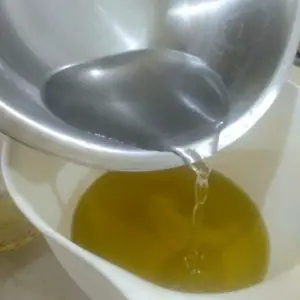
Add the fragrance oil while stirring with the stick blender.
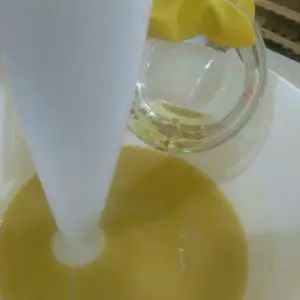
Next, turn on the stick blender and mix to a light trace.
Pour about 1/3 cup of the traced soap into each of the cups with the colourant and stir well to mix.
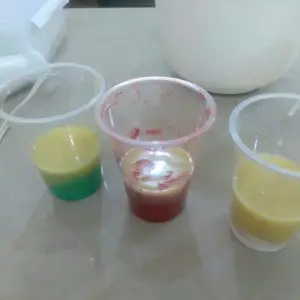
The cup with the titanium dioxide, add it to the remaining soap batter in the mixing bowl. Mix well, using a spatula.
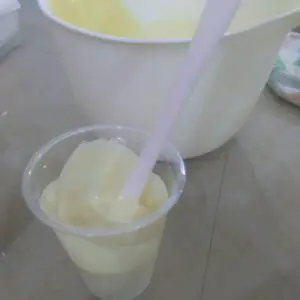
Pour the white soap into the mold.
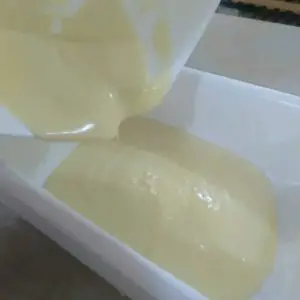
Pour the red and green into the squeeze bottles.
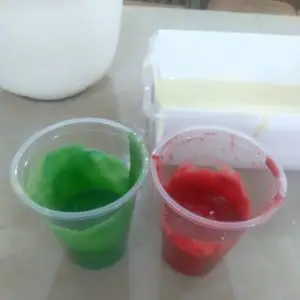
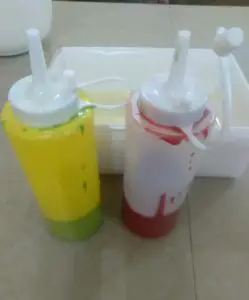
Add the colour to the white soap and use a toothpick or a wooden skewer, to create swirl patterns in the soap.
Once this is done, put the soap in an open ventilated area where it would not be disturbed to set overnight.
The following day, remove it from the mould.
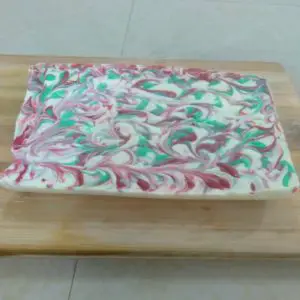
As the Christmas soap recipe I used was not intended to use my entire 10″ silicone mould, I used a piece of cardboard, cut to fit the mould and covered it with freezer paper to create a divider for the space I wanted to use. I also used rubber bands to hold the cardboard in place as you will see pictured further down in the post.
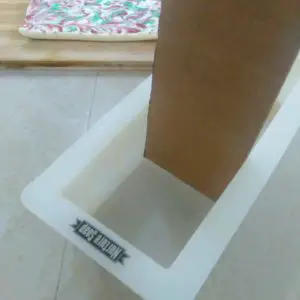
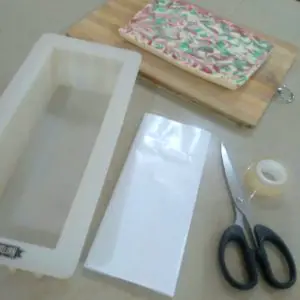
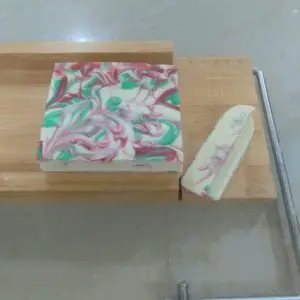
Next, I cut the slab of soap into four pieces.
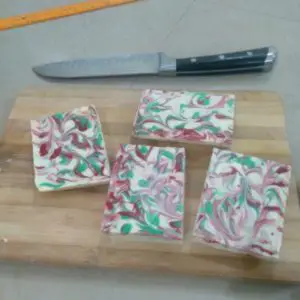
Then, I neatened up the edges to get straight lines.
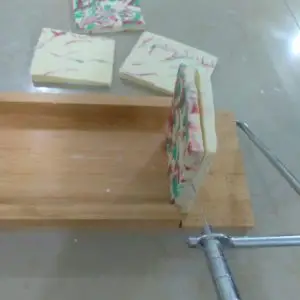
Finally, I cut each smaller slab into two pieces as shown below.
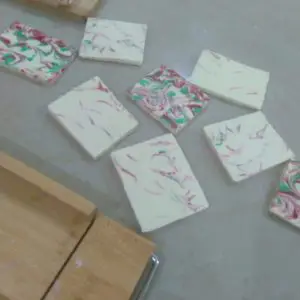
I placed the four outer pieces inside the mould with the swirl on the outside.
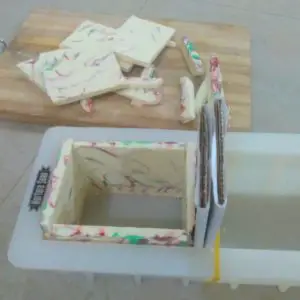
The remainder of the soap will be added as embeds to create the confetti and texture effect.
Cut the soap into pieces, then add some pieces to the mould as shown below. Do not add too many at a time as there needs to be sufficient space to allow the second soap batter to get between the spaces and adhere to the soap embeds.
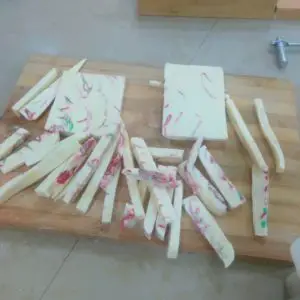
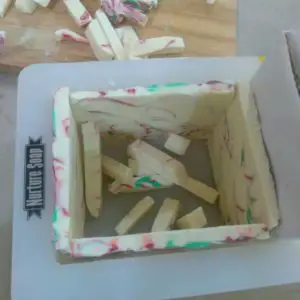
Once the first layer of embeds is in the mould, it is time to prepare the second part of the soap…the filling.
Christmas Soap Part 2 – The Filling
The recipe for the filling is the exact same as for the shell, minus the red and green colourants and I used the same fragrance as well.
Ingredients
- 7 oz Coconut oil
- 7 oz Olive oil
- 1 oz Castor oil
- 1 oz Cocoa butter
- 2.35 oz Sodium Hydroxide
- 6.1 oz Distilled water
- 0.5 oz Fragrance Oil
- 1 tsp Titanium dioxide
Proceed to make the soap as before. This time you only need to prepare and add the titanium dioxide to the batter to achieve pure white soap.
Once trace is achieved, pour the soap batter into the mould ensuring that it gets into the spaces between the embeds. Pour enough to completely cover the one layer of embeds then tap the mould on the counter to get rid of any air bubbles.
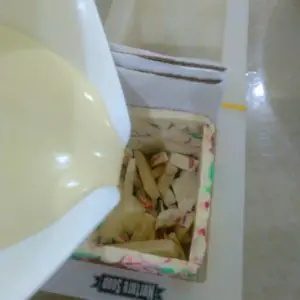
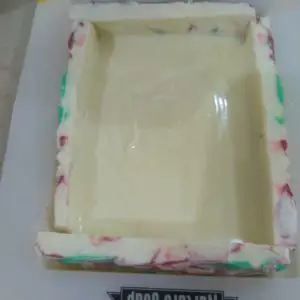
Add another layer of embeds.
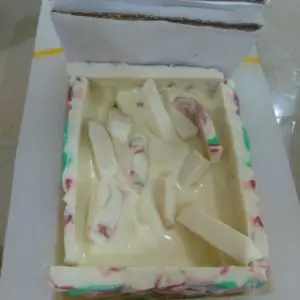
Repeat the process of adding embeds, pouring the soap, and tapping to remove bubbles in layers until the soap is at the top of your mould.
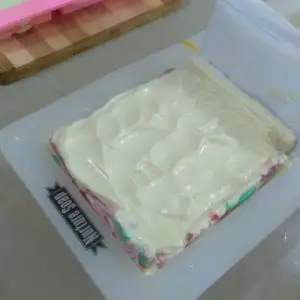
Now set the soap aside as before and allow it to set for 24 hours before removing it from the mould.
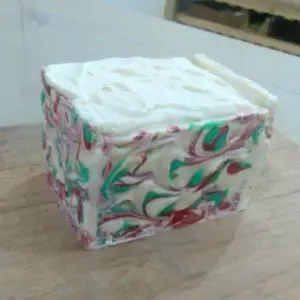
To achieve the framed rimmed look, the soap needs to be cut horizontally instead of vertically as is usually done. Then we will achieve soap that looks like this with the swirl all around and the confetti appearance in the middle.
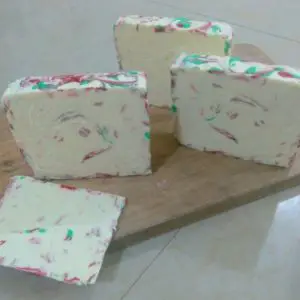
Set the bars aside in a well-ventilated area to allow them to cure for six weeks, at which point your Christmas soap can be beautifully wrapped and given away as gifts.
If you do try this method, feel free to share it with me. I’d love to see your results.
Happy soaping!! 🙂
