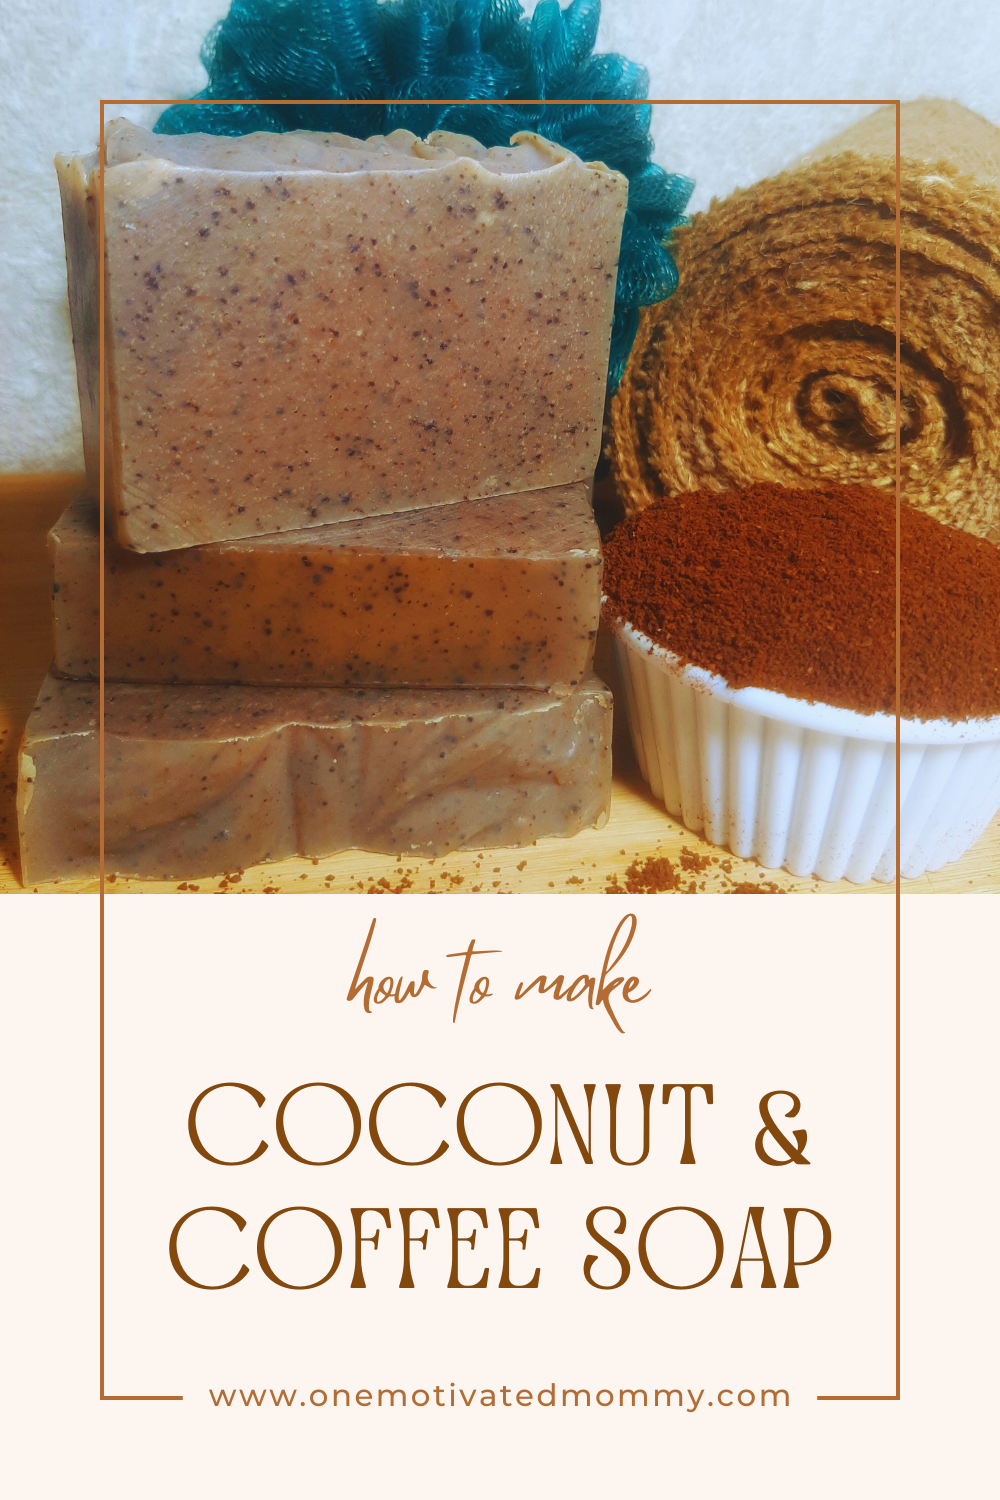
This delightful, exfoliating Coconut and Coffee Soap is a must-have in your beauty lineup. After using this soap, your skin will feel smooth, pampered and rejuvenated as if you’ve just stepped out of a spa.
The key ingredients in this soap are coffee grounds and coconut milk.
Coffee grounds provide exfoliating and invigorating properties to the soap sloughing away dead skin cells and stimulating blood flow for smoother skin and a brighter complexion.
Studies also suggest that the caffeine in coffee may help to reduce the appearance of cellulite when used externally.
Coffee soap is a favourite among gardeners and mechanics for its exfoliating granules that effectively scrub away tough dirt and grime.
Coconut milk adds moisturizing properties and its natural sugars create a fluffy, silky lather that cleanses the skin effectively.
This luxurious soap also contains shea and cocoa butter which contribute to the hardness of the bar and creamy lather. These butters also contain unsaponifiable components such as tocopherols known for having anti-oxidant properties and squalene which helps to restore skin suppleness.

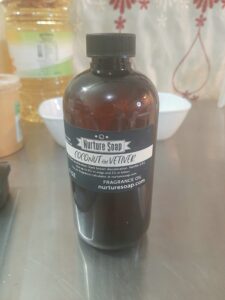
Note: This soap naturally has a subtle aroma of coffee with a light hint of coconut. Adding a fragrance or essential oil is optional and up to your preference. I chose to use one of my favourite fragrances from Nurture Soap – Coconut and Vetiver. This phthalate and paraben-free fragrance pairs well with the ingredients in this soap adding a lovely scent of coconut and vanilla.
How To Make Handmade Coconut and Coffee Soap
Equipment
Safety goggles and gloves
Stainless steel or heat-safe bowl
Stainless steel mixing spoons
Spatula
Containers
Soap mould
Immersion blender
Kitchen scale
Ingredients
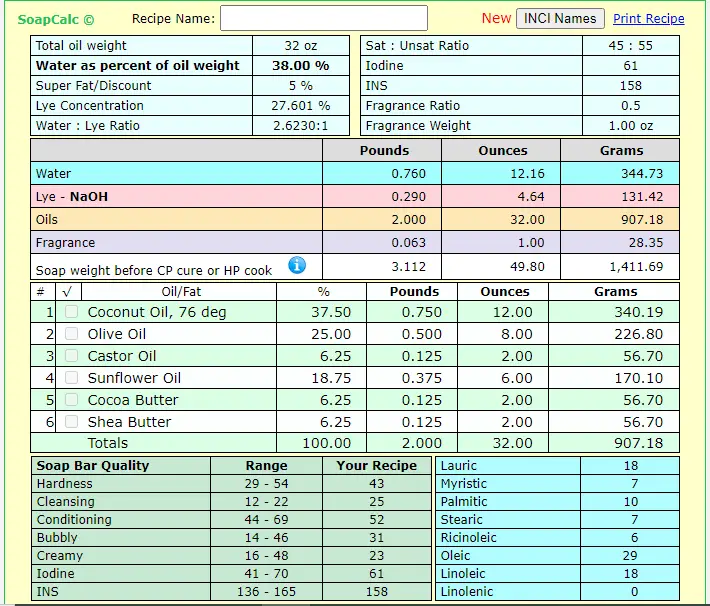
- 12 oz Coconut oil
- 8 oz Olive oil
- 6 oz Sunflower oil
- 2 oz Castor oil
- 2 oz Cocoa Butter
- 2 oz Shea Butter
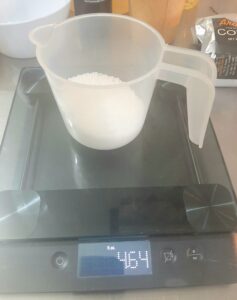
- 4.64 oz Sodium Hydroxide
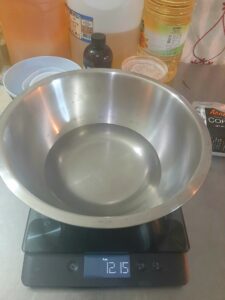
- 12.16 oz Distilled water
- 0.5 oz Coffee grounds
- 1 oz Coconut milk powder
- 1 oz Fragrance or essential oil (optional)
Coconut milk adds extra moisturizing properties which is beneficial in soaps with a higher percentage of coconut oil, as it can be drying to some skin types.
Directions
Safety First!
When making soap with sodium hydroxide safety is a top priority! Ensure no children or pets are in the production area and avoid distractions.
Wear protective goggles, long-sleeved clothing and gloves to protect your eyes and skin. When mixing the lye solution make sure you are in a well-ventilated area.
Gather all your tools and ingredients.
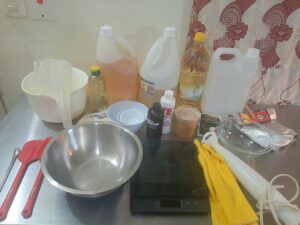
In a heat-safe or stainless steel container, weigh the water.
In a plastic container, weigh the sodium hydroxide.
In a well-ventilated area, add the sodium hydroxide to the water (in that order) and stir with a stainless steel spoon to dissolve thoroughly. The mixture will become hot and release fumes. Ensure that you do not inhale the fumes.
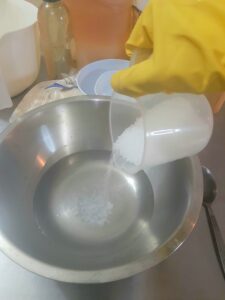
When the sodium hydroxide is fully dissolved and the solution is clear, set it aside in a safe area to cool to room temperature.
Prepare the Other Ingredients.
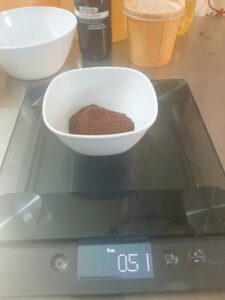
Weigh the coffee grounds.
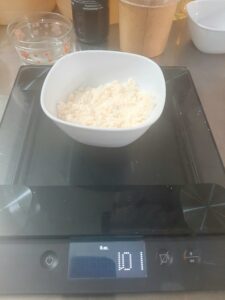
Weigh the coconut milk powder.
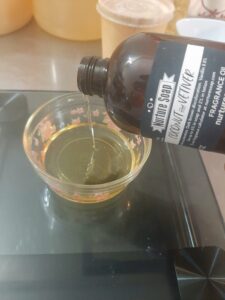
In a ceramic or glass container, weigh your fragrance or essential oil. Avoid using plastic containers as these oils can degrade certain types of plastic.
In a heat-proof or microwaveable container, weigh the shea and cocoa butter.
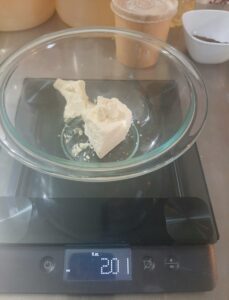
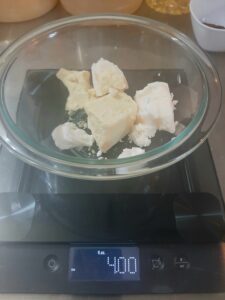
Using the double-boiler method or a microwave, heat the butters until melted.
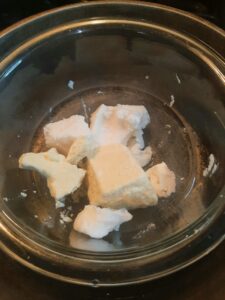
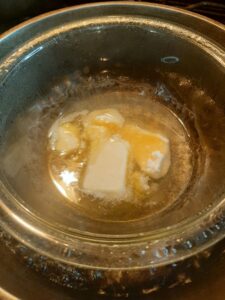
Weigh each of the individual oils and add them to the main mixing bowl.
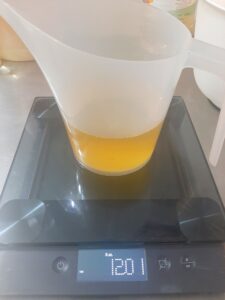
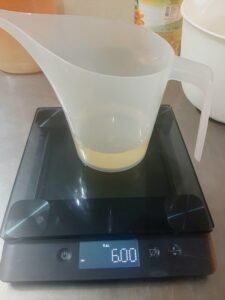
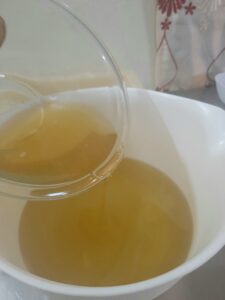
Next, add the melted butters to the oils in the mixing bowl.
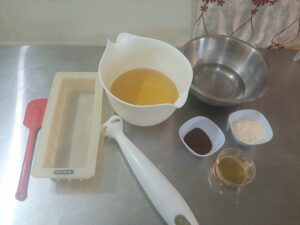
Clear away any unnecessary tools and ingredients and prepare to make your exfoliating coconut and coffee soap.
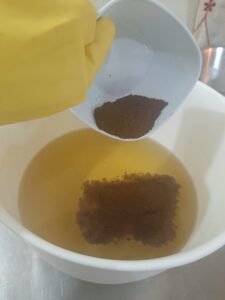
Add the coffee grounds and coconut milk to the oils.
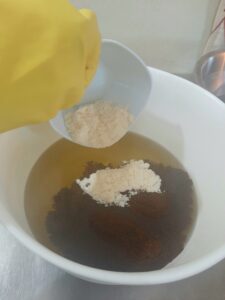
Use an immersion blender to mix the ingredients together.
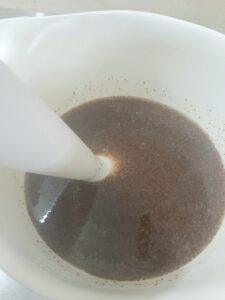
Next, carefully pour the sodium hydroxide solution (lye) into the oil mixture. Stir with the immersion blender while adding the lye.
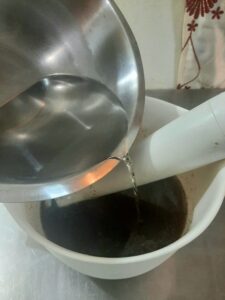
Use a combination of stirring and pulsing with the immersion blender to mix the soap batter thoroughly. Avoid blending too rapidly; aim for a light trace before adding the fragrance.
Trace is achieved when the batter thickens and leaves a trail or ‘trace’ on the top of the batter when it is drizzled upon itself. See the picture below.
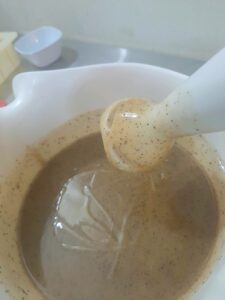
Once light trace is achieved, add the fragrance or essential oil, if using. If not, proceed to bring the batter to a medium trace.
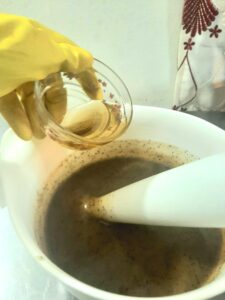
Thoroughly mix in the fragrance oil into the soap using the immersion blender, preferably on a low speed. Avoid exceeding a medium trace or the batter may not pour smoothly into the mould.
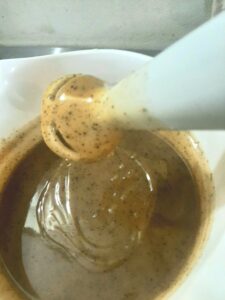
Pour the soap into your prepared mould. As usual, I’ve used my favourite 10′ silicone mould. Use a spatula to scrape out as much soap as possible from the bowl.
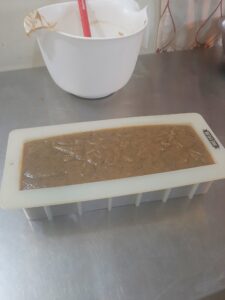
On a sturdy surface, tap the mould to remove any air bubbles. You can texture the top as you like with a stainless steel spoon or wooden skewer.
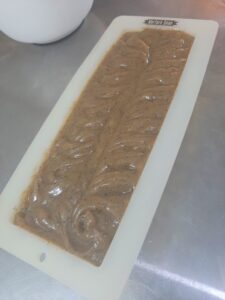
Set the soap aside in a safe area to solidify for about 24 hours.
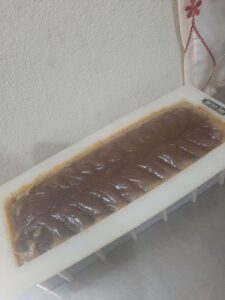
Unmoulding and Cutting Into Bars
After 24 hours check if your soap has fully solidified. If not, let it rest for another 24 hours before cutting it into bars.
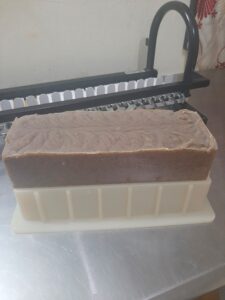
Use a soap cutter or large kitchen knife to cut the soap into bars.
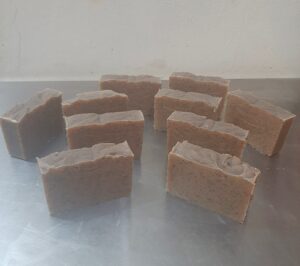
Place the bars in a well-ventilated area for a period of 4 to 6 weeks to cure. Turn them occasionally to expose all sides to the air.
After the curing period lather up with your invigorating coconut and coffee soap. Happy Soaping!! 🙂
