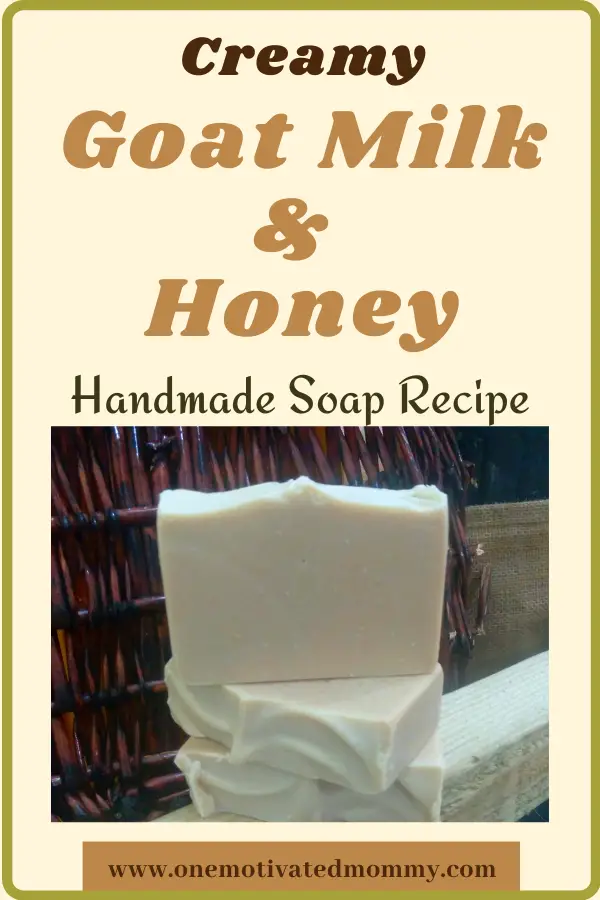
This creamy Goat Milk and Honey soap is gentle on the skin while providing many benefits due to its fatty acid composition.
Goat milk is rich in protein, vitamins and minerals. It contains alpha-hydroxy acids such as lactic acid, which acts as a humectant, attracting water to help keep the skin moisturized. Lactic acid also brightens the complexion by breaking down dead skin cells and may be effective against acne, psoriasis and dryness.
I got fresh whole goat milk from a farm in the Las Lomas area here in Trinidad.
As this soap uses milk instead of water and requires a few additional steps, I would recommend that as a beginner, you have a few other simpler soap batches under your belt before you attempt this one. If you would like to learn how to make soap from scratch, see my post on Soap Making for Beginners.
This is an unscented soap. In my opinion, it has the rich unmistakable smell of creamy milk and sweet honey. If you would like, feel free to add fragrance or essential oil.
Although the goat milk is the star ingredient in this recipe, honey has been added for a boost of skin benefits in addition to contributing to a luxurious lather. I’ve also added bentonite clay as it helps to attract and remove dirt and toxins.
Ingredients
- 14 oz Coconut oil
- 12 oz Olive oil
- 2 oz Castor oil
- 2 oz Shea butter
- 2 oz Cocoa butter
- 4.75 oz Sodium Hydroxide
- 11.7 oz frozen Goat Milk
- 1 Tablespoon Honey
- 0.35 oz Bentonite clay
- 1 tsp Titanium dioxide (optional)
These quantities yield approximately three pounds of soap, before the cure. To resize the recipe, always run it through a lye calculator.
Directions to Make Creamy Goat Milk and Honey Soap
This soap requires some preparation at least one day before making it.
The heat produced by adding the sodium hydroxide to the milk causes the natural sugar in the milk to caramelize and cause scorching. Although scorched milk will not ruin the soap, it can affect the colour and smell of the finished bar.
To avoid this, the sodium hydroxide should be mixed into frozen goat milk. The heating of the sodium hydroxide gradually melts the goat milk and the temperature is kept cool enough to prevent scorching.
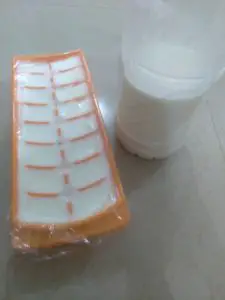
So, the first step is to pour the goat milk into an ice tray and put it in the freezer to set up overnight. When it is frozen solid, we are ready to make soap.
Ensure that there are no children or pets in your soap making area. Prepare your workspace by placing all the ingredients and tools you need in front of you and within reach.
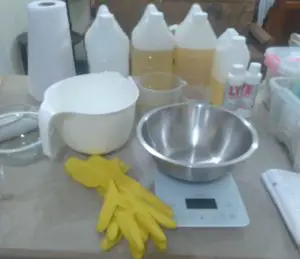
Next, suit up for safety. Put on your long sleeves, safety glasses and gloves.
Prepare the Lye/Goat Milk
In a stainless steel or heavy-duty plastic bowl, weigh the frozen goat milk.
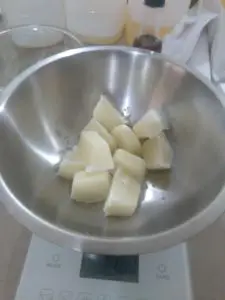
Next, in a plastic container weigh the sodium hydroxide.
In a well-ventilated area, carefully sprinkle the sodium hydroxide evenly over the frozen goat milk. I initially leave it to start to melt and stir it with a stainless steel spoon in between preparing my other ingredients. You want to stir as it melts to ensure that all the sodium hydroxide is fully dissolved.
Prepare your other ingredients.
Weigh your coconut, olive and castor oil and place them into your mixing bowl. Where I live in the Caribbean, coconut oil is liquid at room temperature. If in your climate it is solid, then you will have to melt it as described below for the butters.
Weigh your butters into a microwaveable or heatproof container.
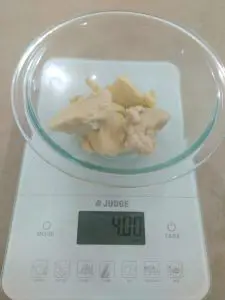
Next, either melt the butters in the microwave or on the stove in a double boiler as I did. Do not overheat them.
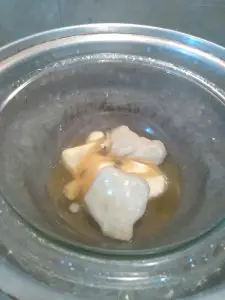
When melted, add the butters to the mixing bowl with the other oils. Into this bowl, add the bentonite clay and titanium dioxide (if using). Using your immersion blender, blend the clay and titanium dioxide into the oils thoroughly.
Note, the titanium dioxide is totally optional but I included it for those who may want a creamier appearance to the finished bar of soap. You can leave it out completely.
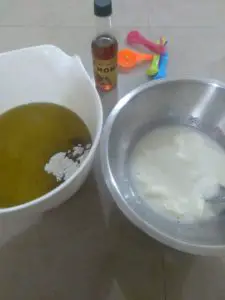
Carefully stir the lye/milk solution and then strain it through stainless steel or plastic strainer (do not use aluminum) into another stainless steel or plastic container. As the milk is opaque, it is difficult to see if all the sodium hydroxide is thoroughly dissolved. If you do have undissolved portions of lye, put it back into the milk, stir well to dissolve and strain again.
Once all is dissolved, add the lye/milk solution to the mixing bowl with the oils. Using the immersion blender, bring the soap batter to a light trace. Next, add the honey and stick blend just enough to incorporate fully.
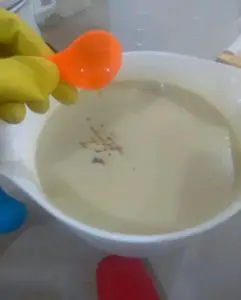
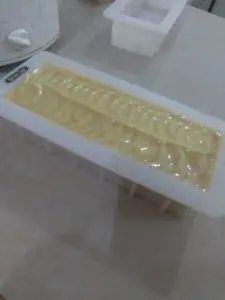
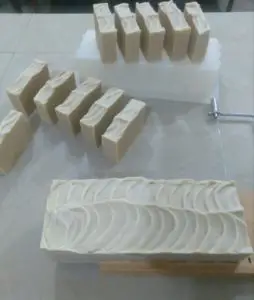
Pour the soap into your mold – texture the top if you like or leave it smooth. I used the back of a stainless steel spoon to create texture.
Allow your soap to sit in an area where it will not be disturbed for 24 hours to firm up. After which take it out of the mold and cut it into bars.
Note: While the bars are curing, they tend to give off an ammonia-like smell, do not worry, this is normal and goes away after some days.
Place the bars in a ventilated area to allow them to cure for at least six weeks. After which you can enjoy your nourishing goat milk and honey soap.
Happy soaping!!! 🙂

How hot should the lye goats milk be?
How hot should the oils/butter mixture be?
I always line my moulds with silicone paper to enable me to get the sop out easily. I notice your moulds have no lining. What are they made of?
What is bentonite clay and what is the common name of titanium dioxide? What do they do to the soap?
Hi Rosalind.
For my milk soaps, I try to keep the milk as cool as possible to avoid scorching. Ideally, this should be around 65-70 degrees Fahrenheit. I tend to mix until the lye is thoroughly dissolved and run it through a strainer into the oil/butter mixture. It is best to allow the oil temperature to be around 120 to 130 degrees Fahrenheit especially as the goatmilk/lye would be cold.
The mould I used in this recipe is a silicone mould from Nurture Soap. The silicone releases very easily. If I am using one of my wooden moulds, I usually line it with freezer paper.
Bentonite clay is a type of clay that is formed from the ageing of volcanic ash. I like to add it to some of my soaps as it helps to cleanse the skin by drawing out toxins and I find that it contributes to the creaminess of the lather and the firmness of the soap, thereby making it last longer in the shower.
Titanium dioxide is a colourant that is used to colour soap white or lighten other colourants. It is totally optional in this recipe – I added it to lighten the soap a little. It is commonly found in everyday products such as sunscreen, toothpaste and makeup. I am not aware of any other names for it though.
Can I substitute the clay for oatmeal? And if so, how much oatmeal? And I don’t need to place mold in the freezer for 24 hours? I’ve read so much my brain hurts. New soaper here. And thank you so much for all your help.
Hi Gina,
Yes, you can substitute the clay with oatmeal. To a batch this size you can add up to 2 Tablespoons of ground oats. No, it is not necessary to place in the freezer. After it is in the mould, you can monitor it to see if it is starting to crack, as soaps with honey tend to overheat. If so, you can put it in the fridge for two or three hours. I’m always happy to help 🙂
You are awesome and have made me one happy newbie soaper 🤗
Awww…Thanks!! 🙂 I am happy to help!
Excellent post and wonderful blog, this sort of interesting posts I really like, keep it up…
Thank you. I’m glad you like it. 🙂
Love your post. How do you store your curing soaps? Do they need to be sitting in the open air or can they be put in containers?
Hi, Terry. I always expose the soaps to the air to allow for the water to be evaporated.
Can you use the soap before it is fully cured? This is my first time making soap and I was hoping I could give it as Christmas gifts.